> ## Documentation Index
> Fetch the complete documentation index at: https://docs.truu.ai/llms.txt
> Use this file to discover all available pages before exploring further.
# Manual Install TruU - WA
> How to manually install the TruU Windows Authenticator on a workstation. The Windows Authenticator is a Microsoft Credential Provider that enables passwordless sign-in and SSO to federated applications.
## System Requirements
* Windows 11 version 23H2 or later
* Approximately 200 MB of available disk space
* TPM 2.0 or higher
* Windows Hello-compatible biometric device
The required Microsoft .NET Runtime is bundled with the TruU installer. You do not need to install it separately.
## Installation Steps
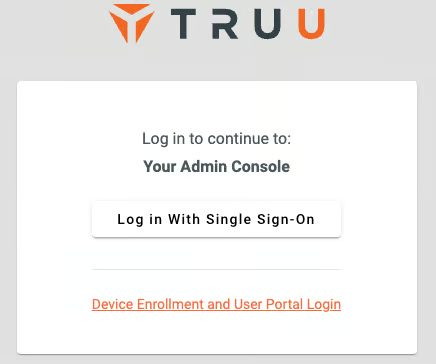
1. Sign in to your TruU Admin Console.
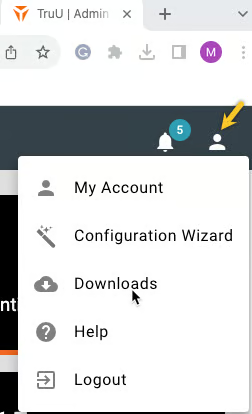
 2. In the top-right corner, click the **user icon** and select **Downloads**.
 3. Accept the EULA terms to proceed to the download page.
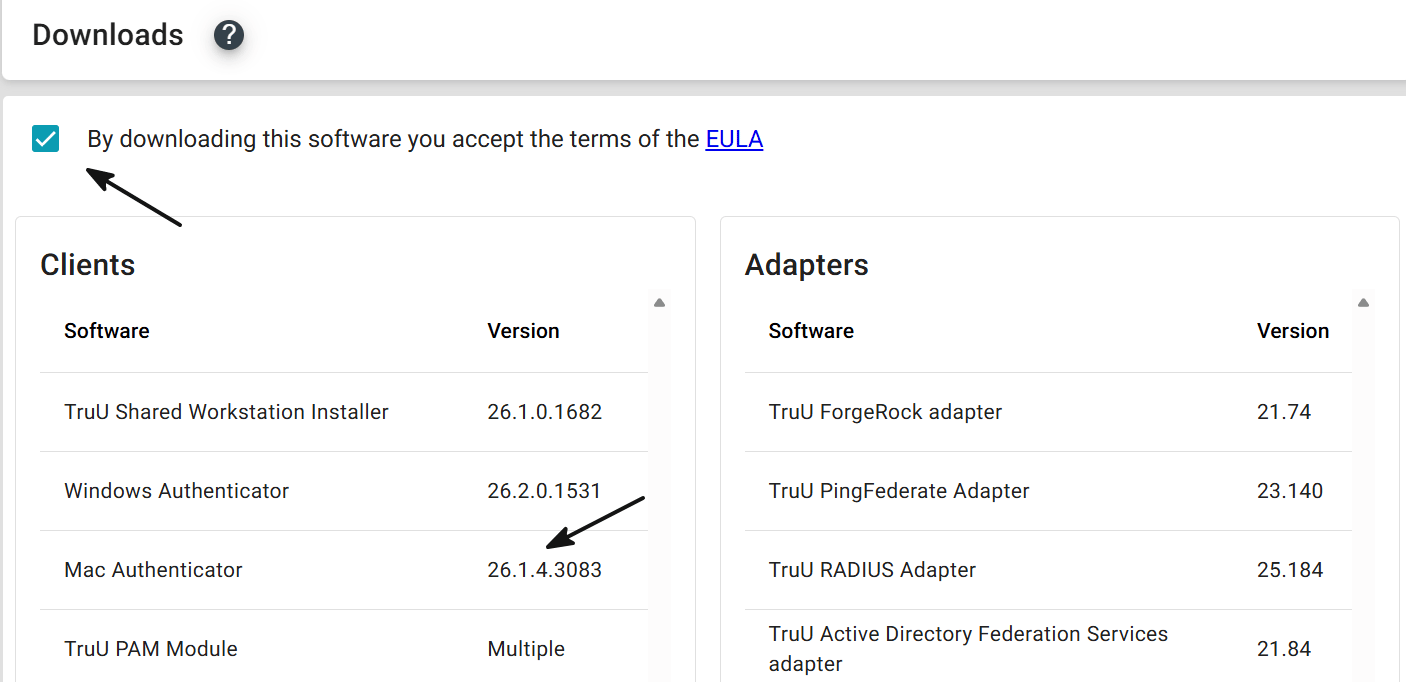 4. Select the **Windows Authenticator** version you want to deploy and click **Download**.
The installer bundle (`TruUInstallerBundle-xx.x.x.x.exe`) and the `application.config` file must be in the same directory on the workstation before you launch the installer.
4. Select the **Windows Authenticator** version you want to deploy and click **Download**.
The installer bundle (`TruUInstallerBundle-xx.x.x.x.exe`) and the `application.config` file must be in the same directory on the workstation before you launch the installer.
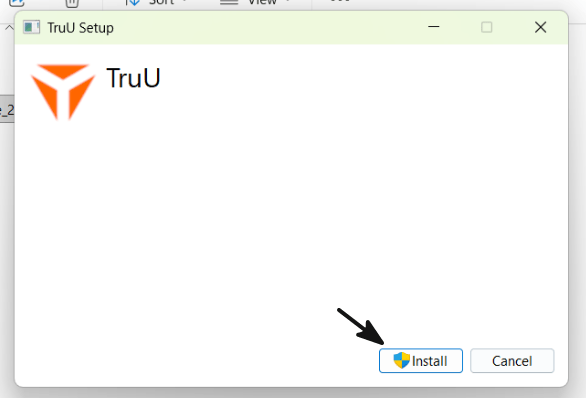
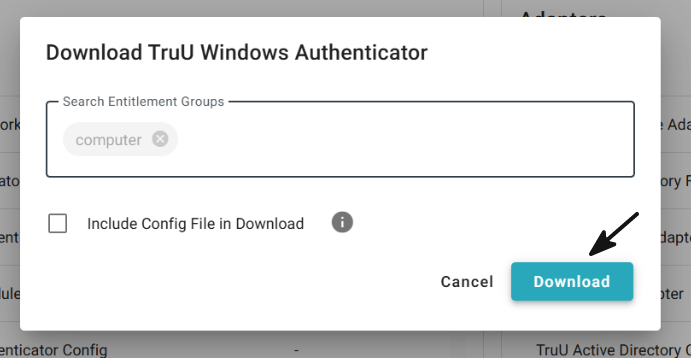 5. Launch the installer and click **Next** to begin.
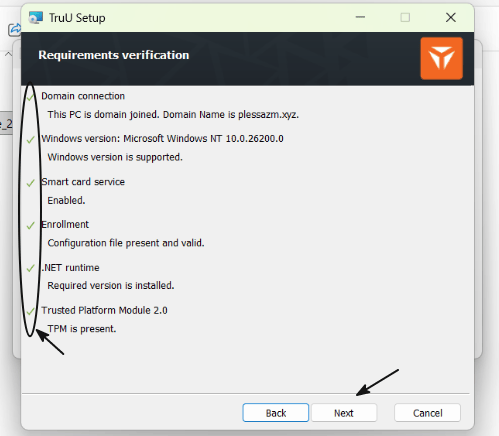
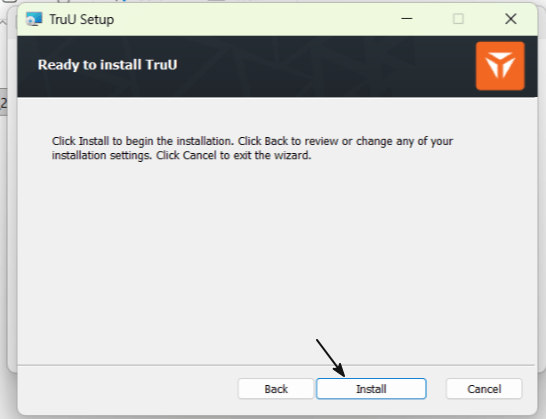
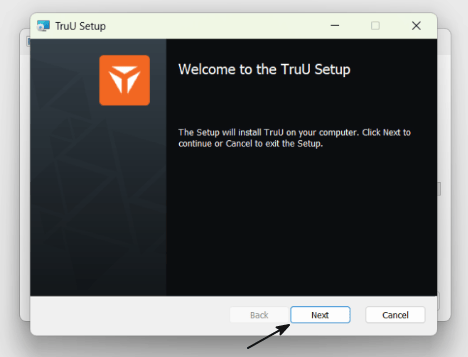 6. On the verification screen, confirm that all items show a green check mark, then click **Next**, followed by **Install**.
If the **Enrollment** check shows a red X, the `application.config` file is missing from the installer directory. Place the config file in the same folder as the installer and relaunch.
6. On the verification screen, confirm that all items show a green check mark, then click **Next**, followed by **Install**.
If the **Enrollment** check shows a red X, the `application.config` file is missing from the installer directory. Place the config file in the same folder as the installer and relaunch.