> ## Documentation Index
> Fetch the complete documentation index at: https://docs.truu.ai/llms.txt
> Use this file to discover all available pages before exploring further.
# Overview
> These are instructions for an in-place upgrade to the latest version of the TruU CA Adapter, 26.1. This version supports upgrades for all previous versions.
## Prerequisites
1. **.NET**: Requires .NET 4.8 or higher.
Download the .NET Framework offline installer runtime from here: [Download .NET Framework 4.8 | .NET](https://dotnet.microsoft.com/en-us/download/dotnet-framework/net48)
Before upgrading, please verify the .NET version running on your current CA Adapter server. You can use the following command in elevated PowerShell to check your current .net version:
PowerShell
```
Get-ItemProperty "HKLM:\SOFTWARE\Microsoft\NET Framework Setup\NDP\v4\Full" | Select-Object -Property Release, Version
```
2. **CA Adapter Service Account:** Username and Password
## **Downloading the latest CA Adapter installer**
1. Logon to your CA Adapter Server.
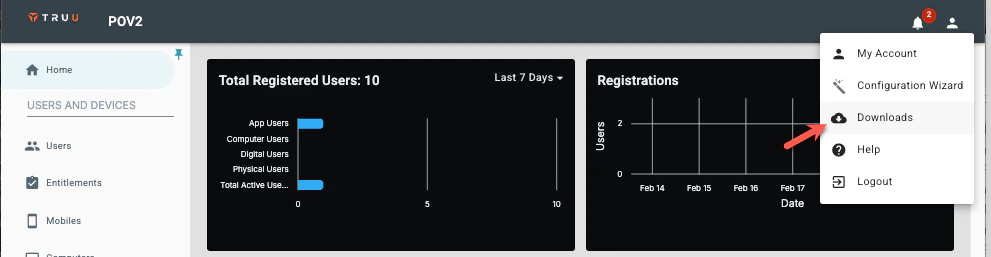
2. Log in to the TruU Admin Console.
3. Navigate to Profile Menu → Downloads.
 4. Accept the EULA.
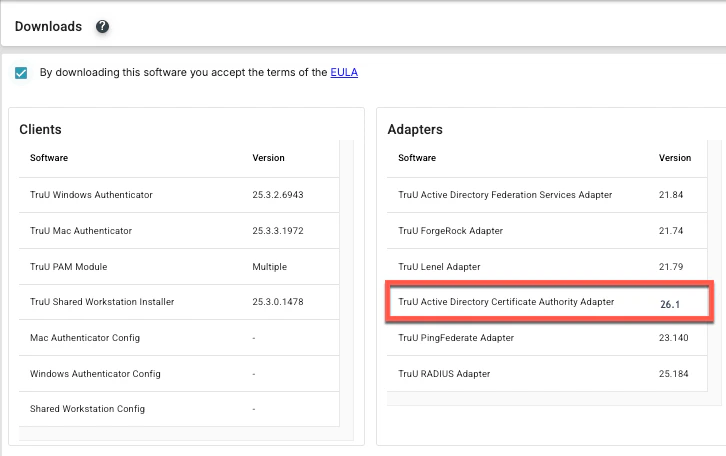
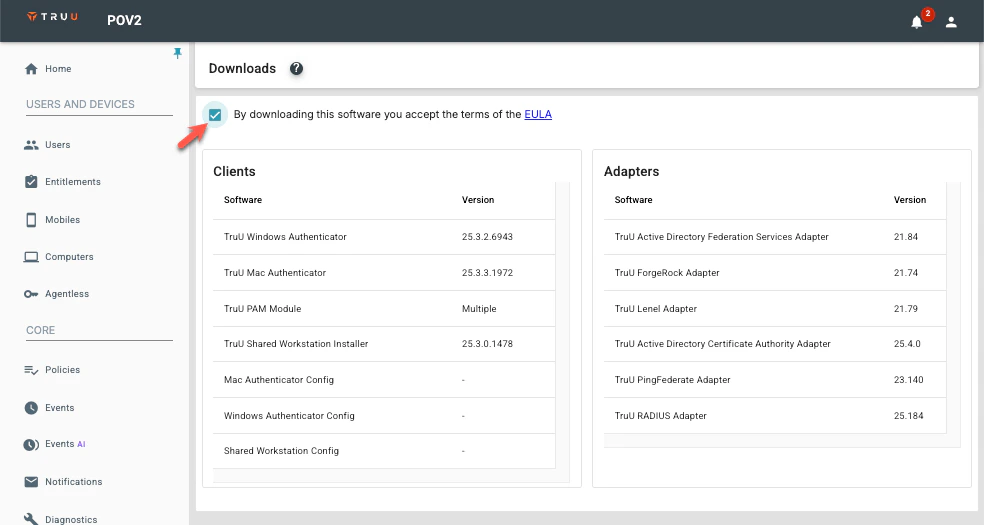 5. Click on the *TruU Active Directory Certificate Authority Adapter*. This will download a .zip file
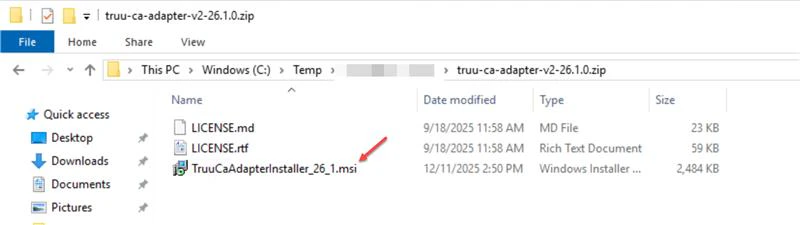
 6. Extract the ZIP file and Double-click the *TruuCaAdapterInstaller\_26\_1.msi*
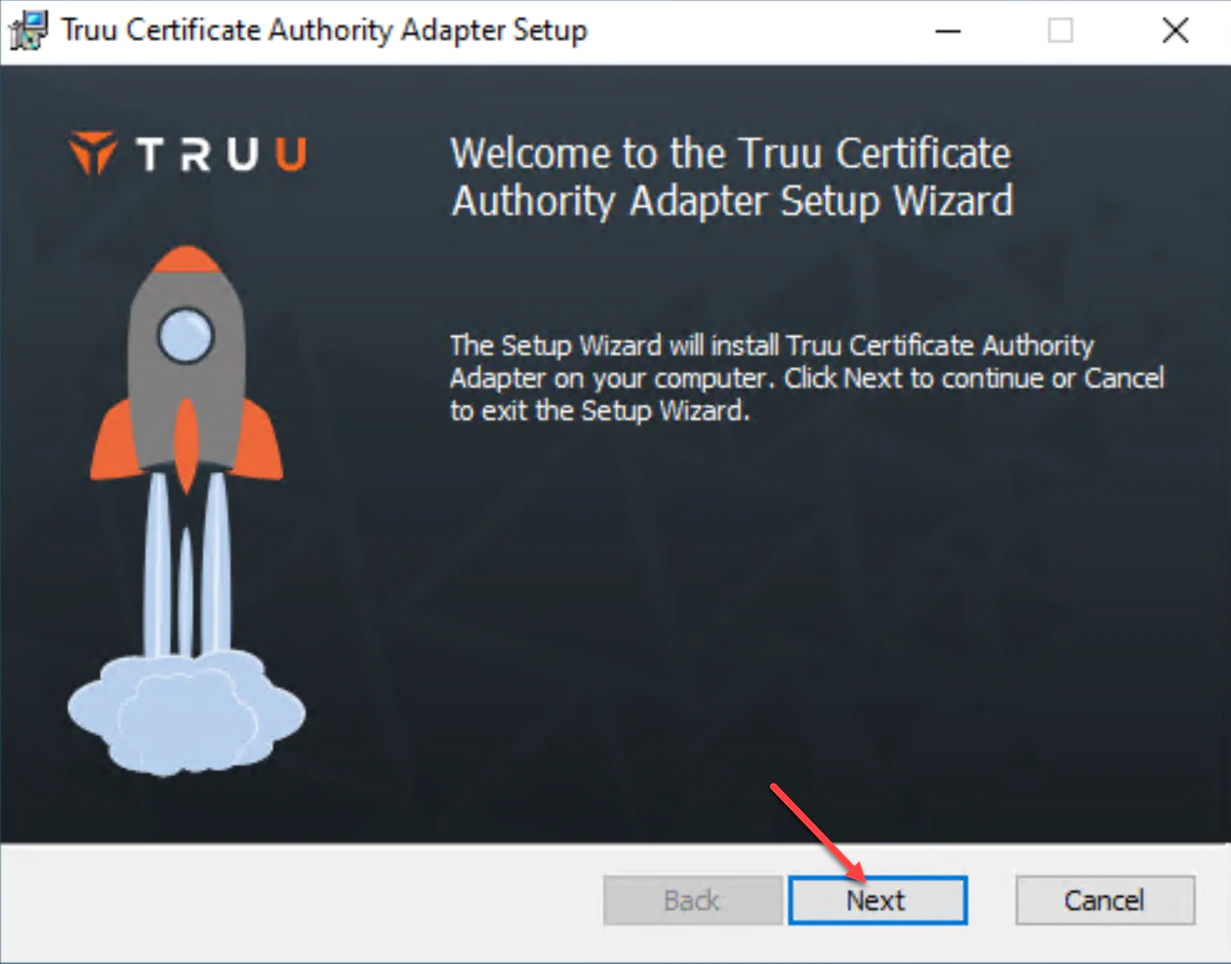
 7. Once the Installer launches, Click **Next**.
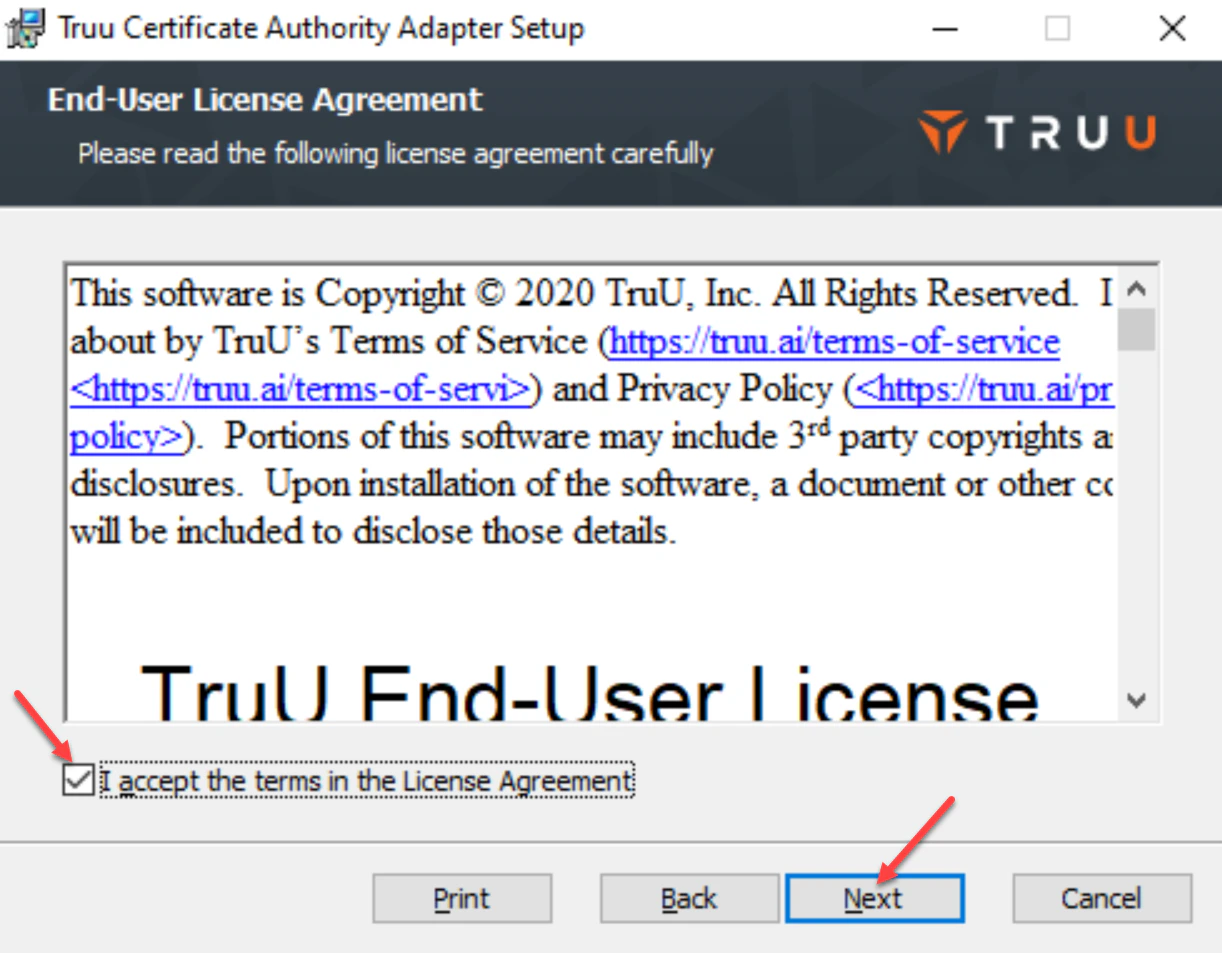
 8. Review and accept the License Agreement, then click **Next** to continue.
 9. The existing TruU adapter configuration will already have the following information populated
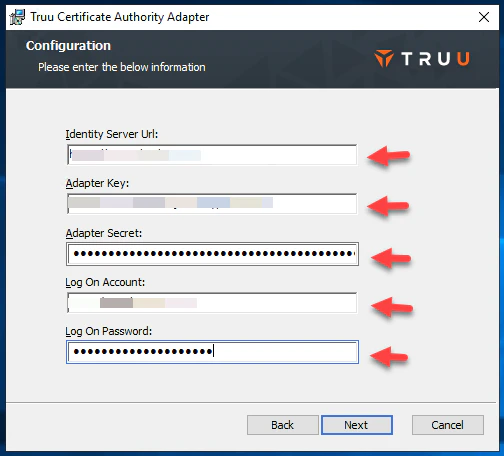 If you close the wizard, the above information will be removed. In such case, you will need the previous CA Adapter Configuration TXT file. \**If you can not locate your previous CA Adapter Configuration TXT file, you would need to create a new adapter in the Admin Console*
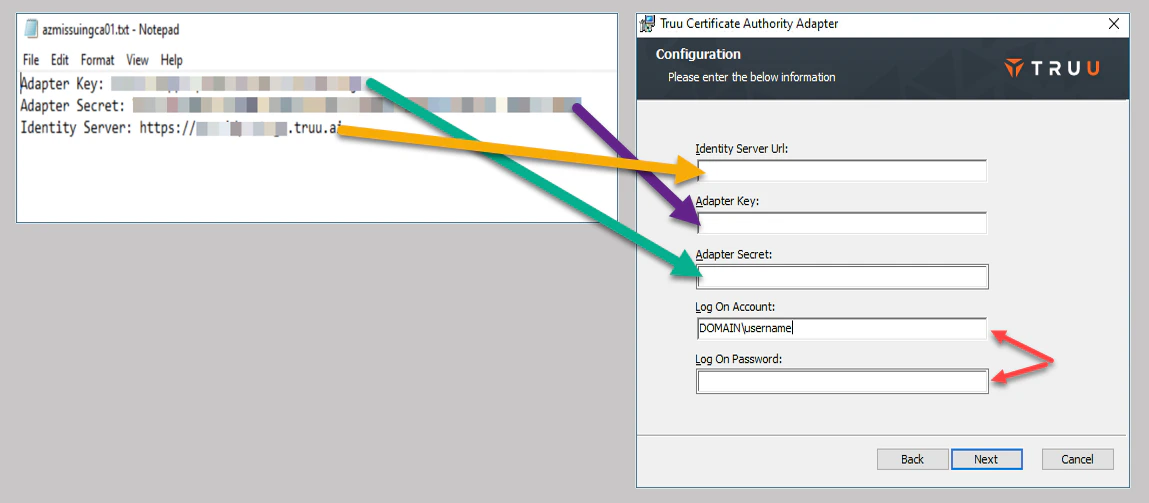
After you locate the TXT file:
* Add the **Identity Server URL** (Identity Server load-balancer URL), **Adapter Key** and **Adapter Secret**
* For **Log On Account** and **Log On Password**, enter the service account username and password as shown in the image.
* Once entered, click **Next** to continue.
If you close the wizard, the above information will be removed. In such case, you will need the previous CA Adapter Configuration TXT file. \**If you can not locate your previous CA Adapter Configuration TXT file, you would need to create a new adapter in the Admin Console*
After you locate the TXT file:
* Add the **Identity Server URL** (Identity Server load-balancer URL), **Adapter Key** and **Adapter Secret**
* For **Log On Account** and **Log On Password**, enter the service account username and password as shown in the image.
* Once entered, click **Next** to continue.
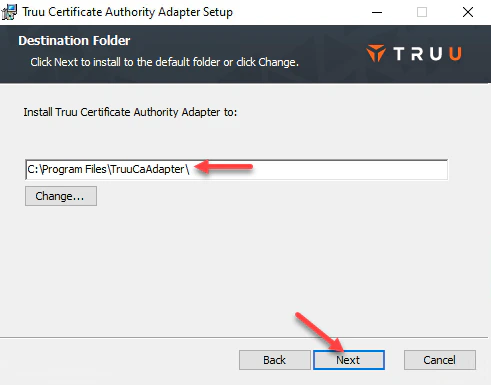
 10. Confirm the CA Adapter’s installation path, then click **Next** to continue.
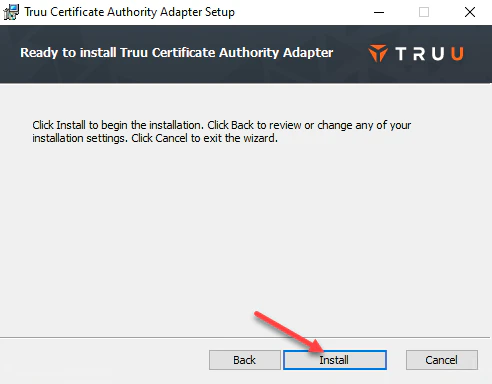
 11. Click **Install** to initiate the installation.
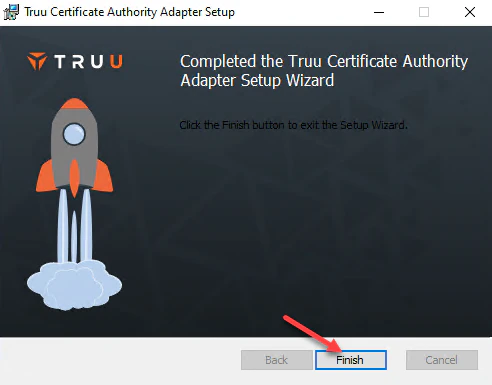
 12. Click **Finish** once to complete installation and close installer window.
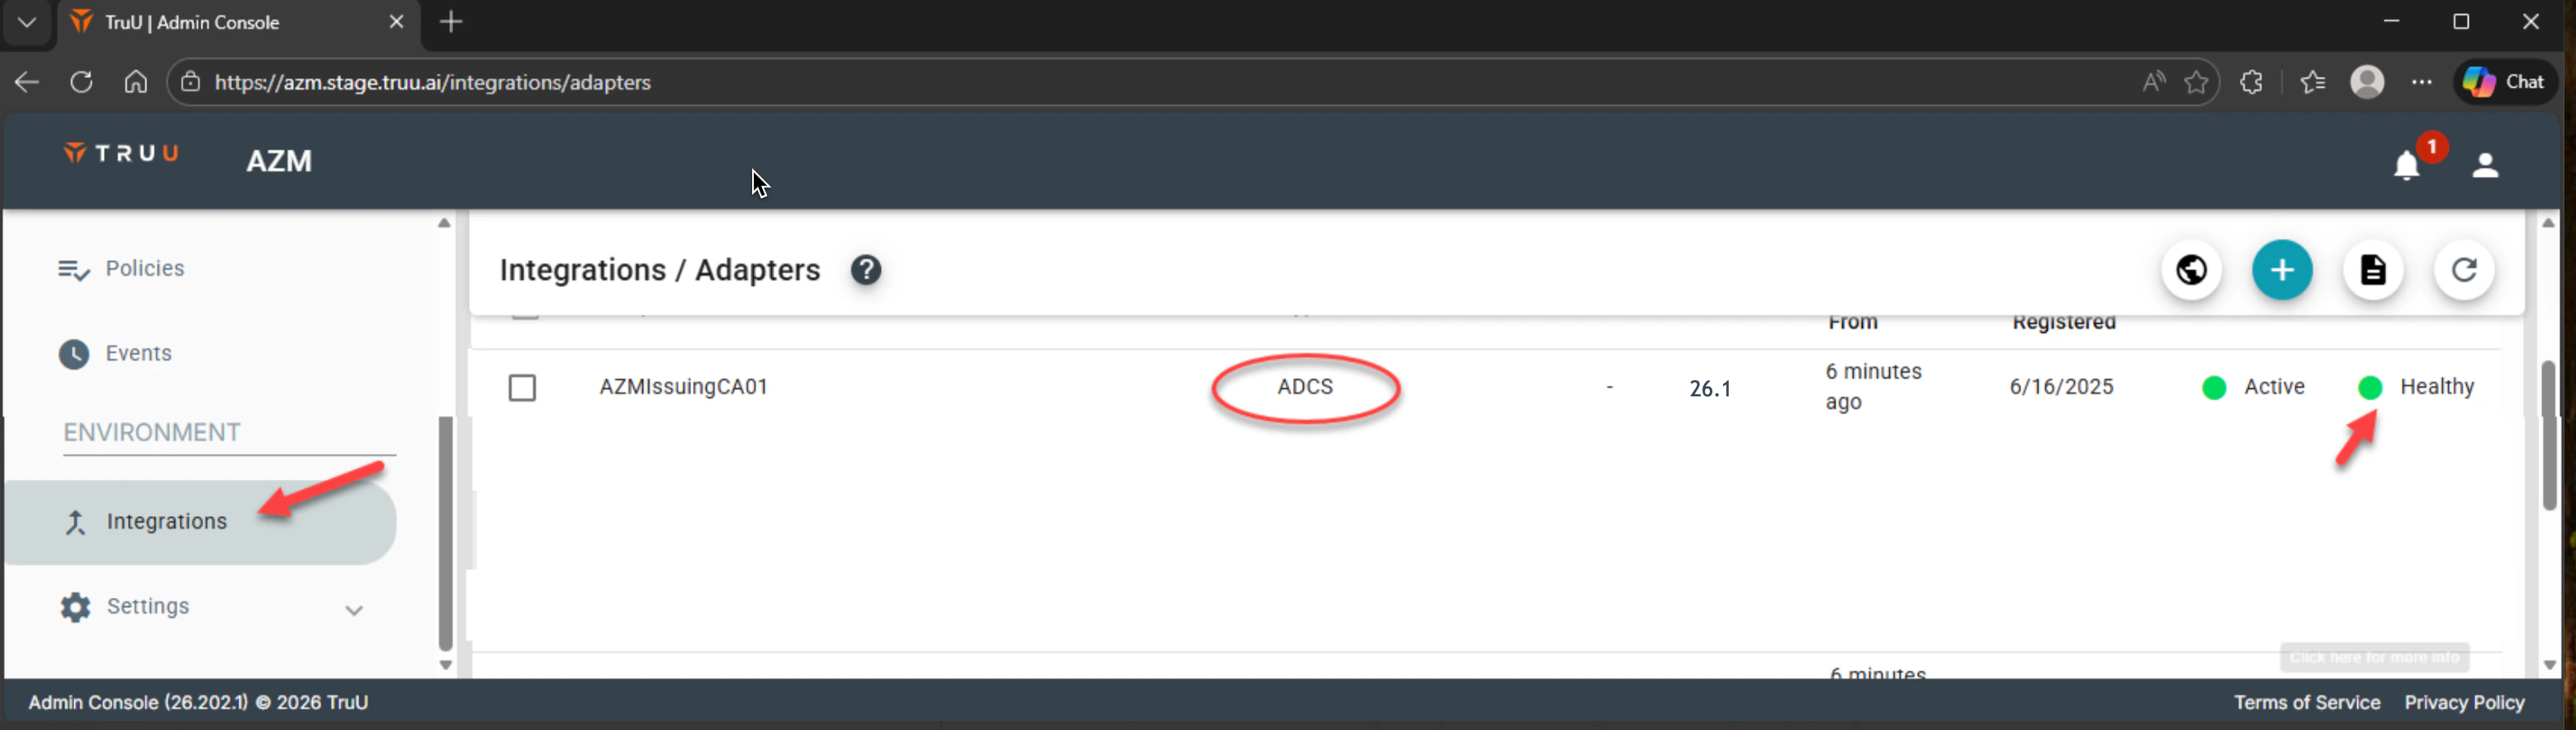
 13. In your TruU Admin Console, Go to**Integrations** > Adapters to confirm that the updated adapter is**Healthy**.
 14. Test enrollments to ensure that the adapter is working properly.
***
[Change PIN - Shared Workstation](/docs/change-pin-shared-workstation)
[Establish Cloud Kerberos Key Trust - for Entra Joined Devices](/docs/establish-kerberos-key-trust-only-for-hybrid-joined-devices-1)
14. Test enrollments to ensure that the adapter is working properly.
***
[Change PIN - Shared Workstation](/docs/change-pin-shared-workstation)
[Establish Cloud Kerberos Key Trust - for Entra Joined Devices](/docs/establish-kerberos-key-trust-only-for-hybrid-joined-devices-1)