

- Sign in to the Entra Portal
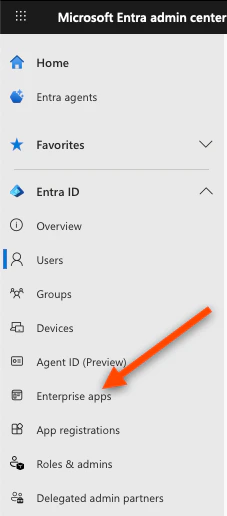
- In the left sidebar, click Enterprise applications
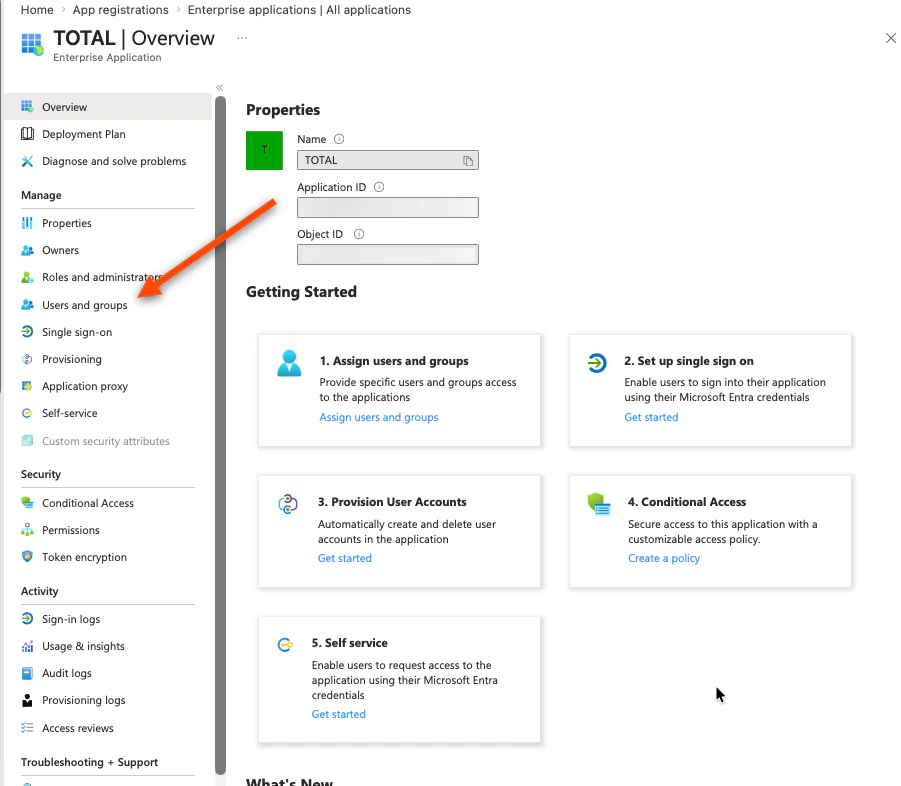
- Select your TOTAL application, then select Users and Groups
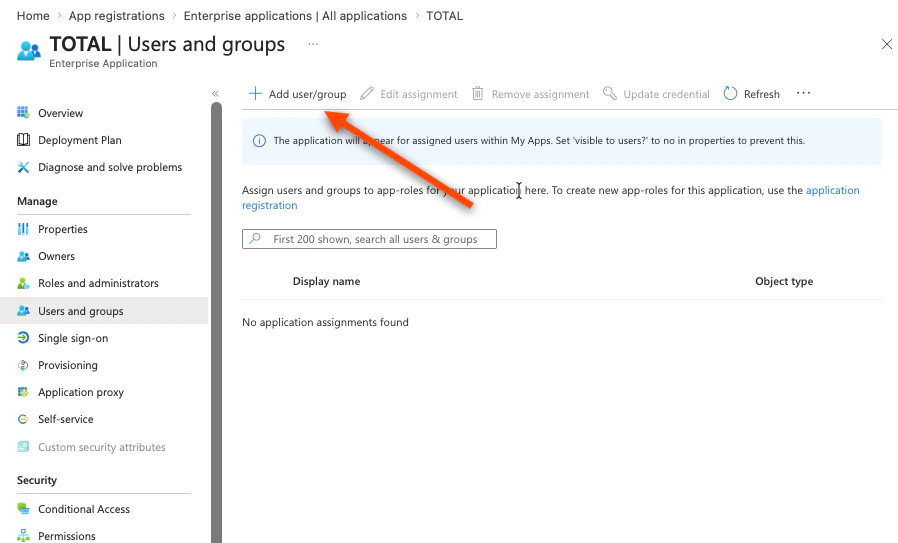
- Click Add user/group
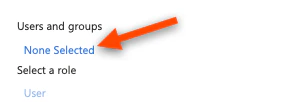
- Under “Users and Groups”, click None Selected
- Search for and select any combination of:
- Individual users you want to provision
- Existing groups whose members should be provisioned
- A new group — if you need one, create it first:
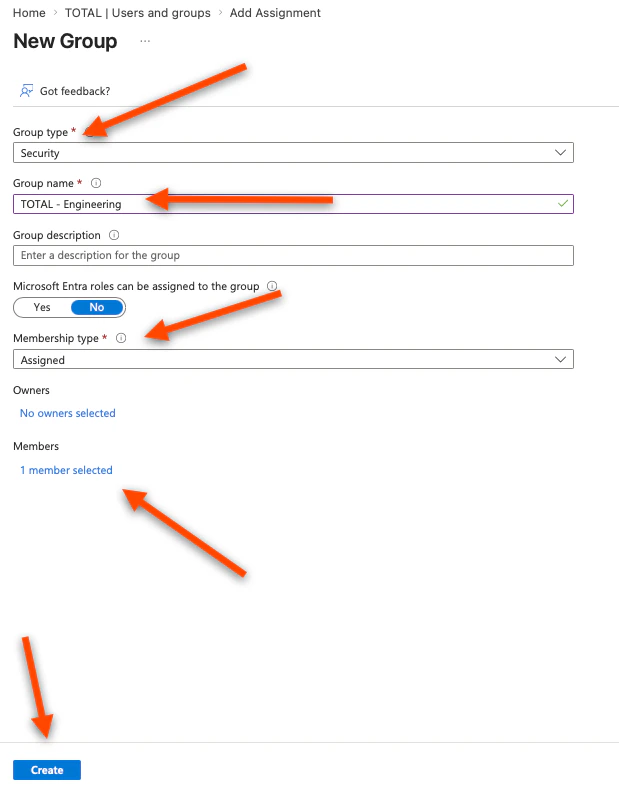
- Microsoft Entra ID → Groups → New group

- Set “Group type” to Security
- Enter a Group name (e.g. TOTAL - Engineering)
- Set “Membership type” to Assigned (or Dynamic for rule-based)
- Click Add members, select users, click Select, then Create
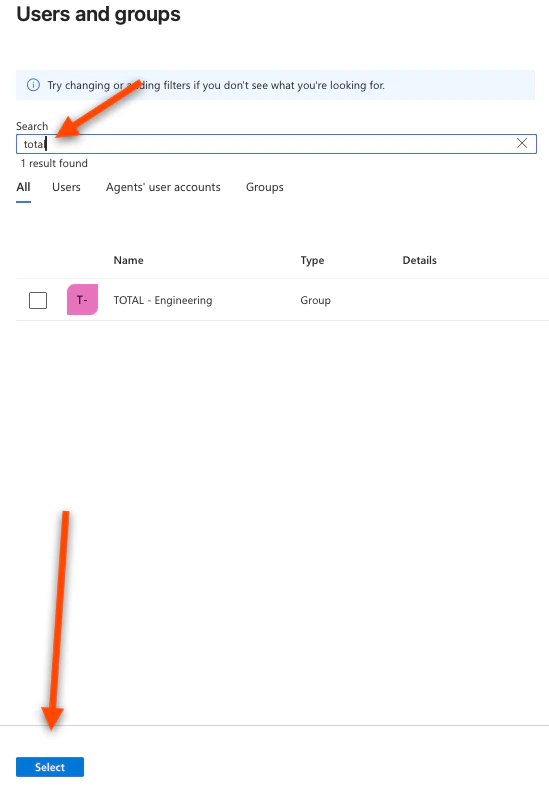
- Return to Enterprise applications → TOTAL → Users and groups → Add user/group and search for the new group
- Microsoft Entra ID → Groups → New group
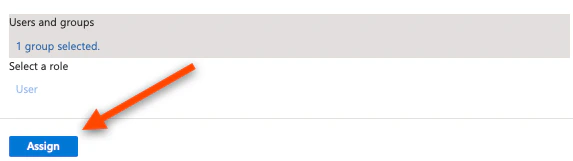
- Click Select, then click Assign
- Trigger provisioning — either:
- Wait for the next automatic cycle (~40 minutes), or
- Provision on demand: Enterprise applications → TOTAL → Provisioning → Provision on demand, search for the user or group, and run it
Key points:
- Adding a user to an already-assigned group automatically provisions them — no need to re-assign the group
- Removing a user from all assigned groups/users will deprovision them on the next sync
- Admins are not part of the monitored group by default. If you want admins to be monitored, you must also add them to the monitored group.
Microsoft Entra ID (Azure AD)