

- Ubuntu: Versions 22.04, 20.04, and 18.04
- Red Hat Enterprise Linux (RHEL): Versions 9, 8, and 7
- Debian: Version 10
- IBM AIX: Versions 7.2 and 7.1
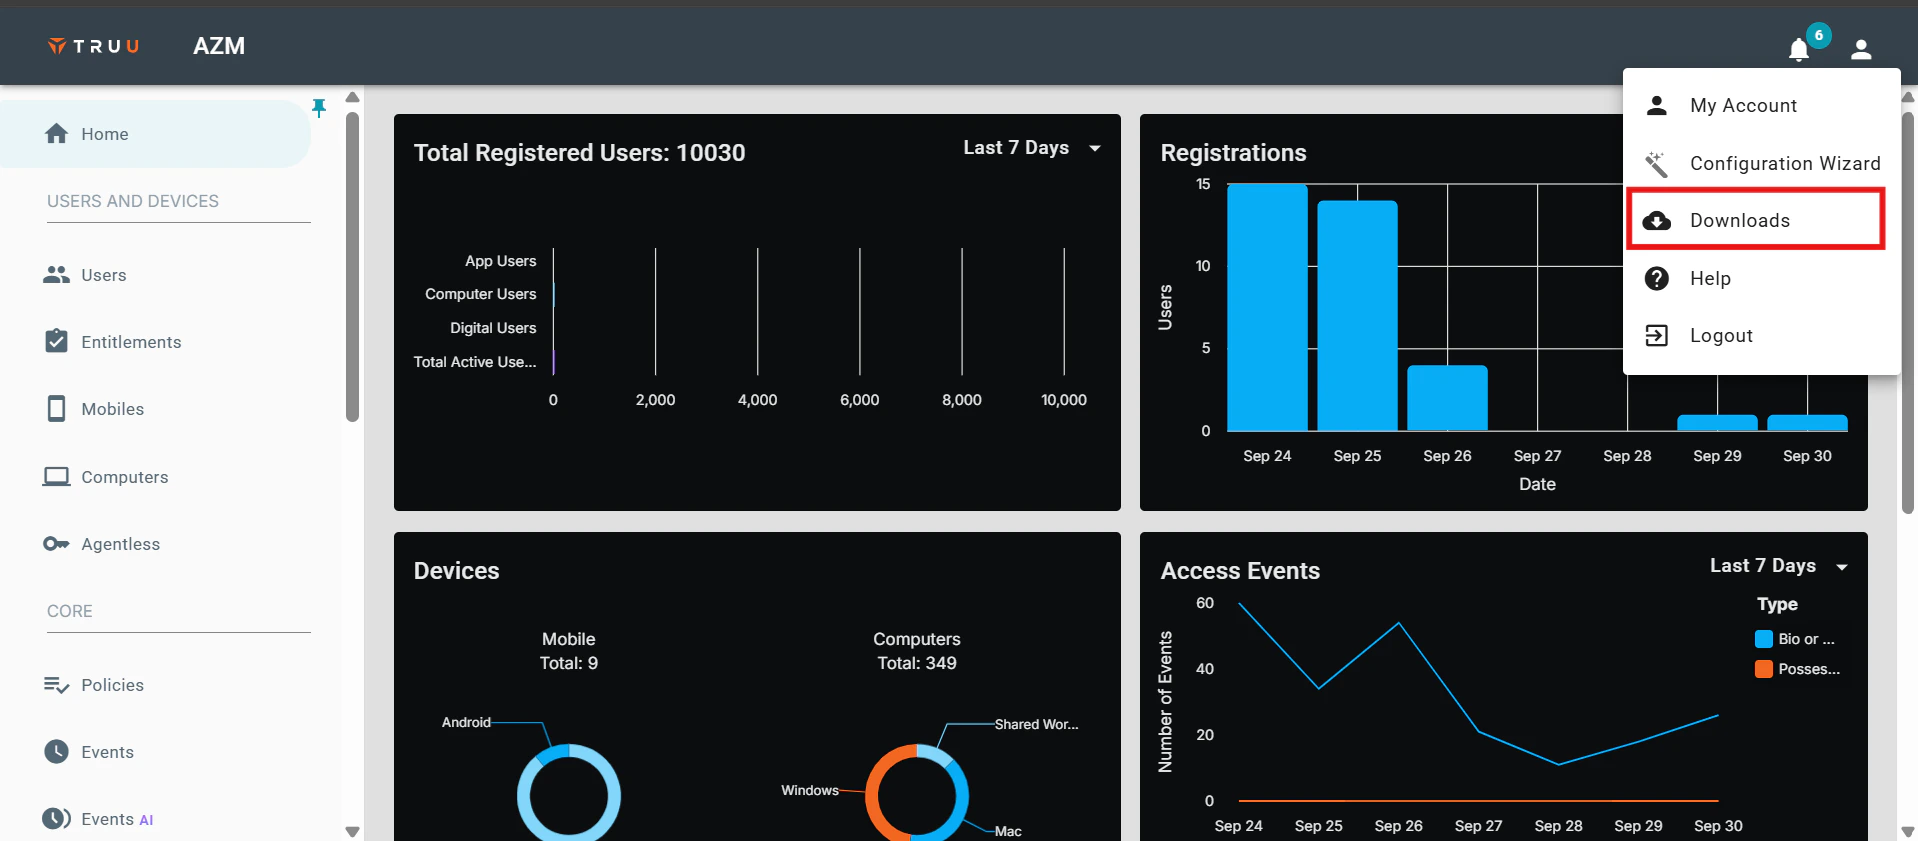
- Sign in to the TruU Admin Console and navigate to the Downloads section.
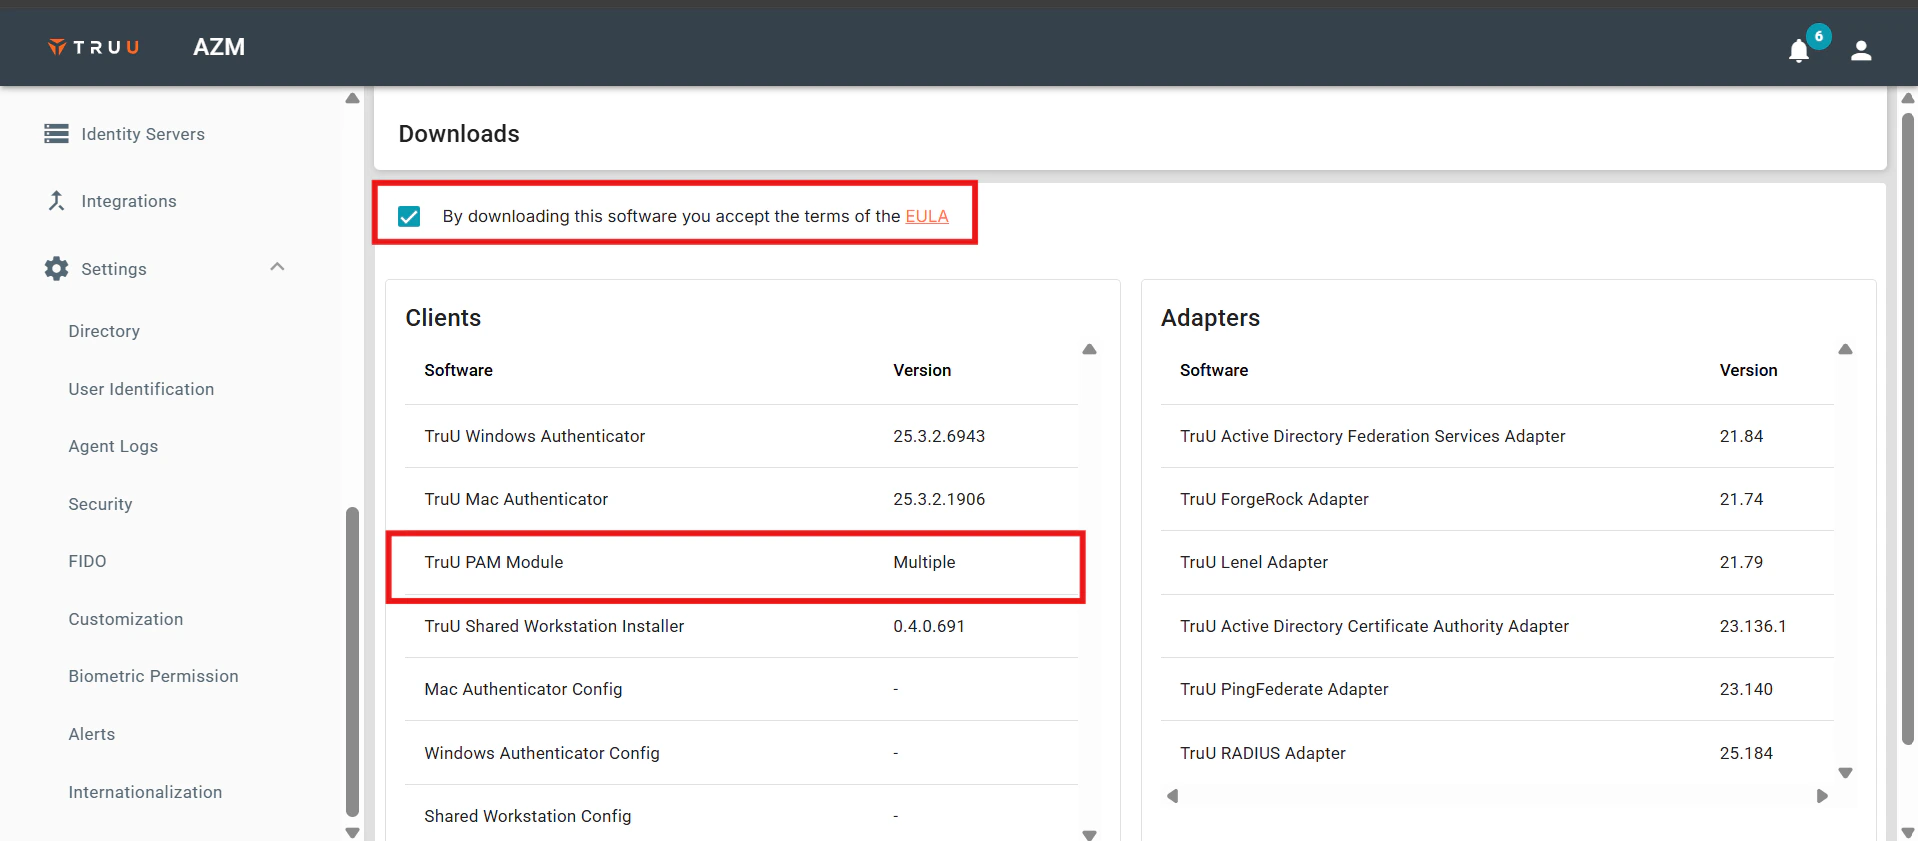
- Check the EULA box and select the TruU PAM Module option.
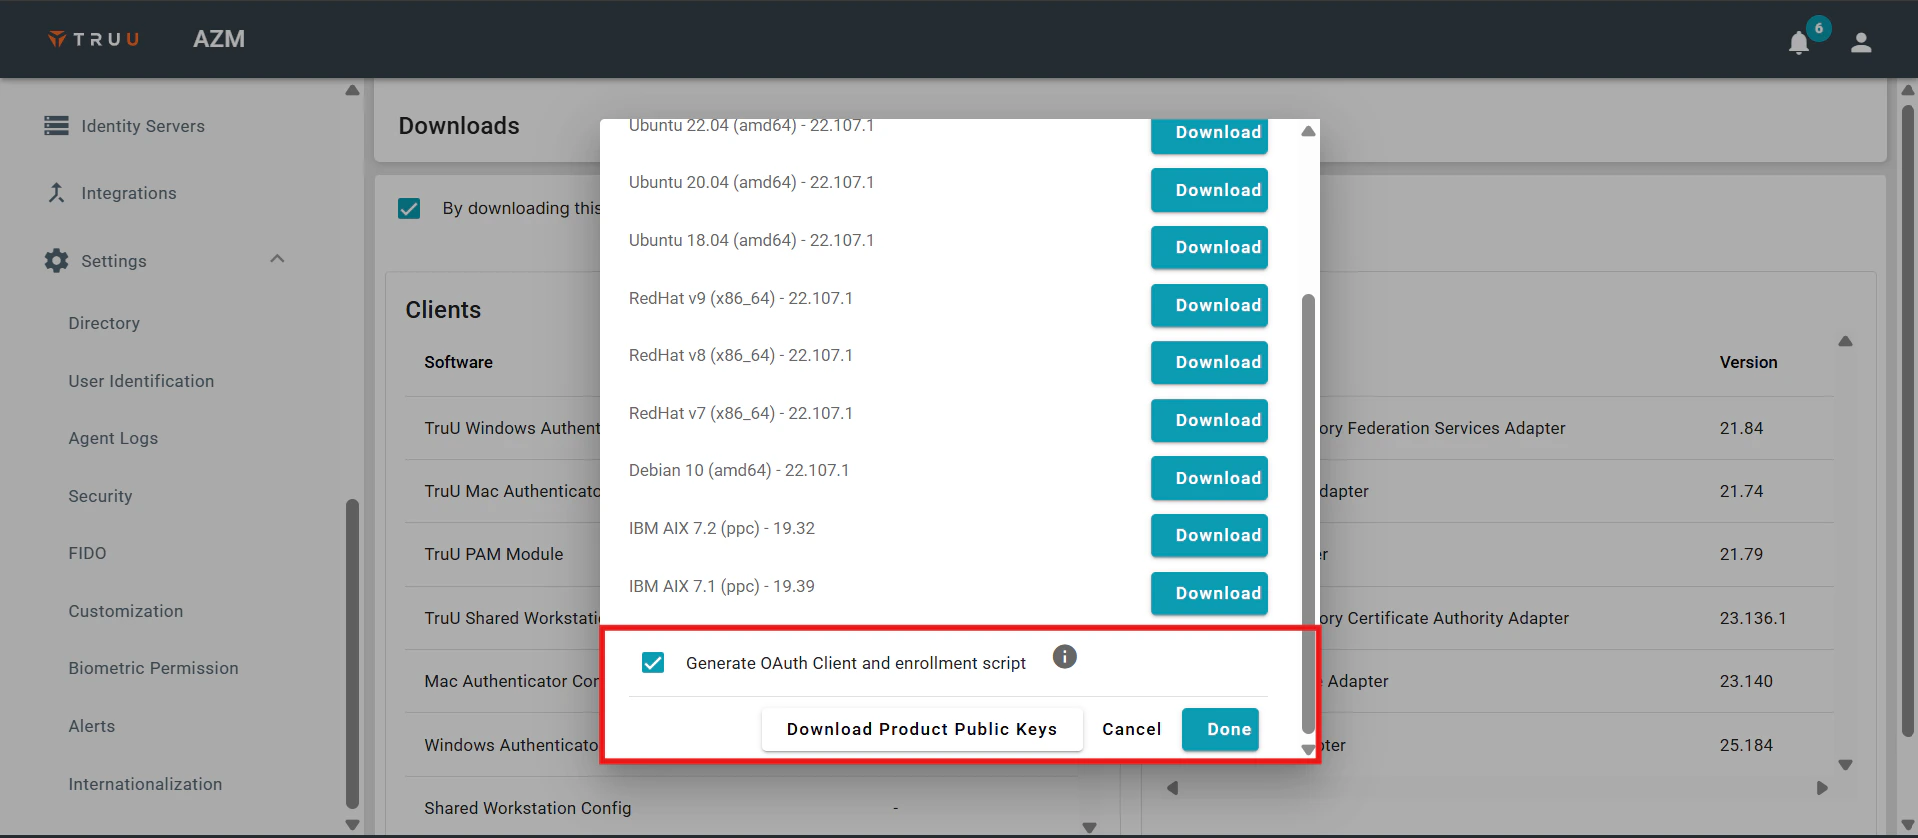
- Choose the software package that corresponds to your environment, then select the Generate OAuth Client and Enrollment Script option. You can also download the product’s public keys. Click Done to initiate the download process.
- Transfer the TruU software package designed for Ubuntu, along with the enrollment script and product public key, from the TruU Admin Console to the host server. Ensure the software package is compatible with the host operating system.

- Install the Product Public Key on the host operating system using the provided command. This step is required only during the initial installation of the TruU PAM Adapter.

- Install the Ubuntu software package on the host OS using the specified command.

- Run the TruU enrollment shell script using the provided command. For additional configuration options available during enrollment, refer to the Appendix section.

- After installation, the pam_truu.conf file will be created in the /etc directory. This file must be owned by the root user and have 0600 permissions. Default configuration parameters for this file are shown in the screenshot below:
 Note: The installation process for RedHat involves similar steps: copying the appropriate TruU software package, enrollment script, and product public key from the TruU Admin Console to the host server.
TruU PAM Adapter Insurance Check
Ensuring compatibility between the TruU software package and the host operating system is crucial for a successful installation.
Note: The installation process for RedHat involves similar steps: copying the appropriate TruU software package, enrollment script, and product public key from the TruU Admin Console to the host server.
TruU PAM Adapter Insurance Check
Ensuring compatibility between the TruU software package and the host operating system is crucial for a successful installation.
- Before proceeding, validate the fingerprint of the downloaded key by running the command that compares it with the fingerprint displayed in the Downloads section of the TruU Admin Console. This verification step is critical to the installation process.

- Install the Product Public Key on the host operating system using the provided command.

- Install the RedHat software package on the host system using the specified command.

- Run the TruU enrollment shell script using the command provided below. For any additional configuration options during enrollment, refer to the Appendix section.

- After installation, the pam_truu.conf file will be created in the /etc directory. This file must be owned by the root user and have 0600 permissions. Default configuration parameters for this file are shown in the screenshot below:
 AIX Deployment of the TruU PAM Adapter
When deploying the TruU PAM Adapter on AIX systems, the module is installed on the host server(s) and enrolled with the TruU service using the enrollment script and the TruU product public key. Before starting the deployment, it’s important to address specific AIX system requirements. For example, IBM’s open-source ca-certificates package may need to be installed, and PAM must be enabled on the system. IBM also recommends keeping an additional terminal session open with root access during PAM enablement to avoid being locked out.
AIX Deployment of the TruU PAM Adapter
When deploying the TruU PAM Adapter on AIX systems, the module is installed on the host server(s) and enrolled with the TruU service using the enrollment script and the TruU product public key. Before starting the deployment, it’s important to address specific AIX system requirements. For example, IBM’s open-source ca-certificates package may need to be installed, and PAM must be enabled on the system. IBM also recommends keeping an additional terminal session open with root access during PAM enablement to avoid being locked out.
- To enable PAM authentication, ensure the appropriate settings are configured in the /etc/security/login.cfg file. This file controls how user authentication is handled on the system.

- Additional configuration is required to enable PAM for the SSH daemon (sshd). For detailed steps, refer to IBM’s support documentation available via the provided link.


- Transfer the TruU software package, enrollment script, and product public key from the TruU Admin Console to the AIX host server. Make sure the software package is compatible with the host’s OS version. You can verify the fingerprint of the downloaded key by running a command that compares it to the fingerprint shown in the Downloads section of the TruU Admin Console.

- Install the Product Public Key using the specified command.
 Note: This step is required only during the initial installation of the TruU PAM Adapter.
- After installing the key, install the AIX software package on the host system using the appropriate command.

- Run the TruU enrollment shell script to complete the enrollment. For advanced configuration options, refer to the Appendix section.

- Once completed, the pam_truu.conf file will be generated in the** /etc** directory. Ensure this file is owned by the root user and has 0600 permissions to maintain security. The file contains default parameters that define its behavior.
 TruU Pam Module Implementation Possibilities
Option One:
TruU Pam Module Implementation Possibilities
Option One:
- To enable TruU authentication for users executing the su command, a specific configuration stanza must be added at the beginning of the /etc/pam.d/su file. This stanza uses the “sufficient” control flag, allowing TruU to attempt biometric or FluidID-based authentication. If the TruU authentication attempt fails, the system will fall back to the next authentication method defined in the file. The type of identity challenge (e.g., biometrics or FluidID) is determined by policies configured in the TruU Admin Console.
 Option Two
- To enforce biometric authentication specifically for users accessing the system via SSH, an additional stanza should be placed at the top of the /etc/pam.d/sshd file. This ensures that only biometric verification is used during SSH sessions.
 Option Three
- To make TruU the exclusive authentication method for executing the
sudocommand, a specific stanza must be added at the beginning of the/etc/pam.d/sudofile. This configuration uses the “required” control flag, meaning TruU authentication must succeed for the process to continue. - Although the
enforcebiooption is not explicitly included in this stanza, biometric enforcement can still be controlled through policies defined in the TruU Admin Console. For detailed information on configuring this behavior and understanding Policy Groups, refer to the Appendix section.
 Option Four
- The
pam_truu.soconfiguration file includes several options that can be customized to fine-tune the authentication process based on specific requirements. For example:debug: When enabled, this option logs debugging information to syslog using the AUTH facility, which is helpful for troubleshooting.enforcebio: Forces the TruU Identity Server to always require biometric authentication for user verification, regardless of console policies.nooauthcach: Disables OAuth token caching, ensuring a new token is requested during each authentication attempt. This is especially relevant in standalone mode.https_timeout=#: Specifies the maximum time (in seconds) to wait for an authentication response before timing out.https_oauth_timeout=#: Sets the time limit for retrieving an OAuth token. For deployments not using a caching server:standalone: Enables standalone mode, allowing the adapter to function without a caching service.failifnoqueueserver: Prevents the module from attempting to retrieve an OAuth token if no queue server is available.disablequeueautostart: Stops the queue service from starting automatically.disablerestartonqueuetimeout: Prevents automatic restarts of the queue service when communication timeouts occur betweenpam_truuandtruuservice. To customize the user experience:suppressnotification: Disables push notifications during authentication, requiring users to manually open the TruU mobile app and refresh the Actions menu to view pending approvals.hideuserinstruction: Removes any on-screen instructions prompting users to respond via the mobile app. Additionally, policies can be centrally managed via the TruU Admin Console. Administrators can apply consistent policies across multiple servers by assigning them to Entitlement Groups through the Entitlements tab (under the “Server” or “Computers” page).

- Certain modifications are required in the
sshd_configfile to enable sshd integration withpam_truu.

- To apply the changes, restart PAM by running the appropriate command.

- Similarly, to ensure consistent authentication prompts for sudo commands, the
sudoersfile must be updated accordingly.
 Once these modifications are in place, all sudo operations will be handled by
 pam_truu, enabling auditing and enforcement of policies.
If the module becomes unresponsive, the issue may be due to a stuck IPC queue. This can happen if the truuservice hangs or is forcibly terminated (e.g., with kill -9), leaving behind an orphaned IPC queue disconnected from any active service. To investigate, use the ipcs command.
 Upon execution of this command, look for a queue with the key 0x54727555, which corresponds to the TruU queue. It is also important to note the user associated with this queue; it should be “root”. If the queue belongs to a different user, the appropriate action is to terminate all ‘“truuservice” processes and then remove the IPC queue, assuming it does not get removed automatically. Additionally, verify that the permissions for the “/etc/pam_truu.conf” file are correctly set to root ownership with 0600 permissions.
Look for a queue with the key
Upon execution of this command, look for a queue with the key 0x54727555, which corresponds to the TruU queue. It is also important to note the user associated with this queue; it should be “root”. If the queue belongs to a different user, the appropriate action is to terminate all ‘“truuservice” processes and then remove the IPC queue, assuming it does not get removed automatically. Additionally, verify that the permissions for the “/etc/pam_truu.conf” file are correctly set to root ownership with 0600 permissions.
Look for a queue with the key 0x54727555, which identifies the TruU queue. Verify the queue’s owner; it should be root. If it’s owned by a different user, terminate all truuservice processes and manually remove the IPC queue if it hasn’t been automatically cleared. Also, confirm that /etc/pam_truu.conf is owned by root and has 0600 permissions.
If the truuservice is not running (check with ps aux | grep truuservice) but the queue key still exists, there are two main ways to resolve the issue:
- Run
/usr/sbin/truuserviceas root, which will remove the old queue and restart the service automatically. - Use the
ipcrmcommand to manually delete the queue, for example:This command must be run as root to have the necessary permissions.
Cloud RADIUS Adapter Setup Guide Required System Permissions