- Go to the Global Attributes tab and click the Gear icon in the top-right corner. Select your Primary User Identifier and click Save.

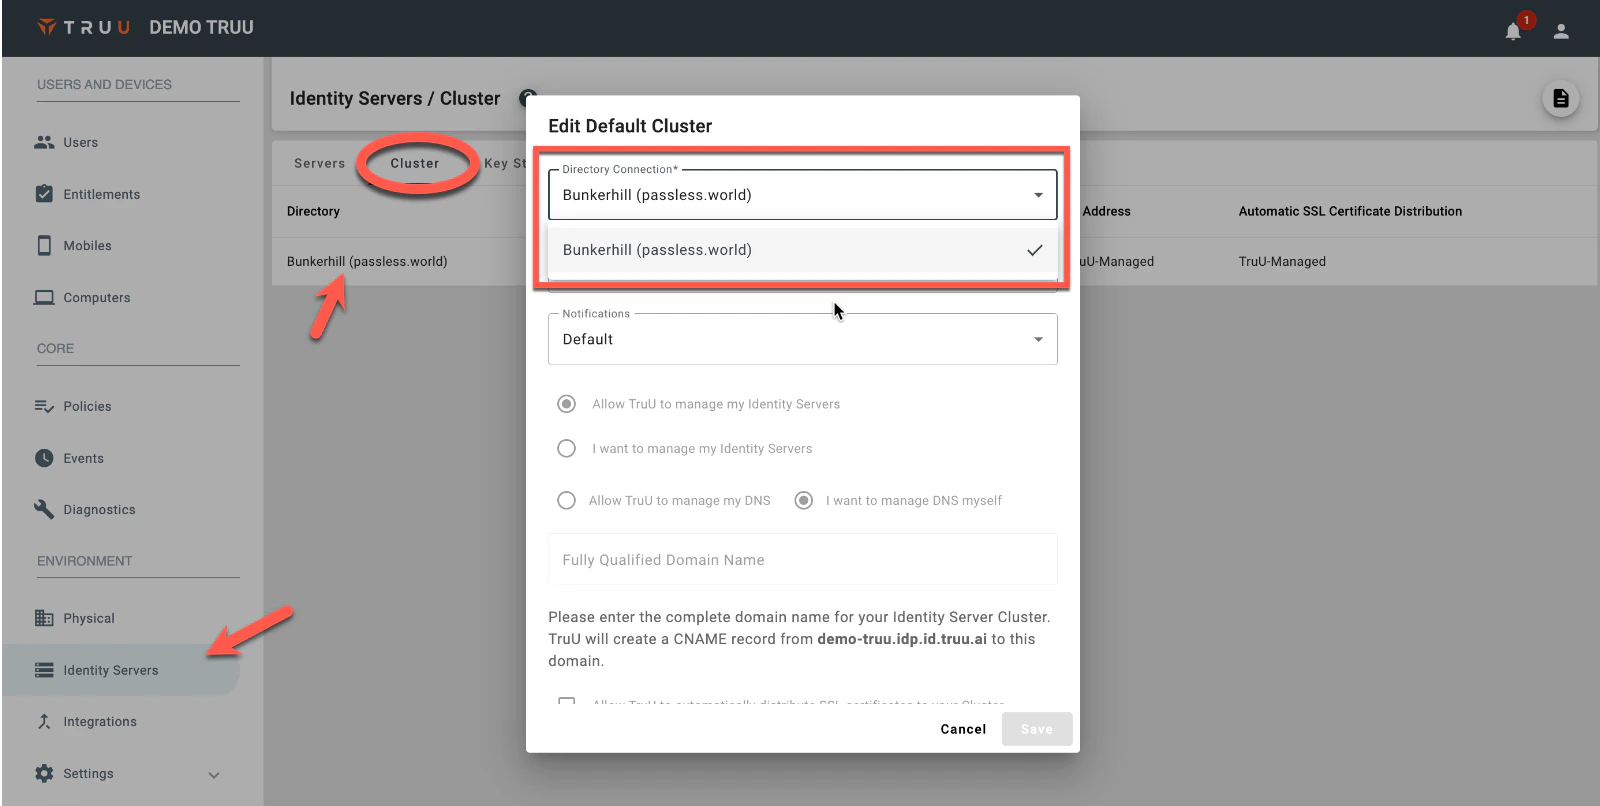
- Go to Environment > Identity Servers, click the Cluster tab, select your directory, and choose your directory configuration from the Directory Connection drop-down.
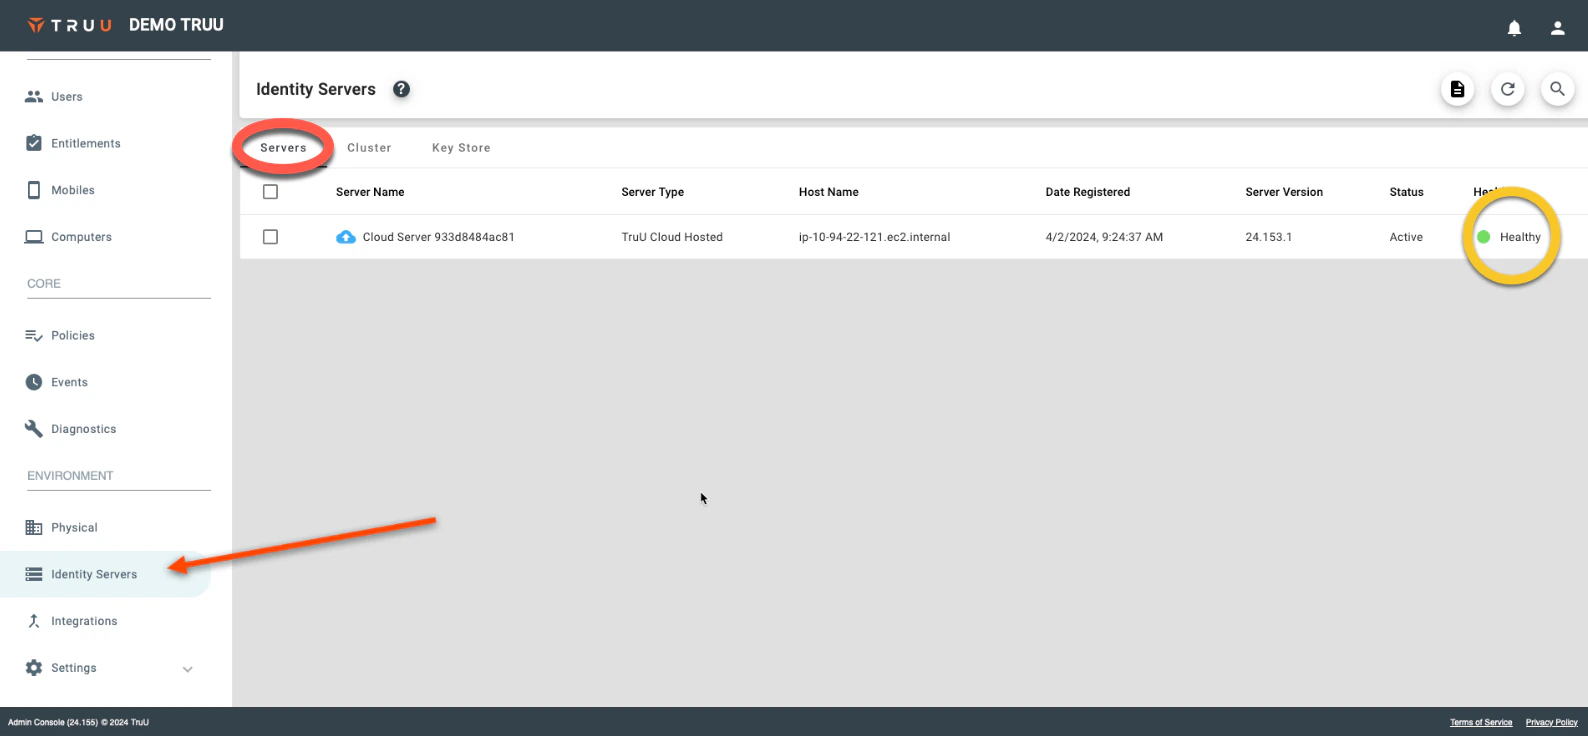
- Allow 2–3 minutes for diagnostics. Once the status shows Healthy, the directory is configured.