
This page is for help desk agents. When you finish you will be able to send a verification to a caller, follow it as they complete it, and know what to do with each result. You sign in to the help desk app with your TruU IDV account (the Agent or Admin & Agent seat). You send and watch verifications; you can’t change how verification works, which your administrators set up.

Why this replaces security questions

Questions like “what’s your employee ID?” can be researched, and they make you the judge of an answer. With TruU IDV, the caller proves who they are on their own phone, against your company directory, and you see only the result. Nothing is weaker because you didn’t ask questions, and nothing depends on your judgment of a voice.

Send a verification

1

Start

Choose New verification.
2

Find the caller

Search by name or email. Results come from your company directory, so the person you pick is the identity the verification checks, not a name the caller told you.
If the caller isn’t in the directory, stop and follow your escalation procedure. Don’t improvise a check for someone the system doesn’t know.
3

Choose how to send the link

Under Send via:
Prefer the address or number on file. Sending there adds a free possession check; an address the caller dictates only proves they can read it.
4

Send

Choose Send request. Tell the caller to open the link on their phone; phone cameras work far better than laptop webcams.
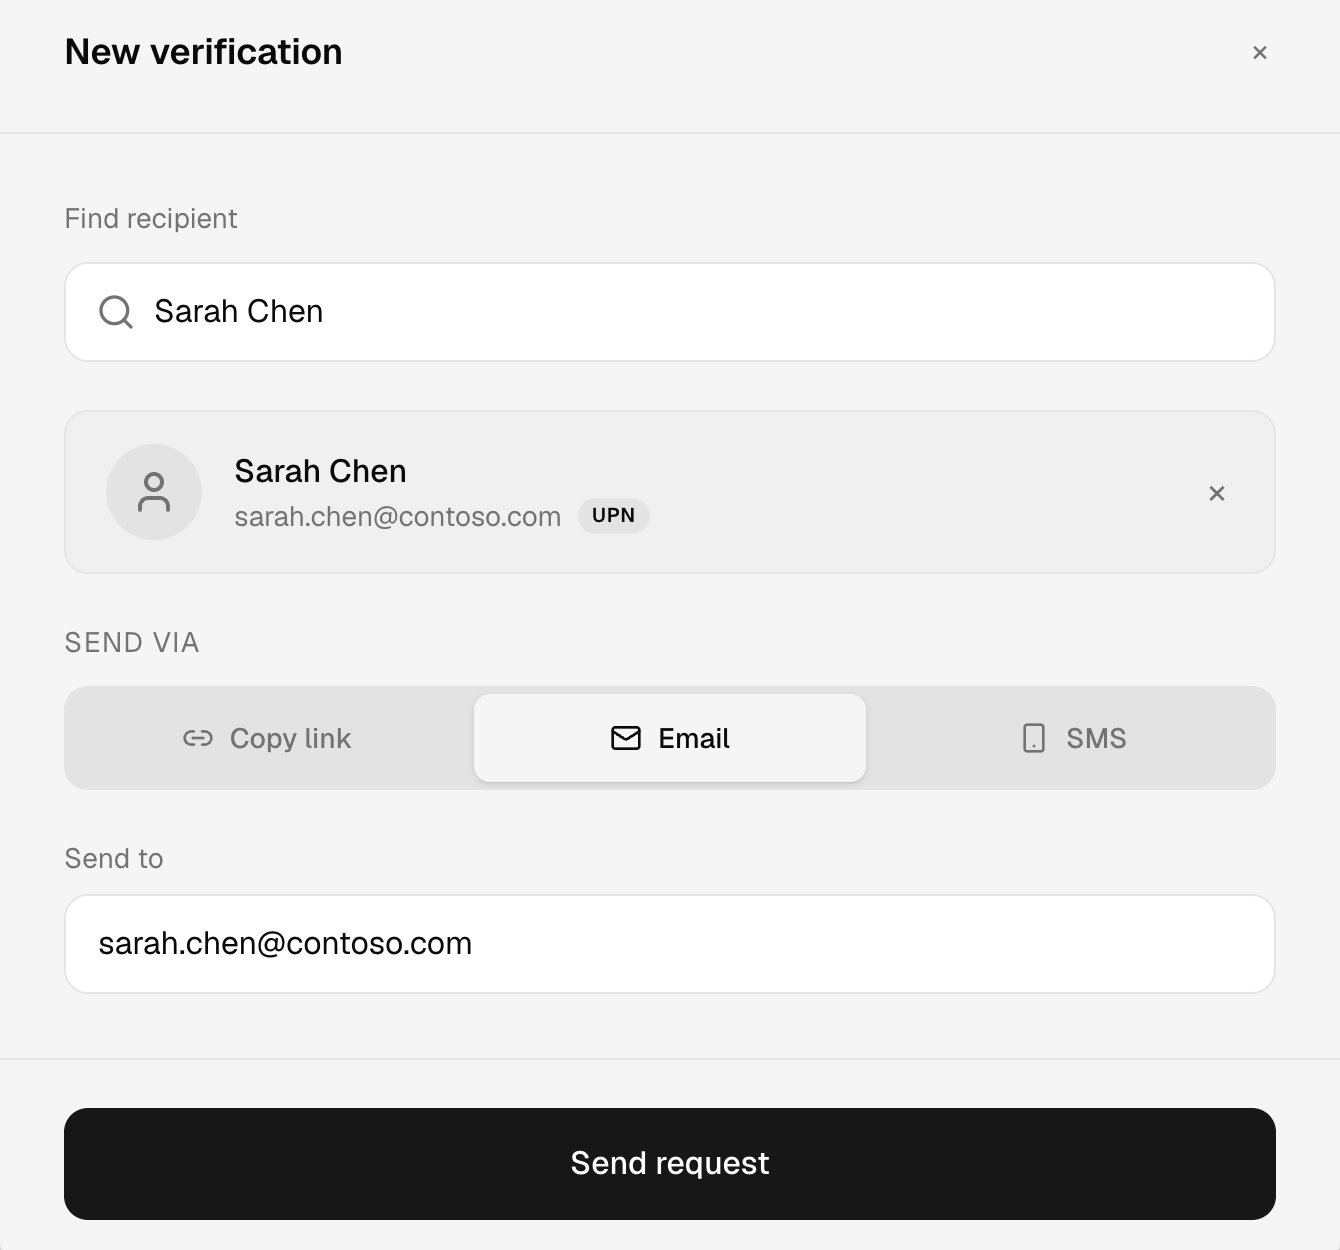
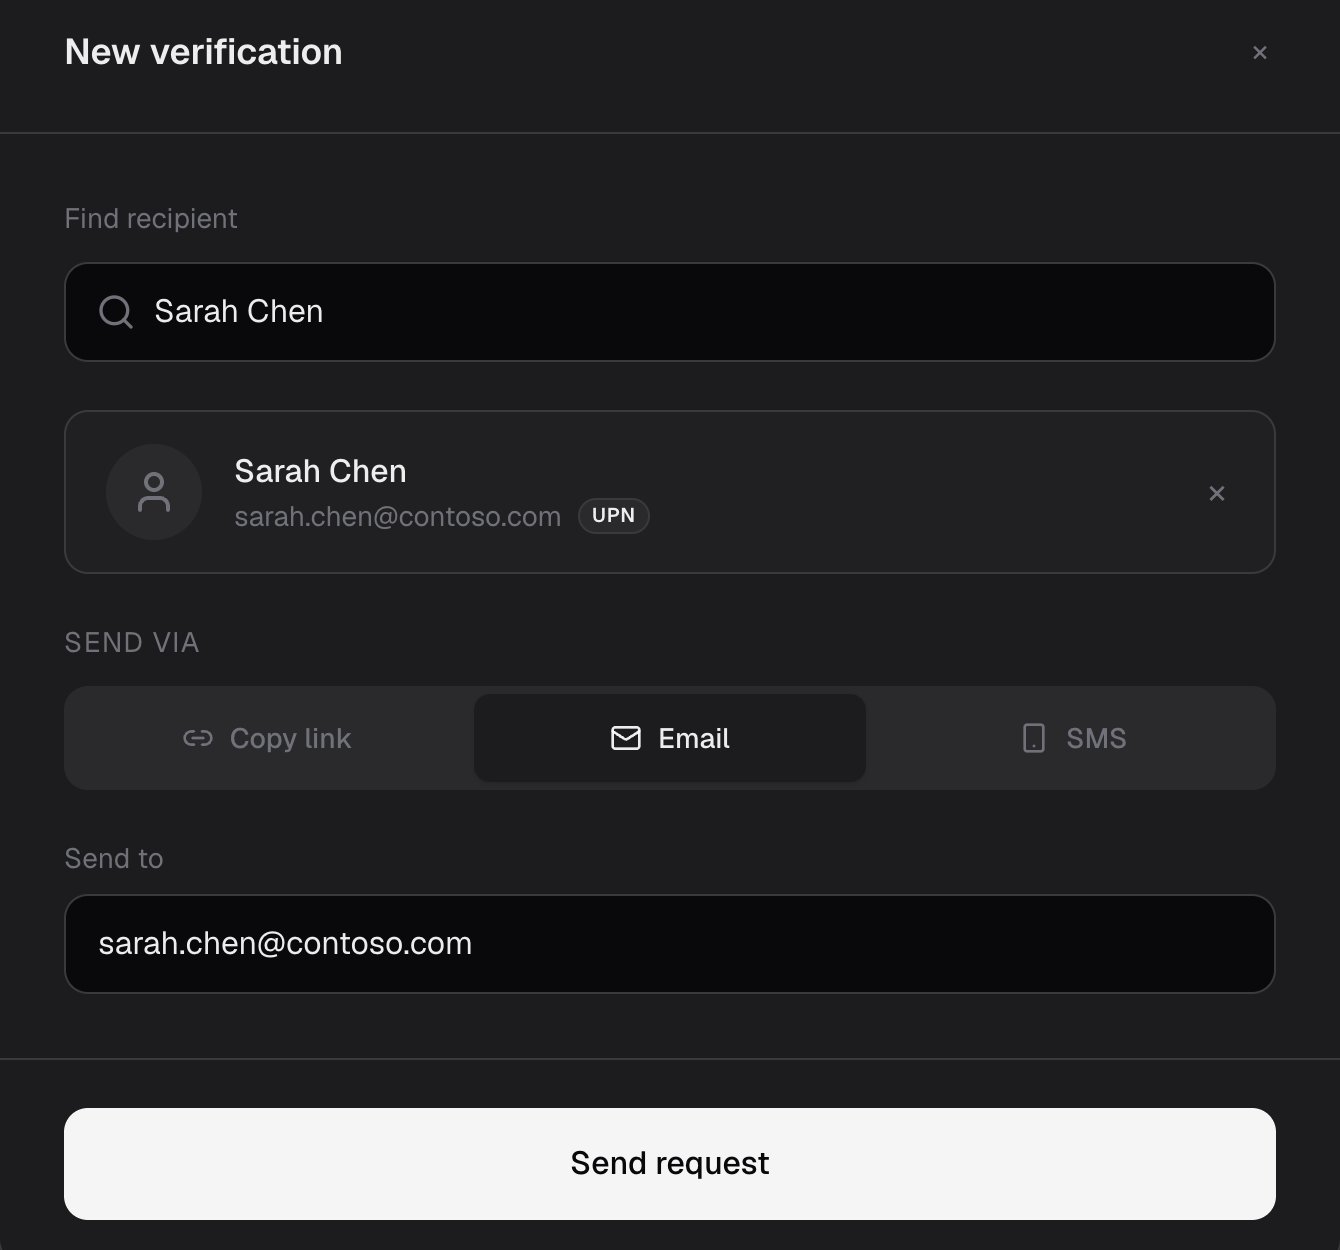
New verification dialog with Sarah Chen selected, Send via Email chosen, and the Send to address filled inNew verification dialog with Sarah Chen selected, Send via Email chosen, and the Send to address filled in

Sending a verification by email to the address on file.

You don’t choose the verification steps. Your administrators decide which flow each person gets for help desk calls, so the strength of the check isn’t a per-call decision. If the caller already has an active link from the help desk, sending again re-sends that same link with a fresh expiry. A help desk link lasts 30 minutes.

Follow it live

The request list shows every request you’ve sent, with tabs for Active, In review, Verified and Ended. You don’t need to ask the caller whether they’ve finished; the status updates on its own.
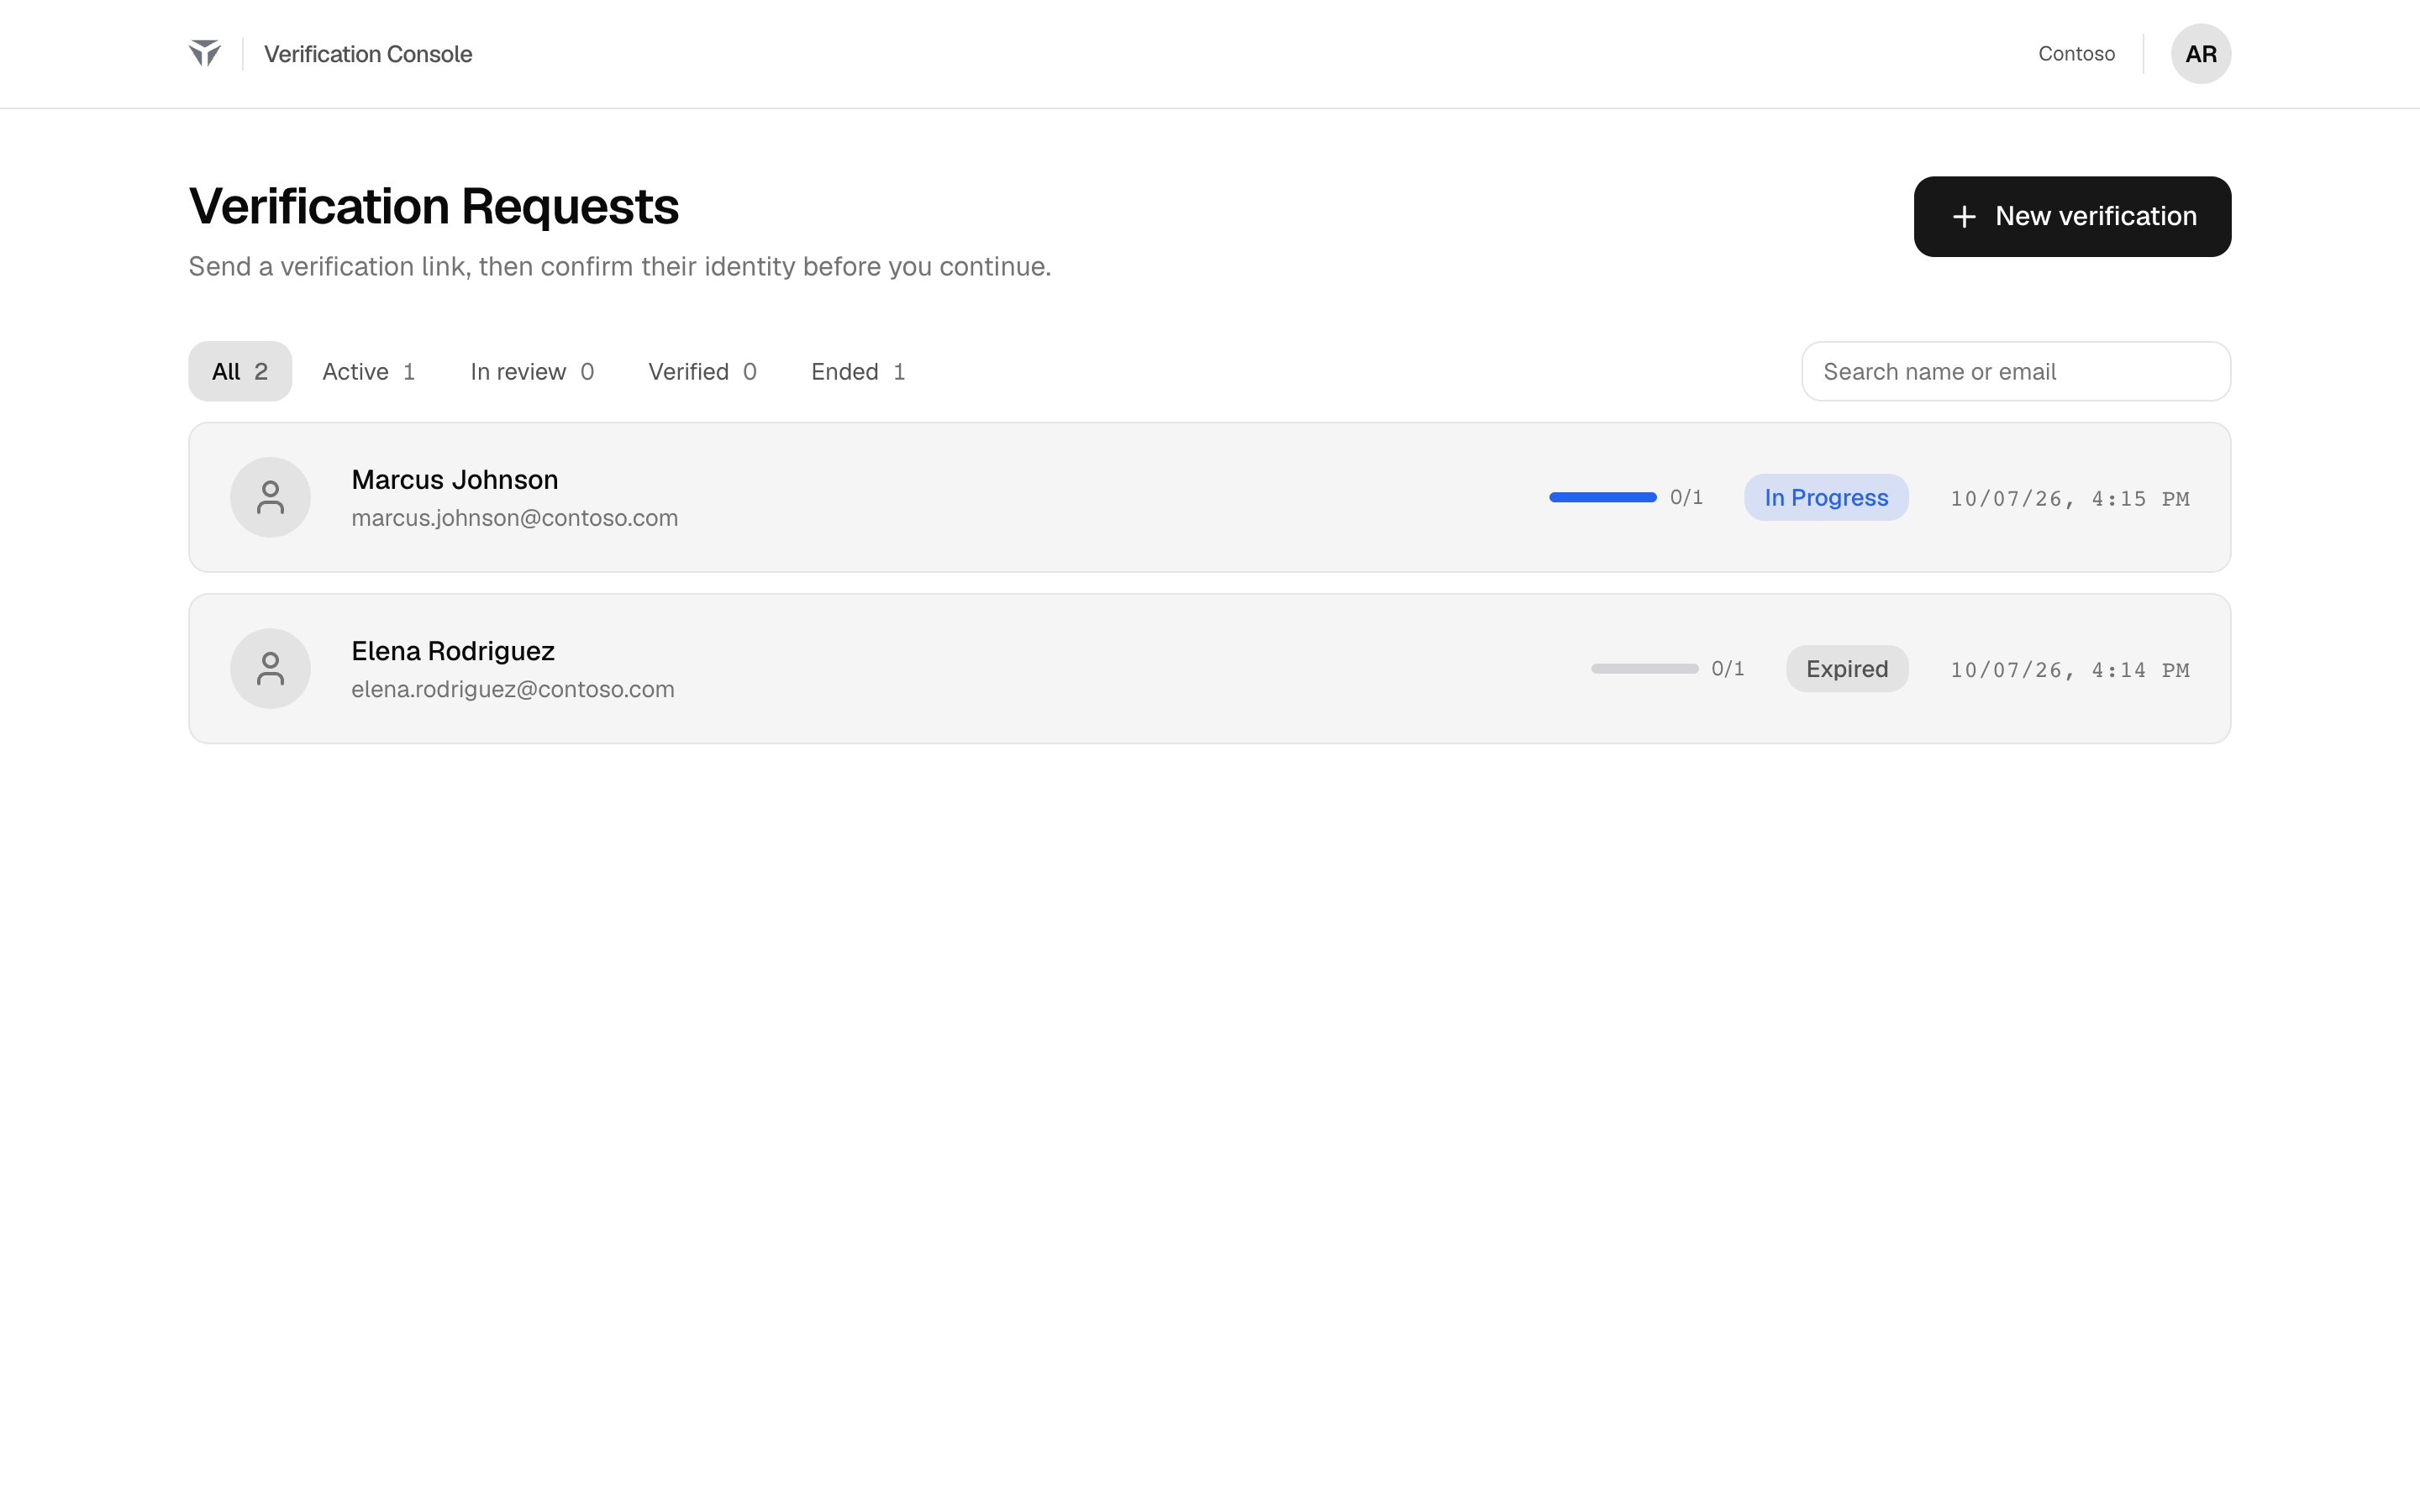
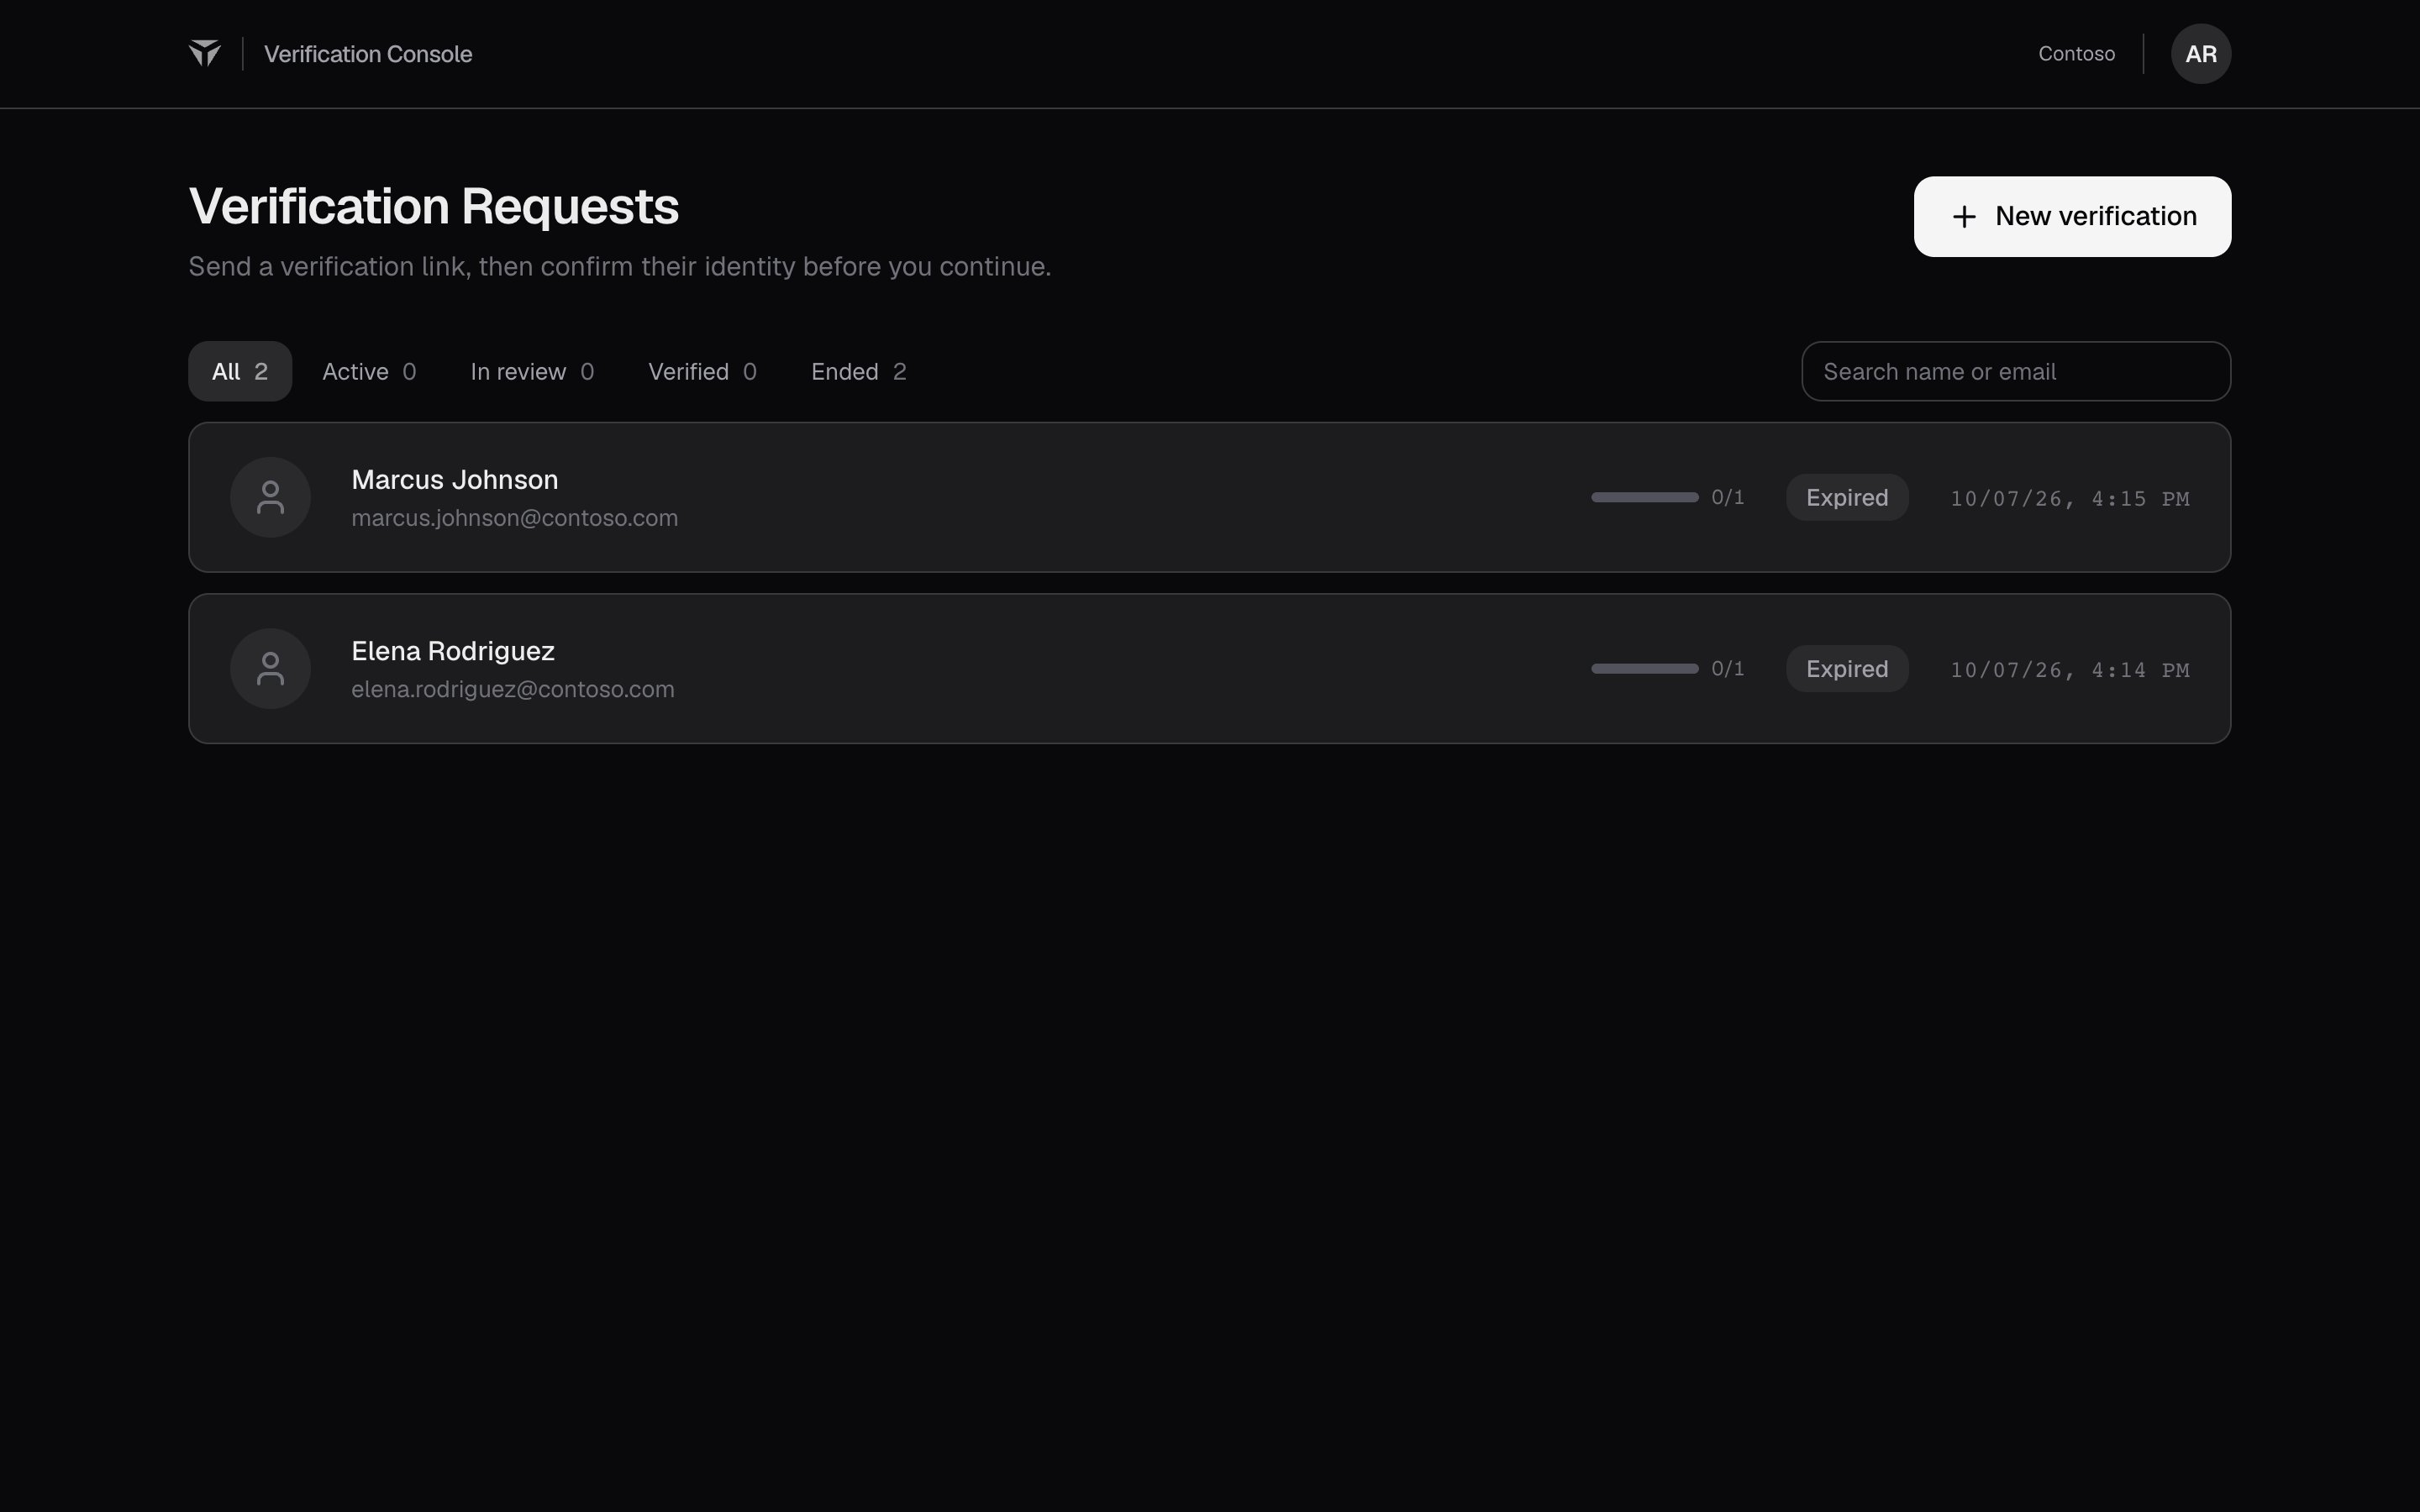
Verification Requests list with All, Active, In review, Verified and Ended tabs, a search box, and two requests in progressVerification Requests list with All, Active, In review, Verified and Ended tabs, a search box, and two requests in progress
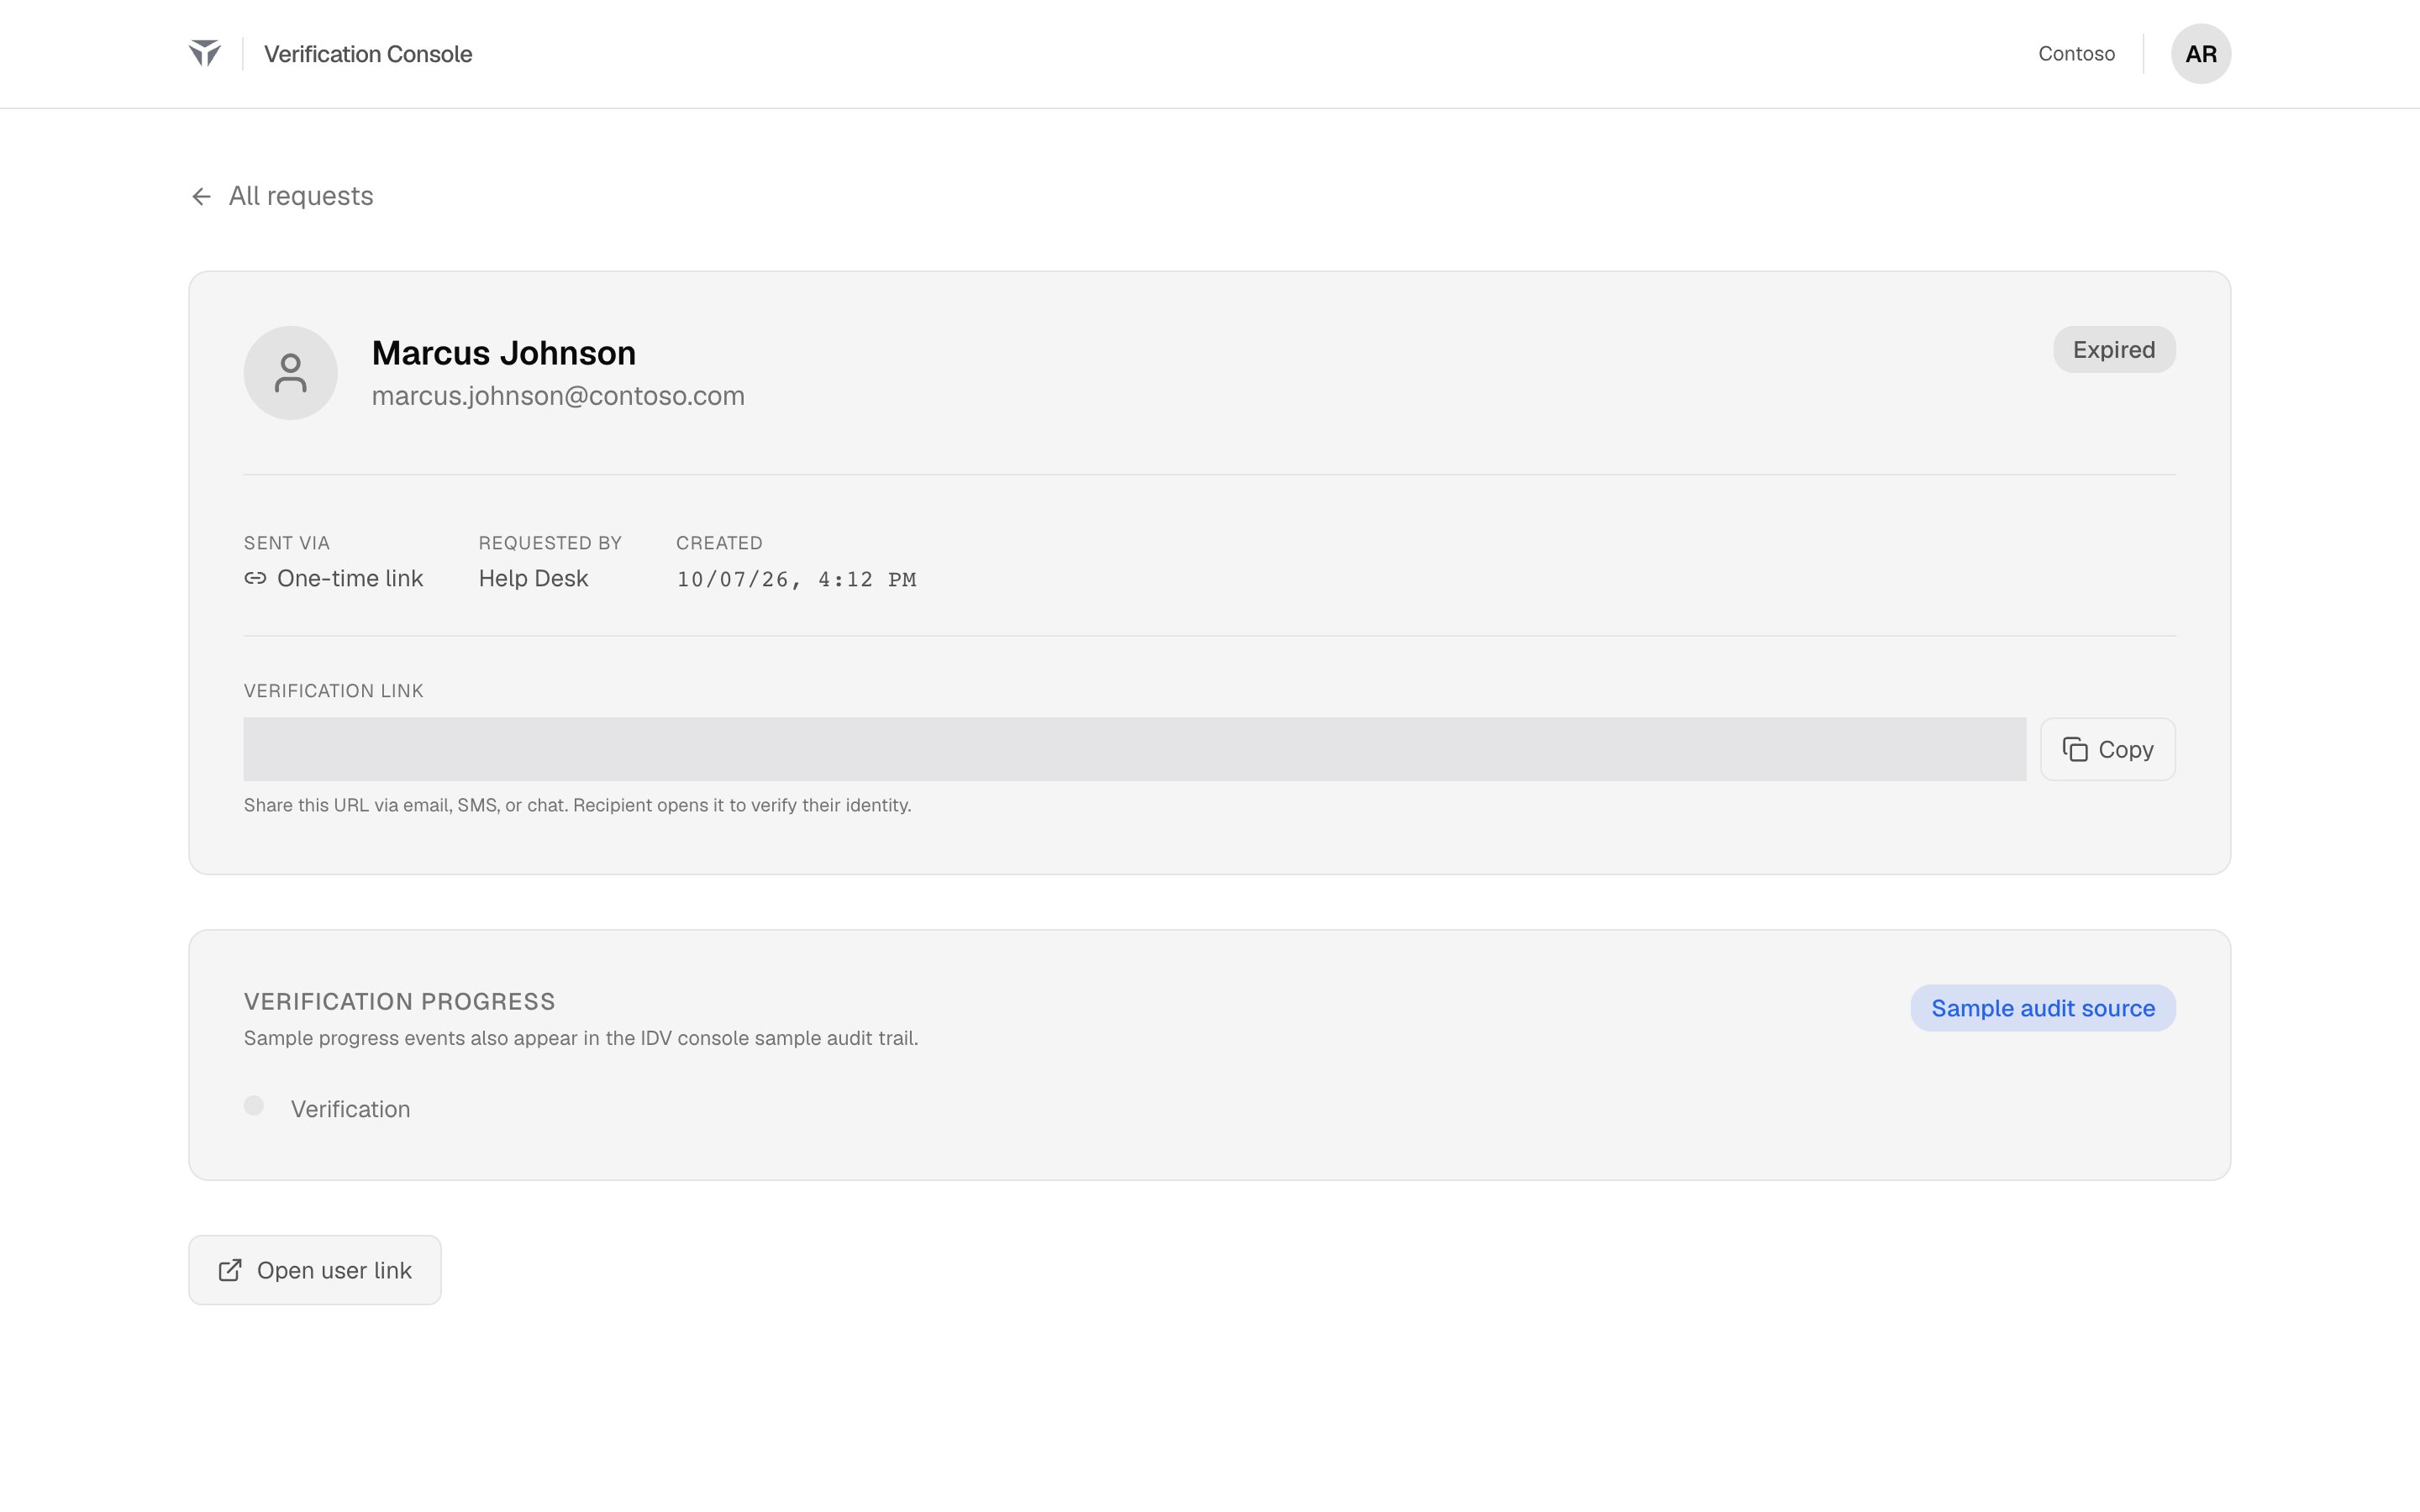
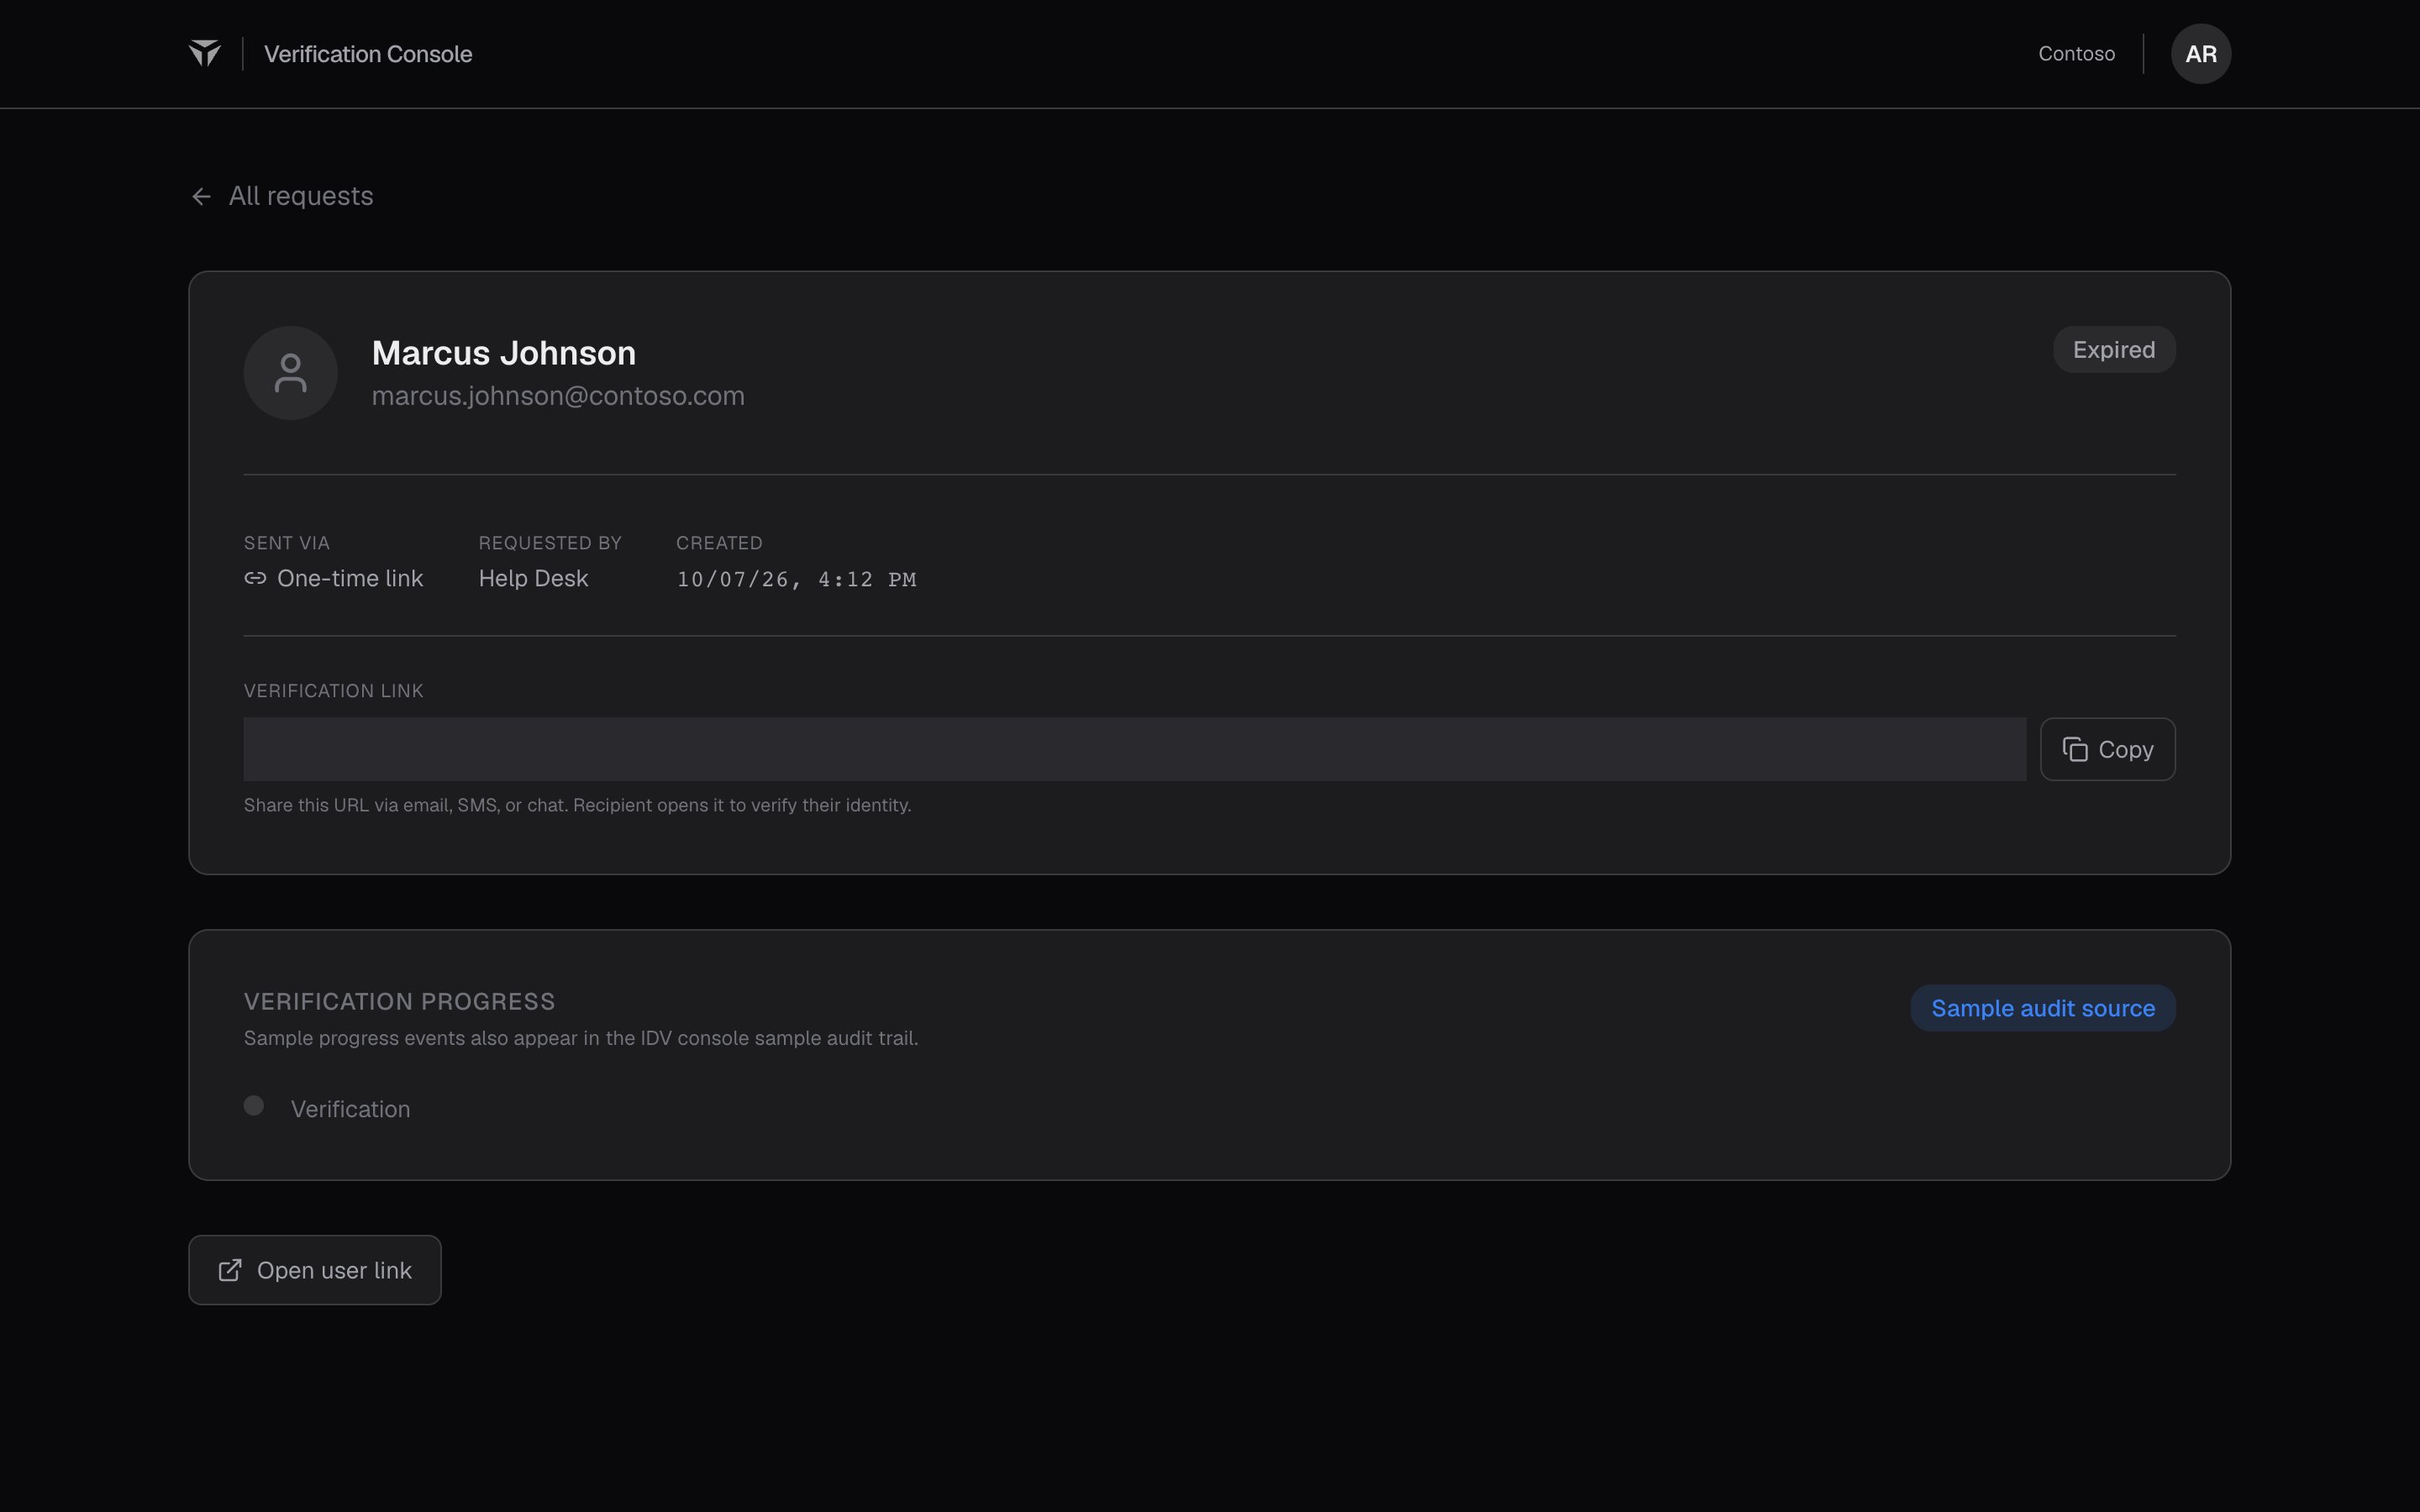
Open a request to see who it’s for, how it was sent, the link (with Copy), and its progress: which step the caller is on, which passed, and where a fallback was used. Use it to talk the caller through (“you should see the face check next”) without seeing any of their information.
Request detail for Marcus Johnson showing how it was sent, who requested it, the verification link with Copy, and verification progressRequest detail for Marcus Johnson showing how it was sent, who requested it, the verification link with Copy, and verification progress
Only Verified means verified. “In progress” is not verified, and a failed attempt followed by a second one isn’t verified until a request reaches Verified.

Cancel a request

Cancel when the caller hangs up, you picked the wrong person, or verification is no longer needed: open the request and choose Cancel. The link stops working immediately and the cancellation is recorded. A cancelled request can’t be reopened; send a new one if needed.

What you can and can’t see

You see the caller’s name, the email and mobile on file when sending, the request’s progress and the outcome, including any automatic action such as “TAP issued” (never the code itself). You never see their photo, ID, answers or codes. Everything you do (searches, previews, sends, cancels) is recorded under your name.

Common situations