

How it works
- An employee starts TruU Passwordless enrollment on their Windows PC or Mac.
- If the Passwordless registration policy requires identity verification, the enrollment agent shows the TruU IDV verification inside its own window, styled to match the operating system.
- Steps that need a camera, such as a face match or an ID document check, hand off to the employee’s phone with a QR code. The computer waits and continues on its own when the phone finishes.
- When the verification passes, enrollment continues to credential creation. If it fails, the employee sees why and can try again; no credential is created.
Before you start
- TruU Passwordless enrollment working on Windows or macOS without verification.
- A TruU IDV workspace connected to the same Entra ID directory. The one-click setup from TruU Passwordless creates the workspace and shares the directory for you.
- Employees have a phone with a camera for the face and ID steps.
- Devices can reach
agent.truu.aion port 443, and phones can reach the hosts in Network requirements.
Set it up
1
Connect TruU Passwordless
Follow TruU Passwordless. One-click setup also creates a flow named Passwordless Enrollment.
2
Check the enrollment flow
Open Flows → Passwordless Enrollment. Each column is tried in order, and an employee only gets a column whose factors work for them:
Adjust it like any other flow. See Flows and templates.
3
Require verification in TruU Passwordless
In the TruU Passwordless admin console, open the registration policy that governs desktop enrollment and select the IDV flow (for example Passwordless Enrollment). Start with a registration policy scoped to a pilot group, then widen it.
What the employee sees
Windows
The verification appears inside the Windows enrollment agent.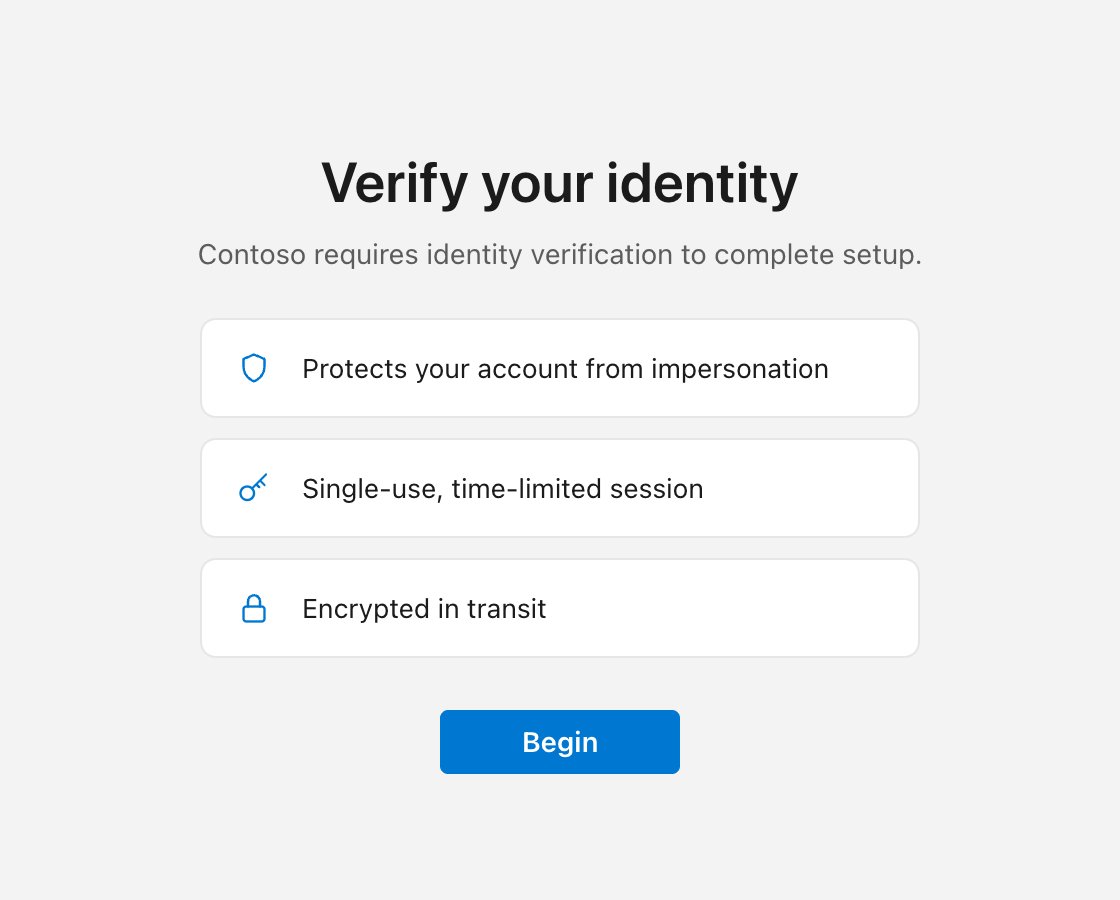
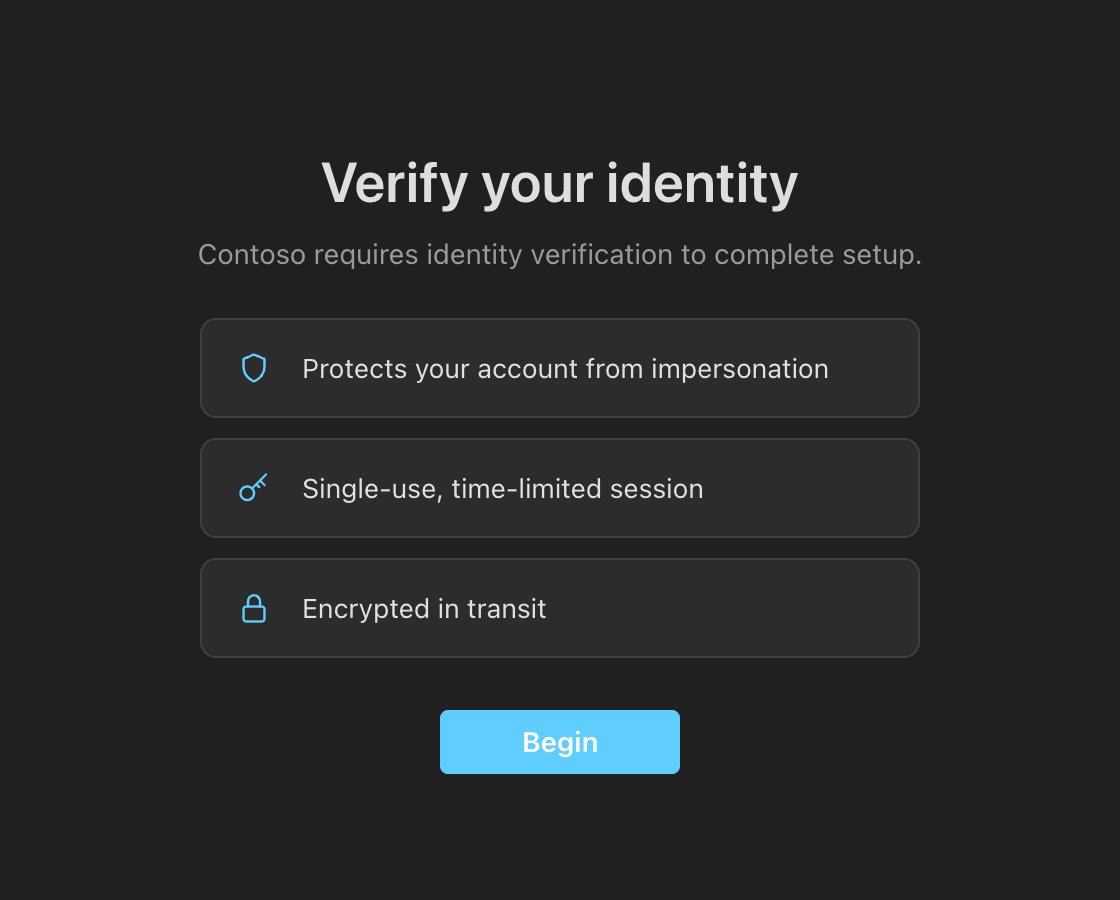
The verification inside the Windows enrollment agent.
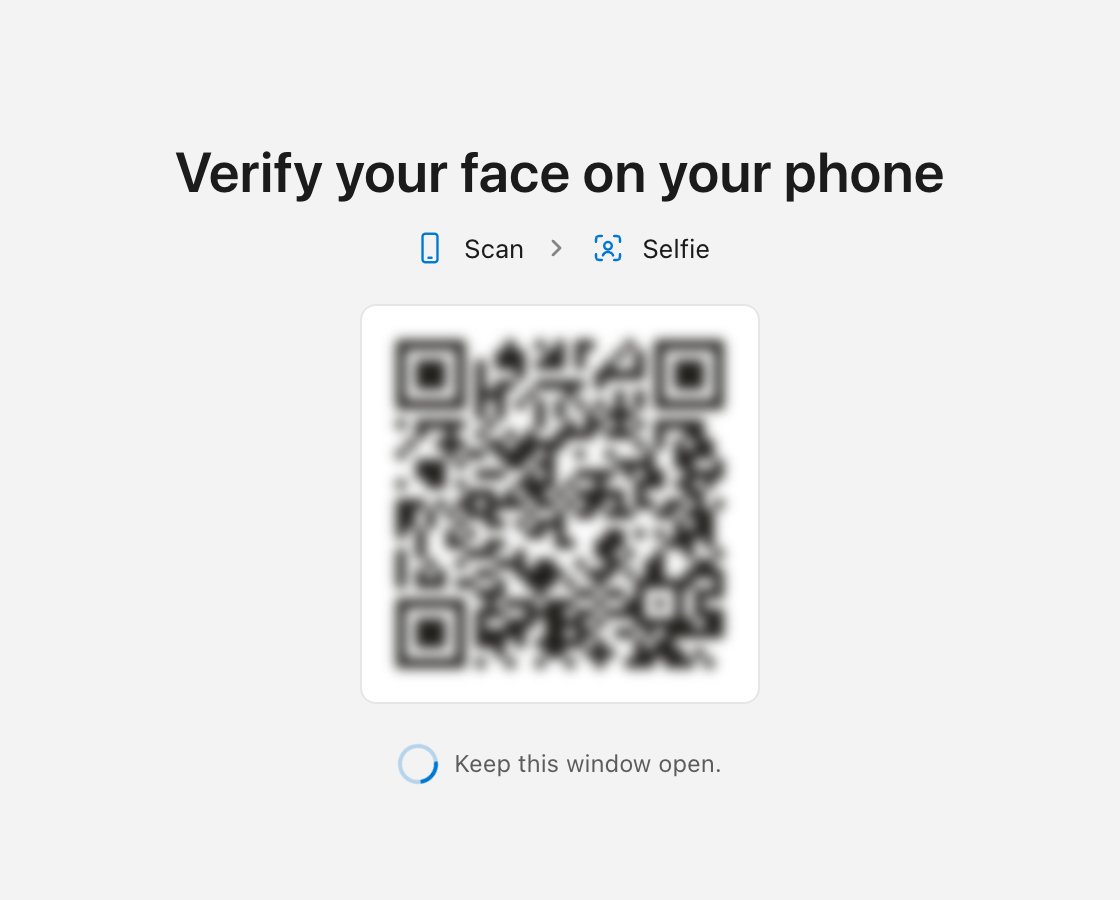
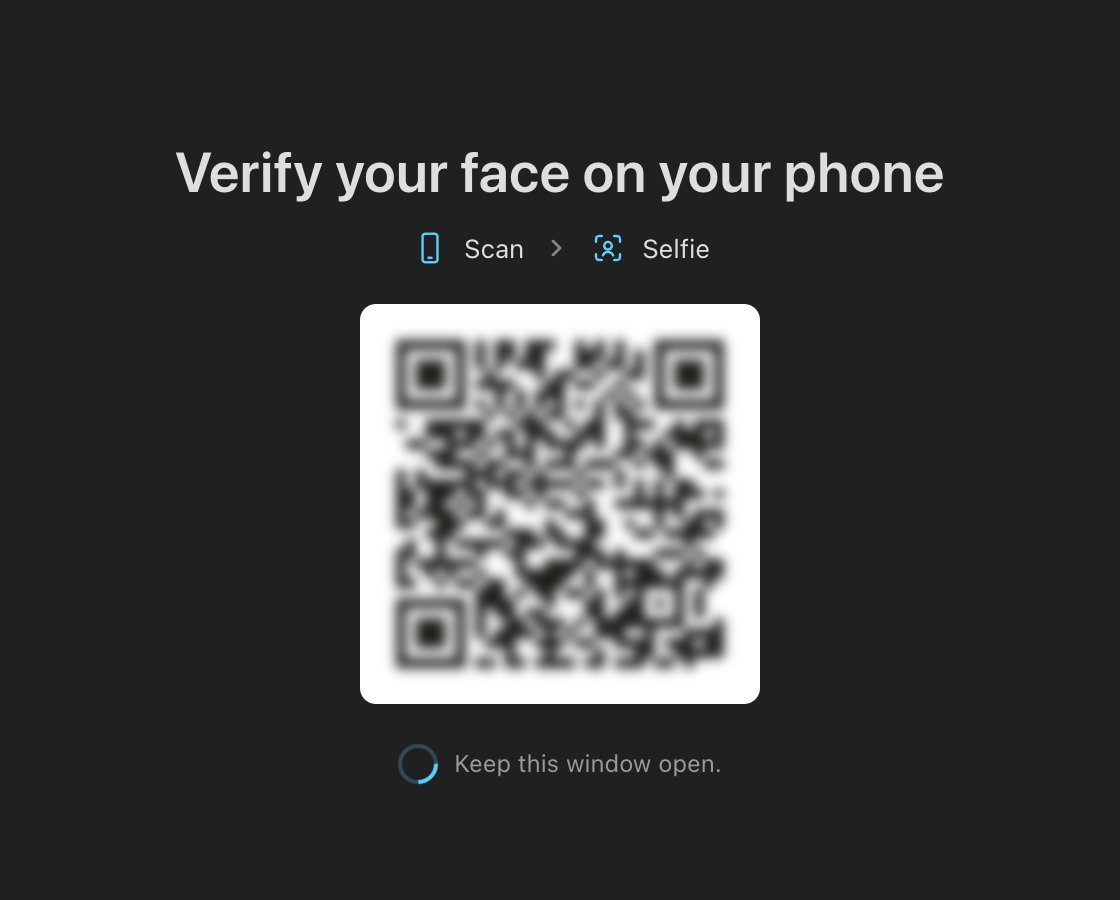
The face step hands off to the employee's phone.
macOS
The same verification appears inside the TruU app on the Mac, styled for macOS, with the same phone handoff for camera steps.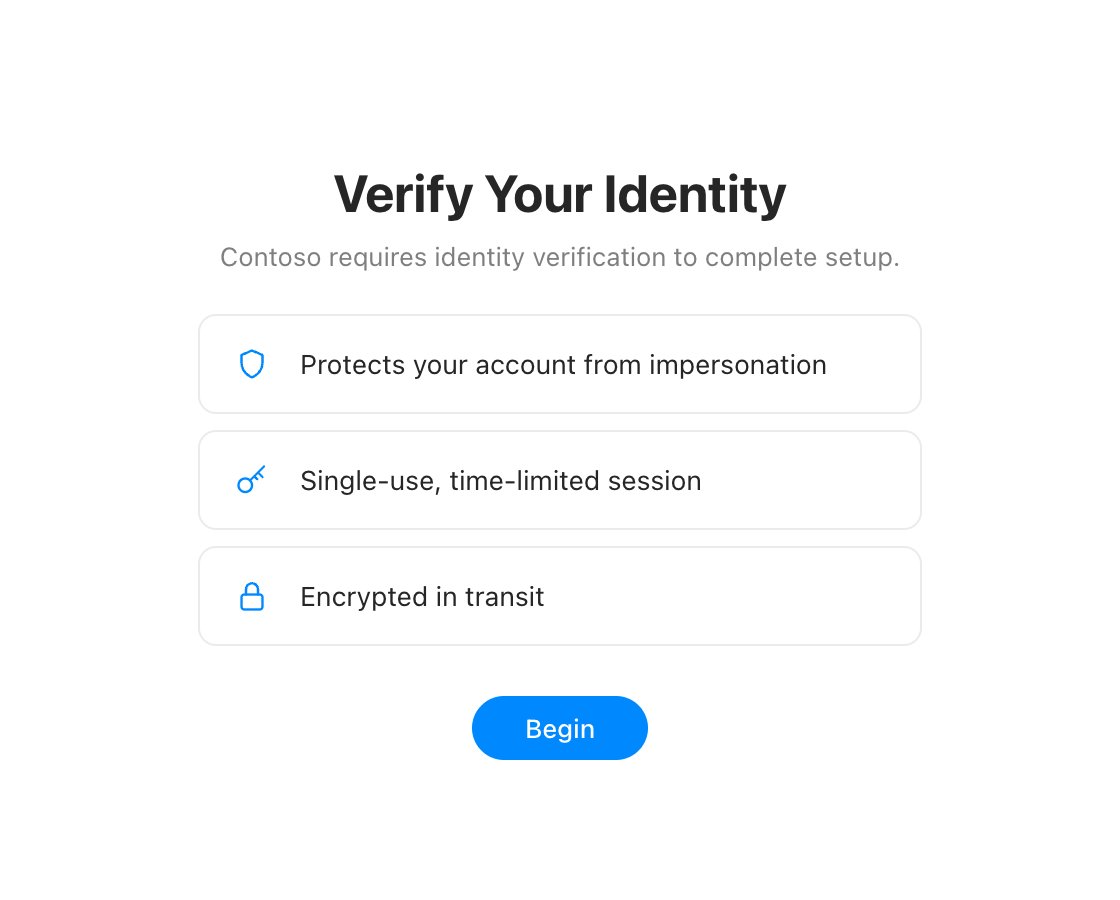
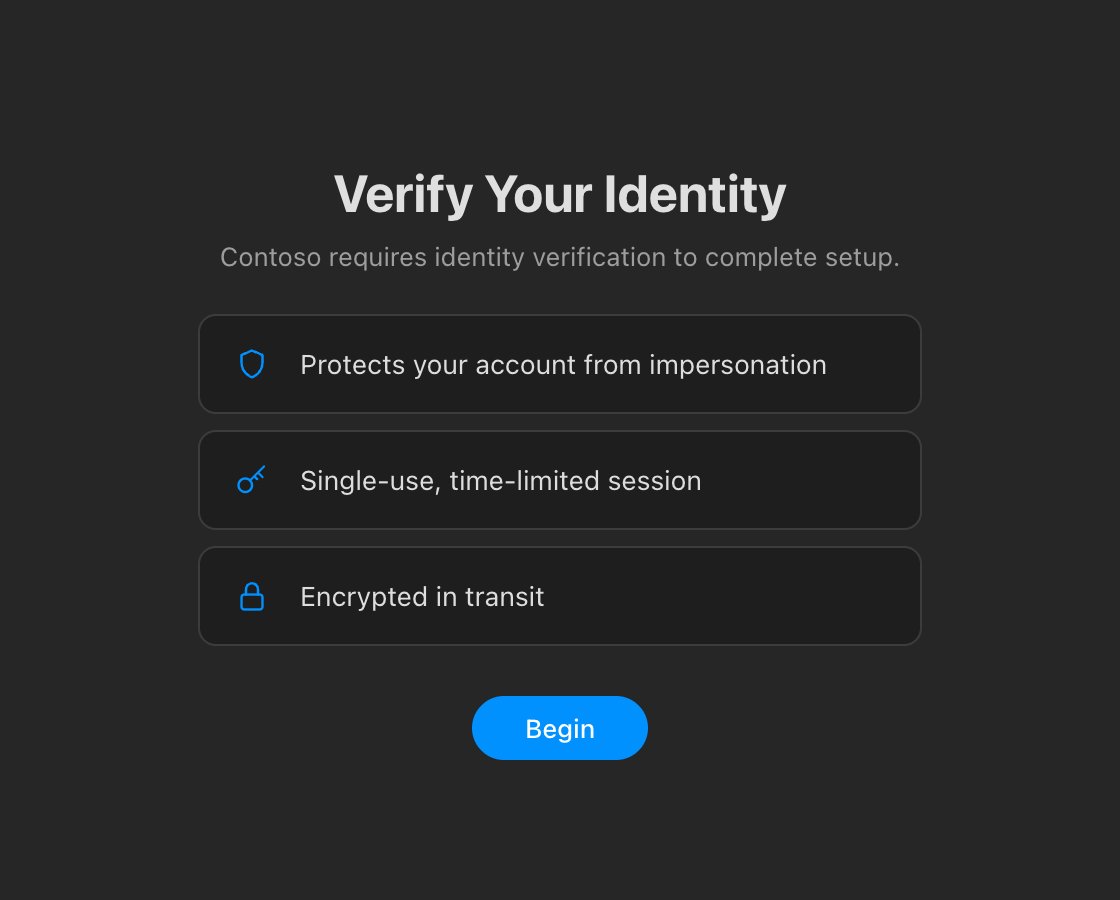
The verification inside the macOS enrollment app.
What to tell employees
- Have your phone unlocked and nearby before you start.
- When the computer shows a square code, point your phone camera at it and open the link.
- The page that opens shows your company’s name and never asks for a password.
- Leave the computer window open. It continues by itself when your phone says you’re verified.
- If you have no photo on file yet, have a government ID with you.