

-
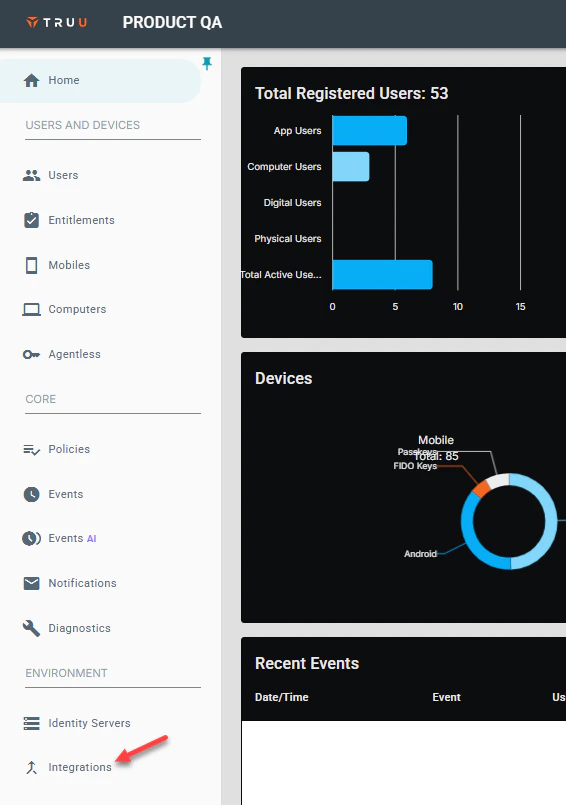
Log into your TruU Admin Console and navigate to the Integrations tab.
-
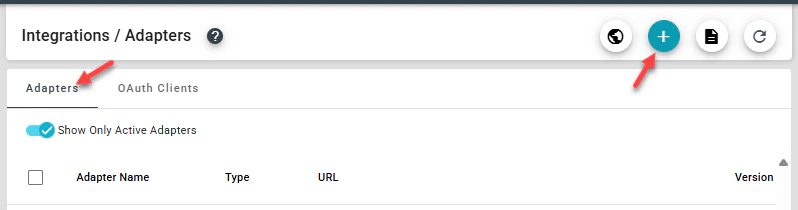
Next, navigate to the Adapters tab, then click (+) to create a new TruU adapter.
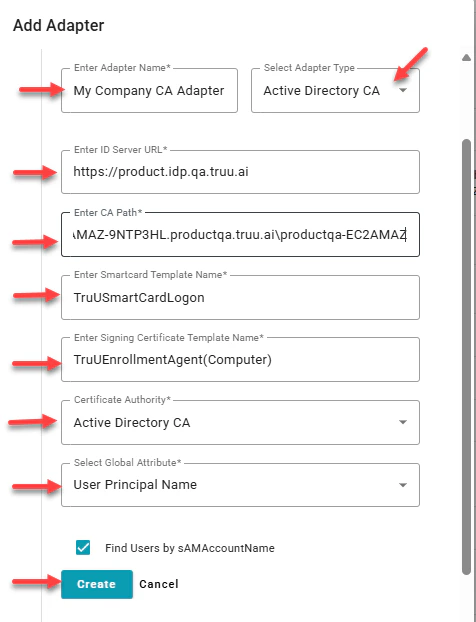
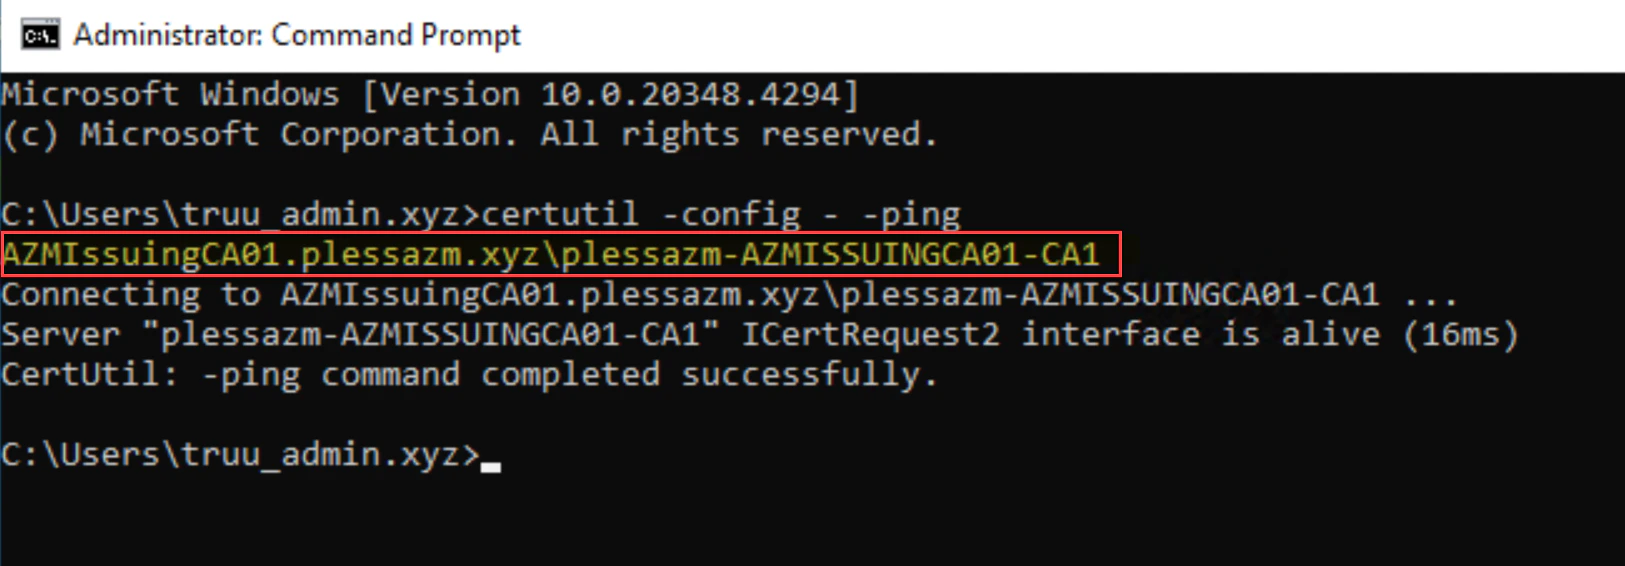
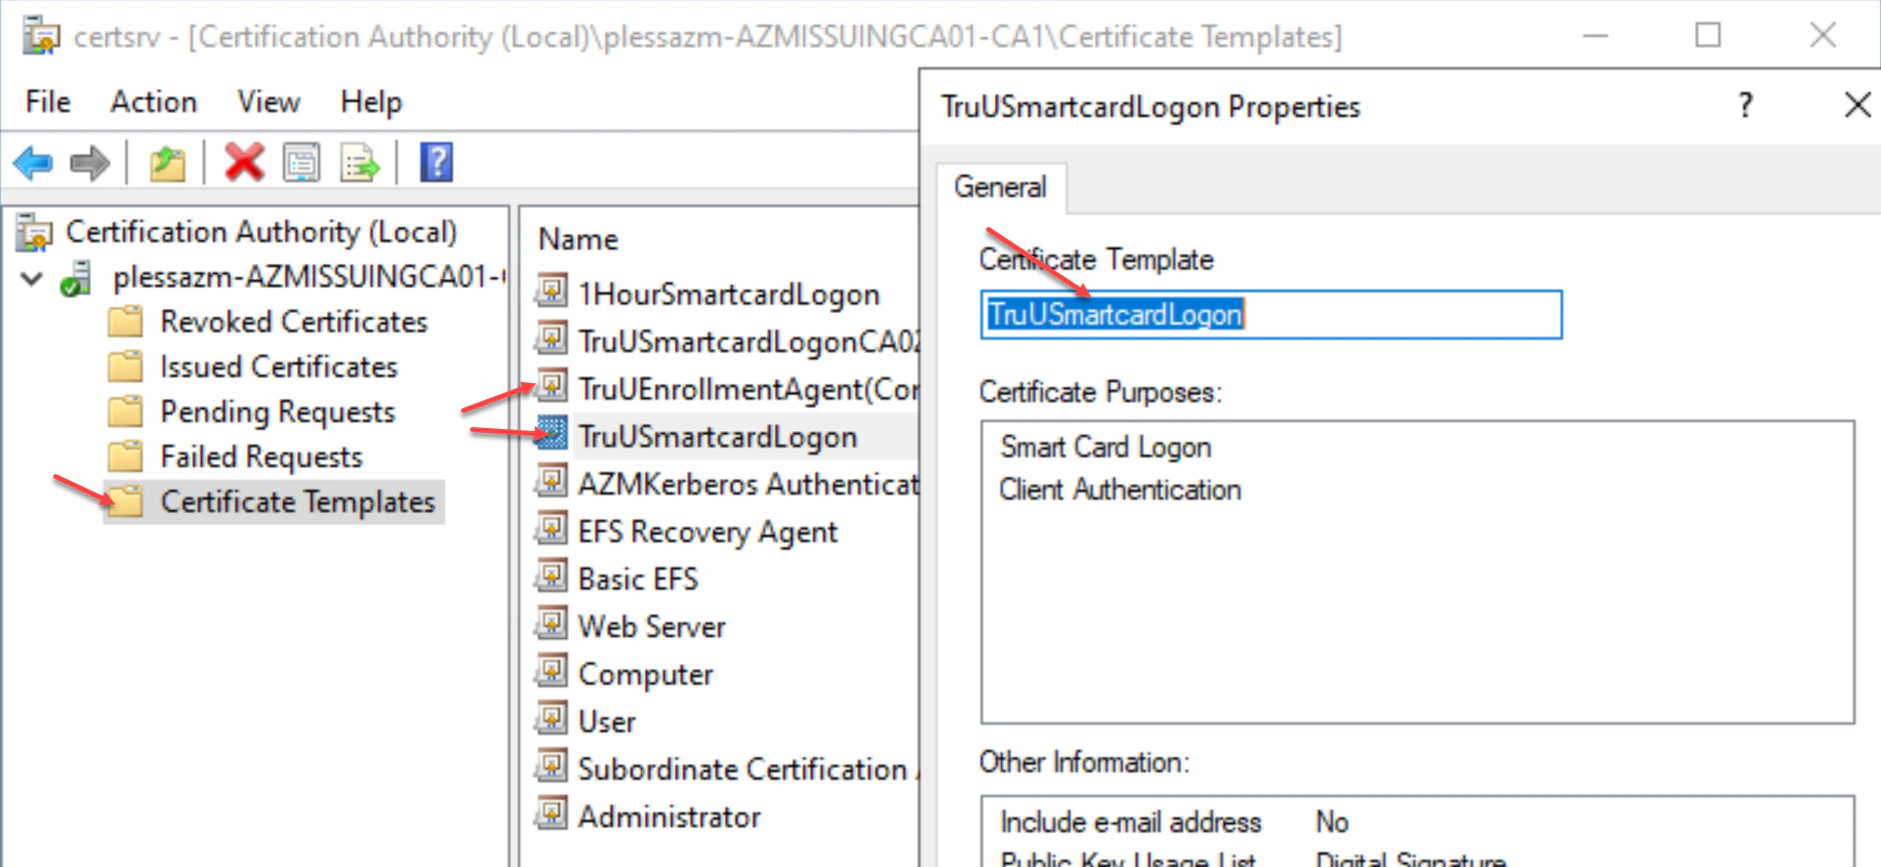
- Select Active Directory CA adapter type, then provide a name for the adapter. Add the Identity Server URL, CA Path, Smartcard Template Name, Signing Certificate Template Name and the Global Attribute Name, then click Create to add the adapter
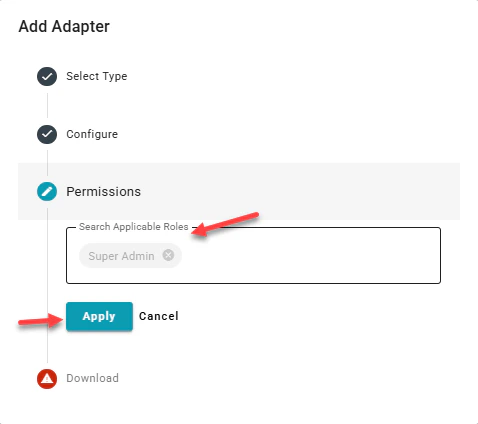
- This next field allows you to confirm type of admin you’d like on the adapter, you may add Super or **Digital **admin here, then click Apply. Adding both just gives the permissions to that group.
- To download the TruU CA Adapter files, check the Download Adapter Files and By downloading this software you accept the terms of the EULA buttons. Click Download and Finish to download the installation files to your system.

Granting Service Account Permissions Template Cofiguration for Shared Workstation