

Mac Authenticator Automated Device Enrollment Guide
Overview-
Apple Business Manager setup
- Create MDM Server
- Apple Configurator setup
-
Jamf Pro setup
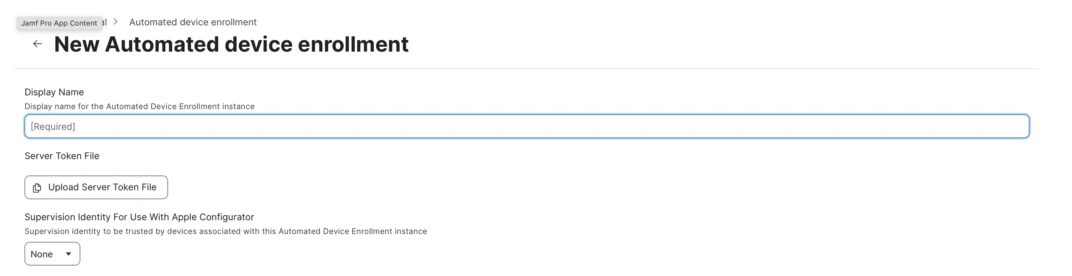
- Create MDM Server
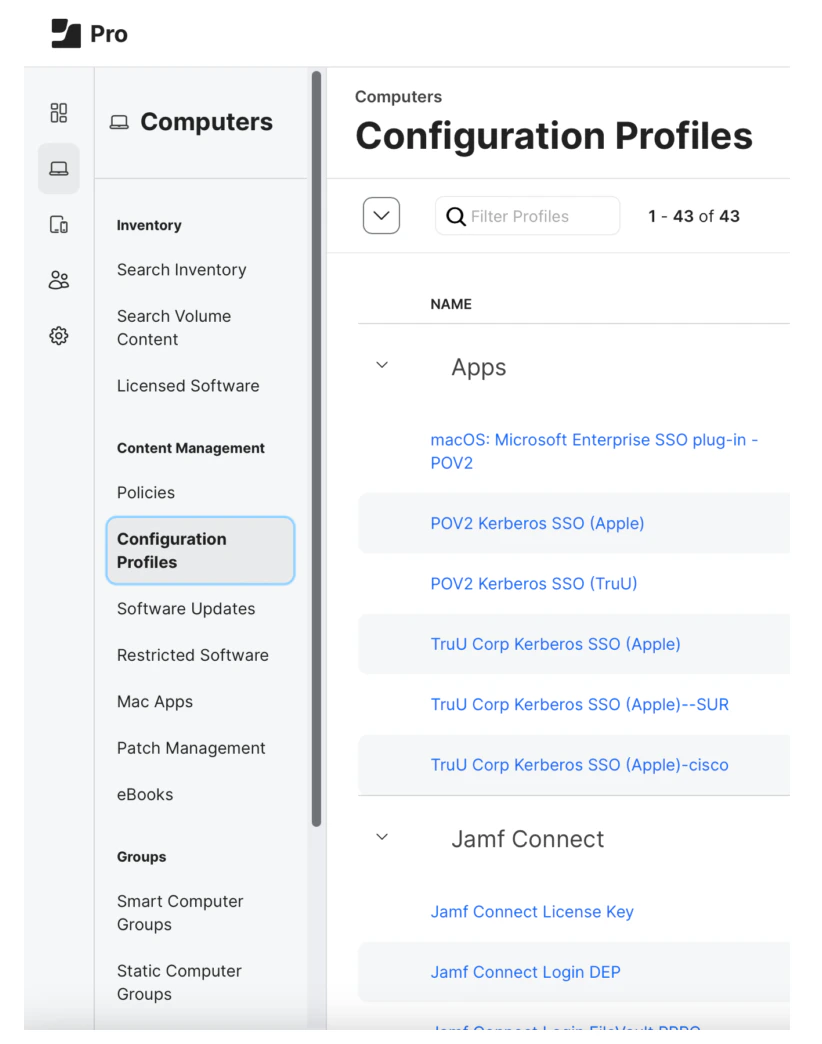
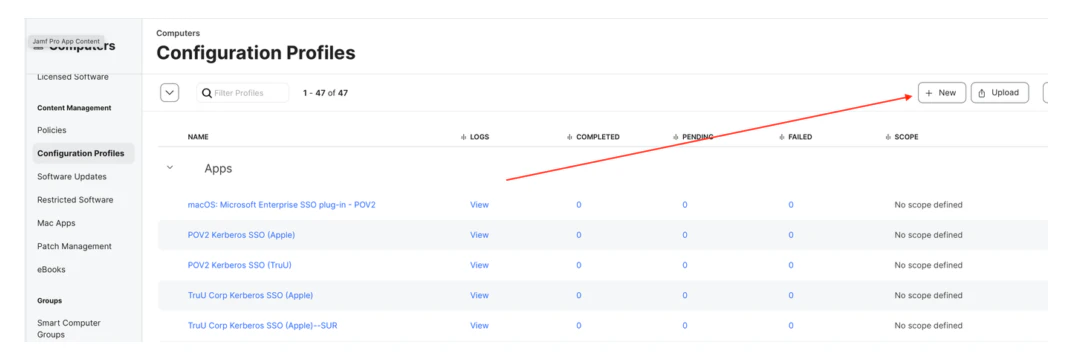
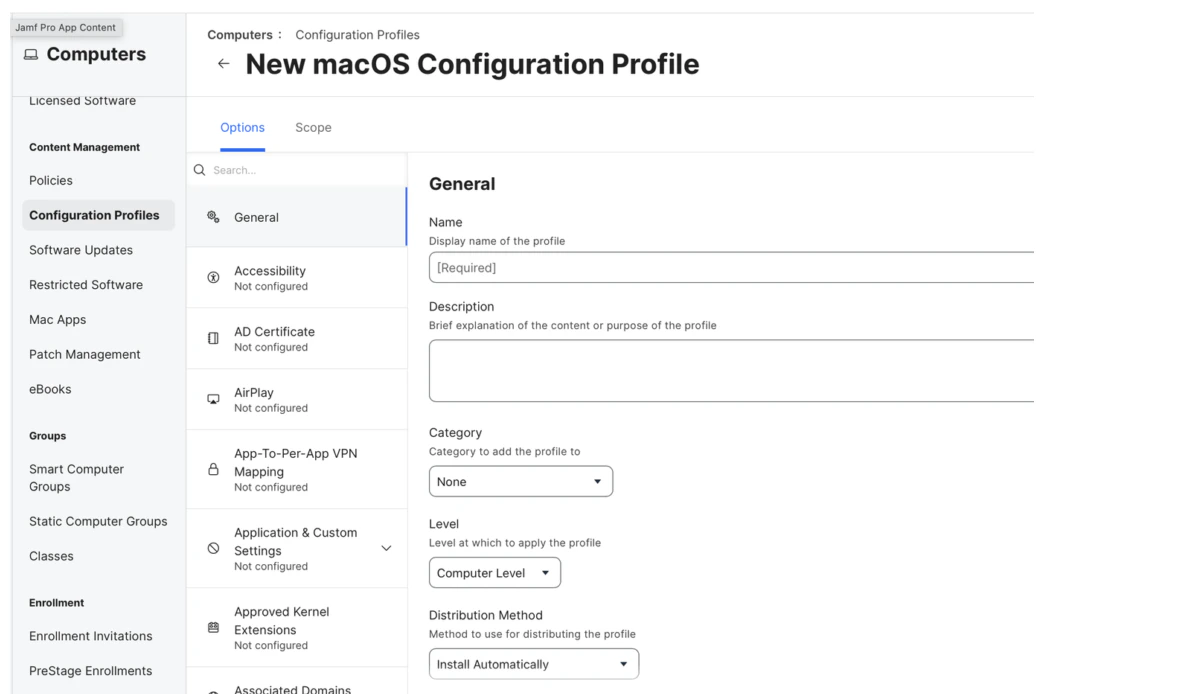
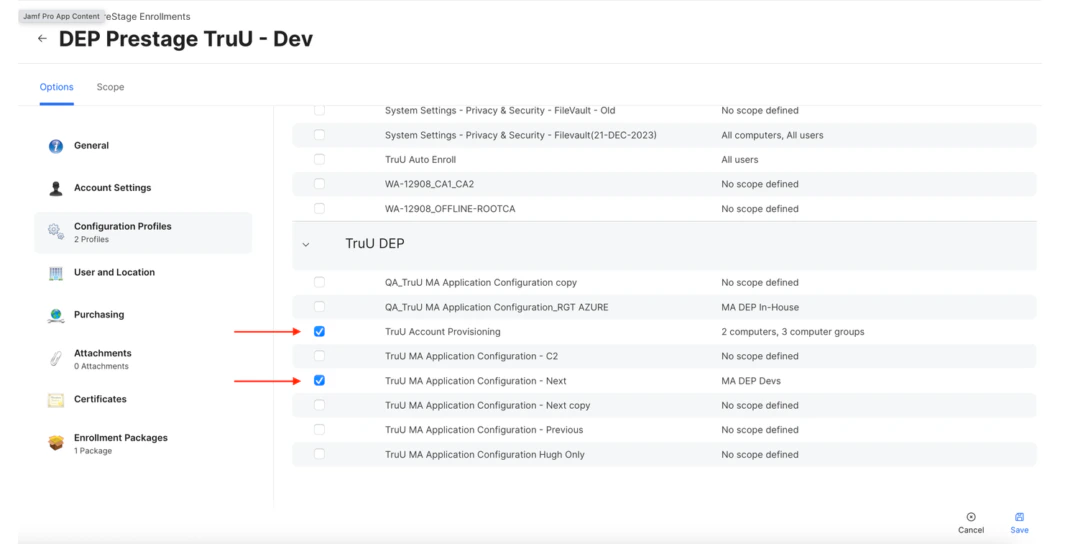
- Create Configuration Profiles
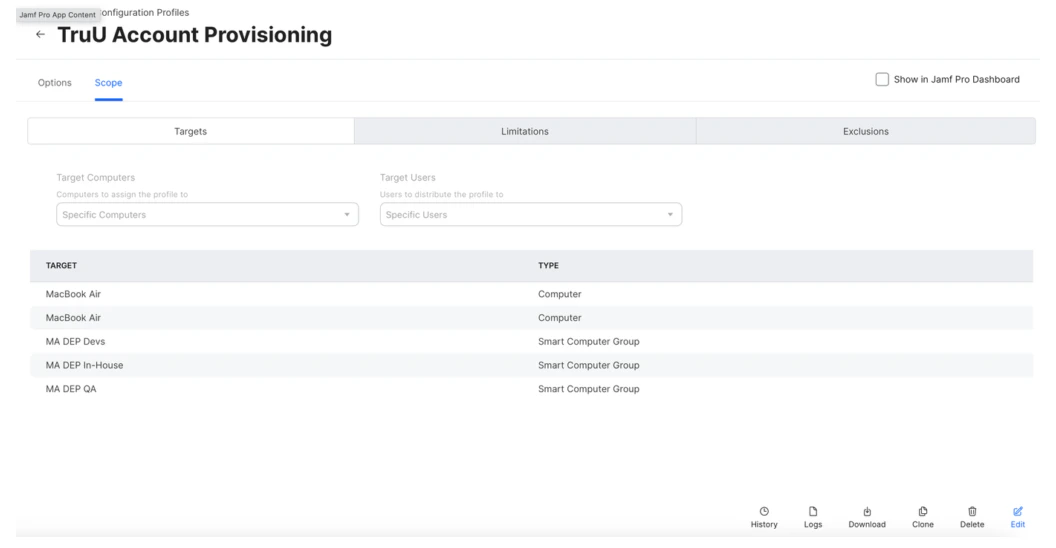
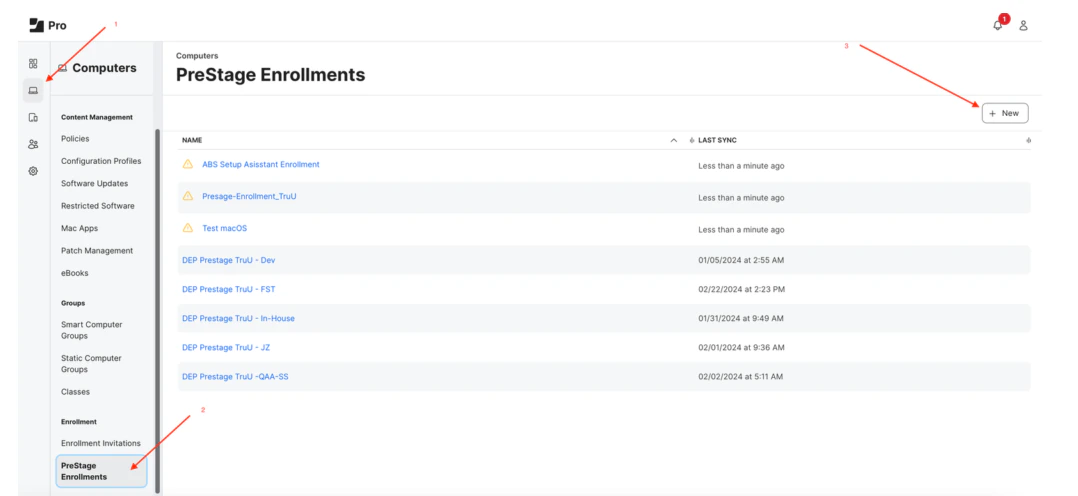
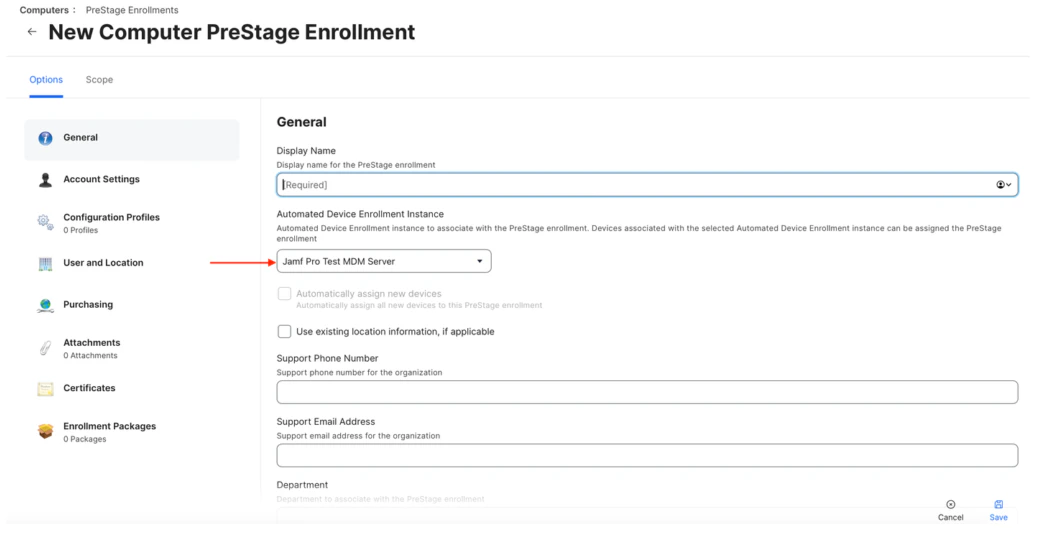
- Create PreStage Enrollment
Apple Business Manager setup
- Sign In Apple Business Manager Apple Business Manager
- Go to Preferences to add new MDM Server
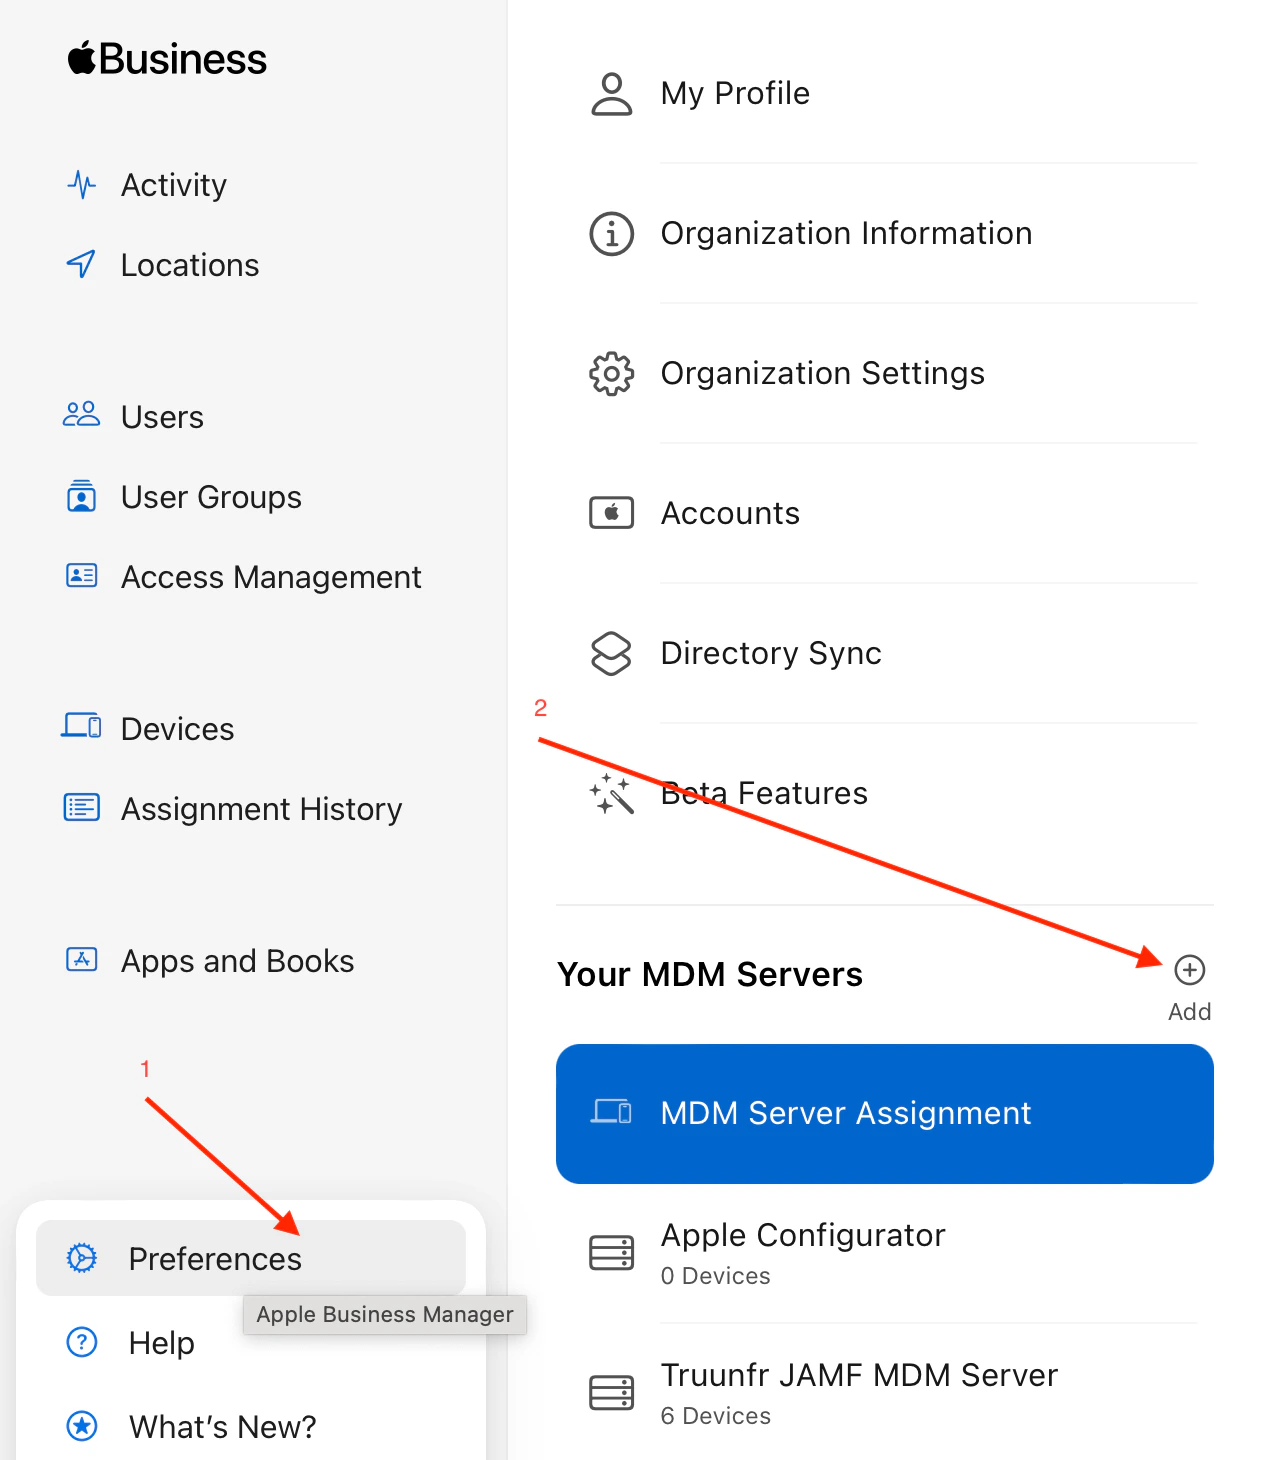
- Setup MDM Server
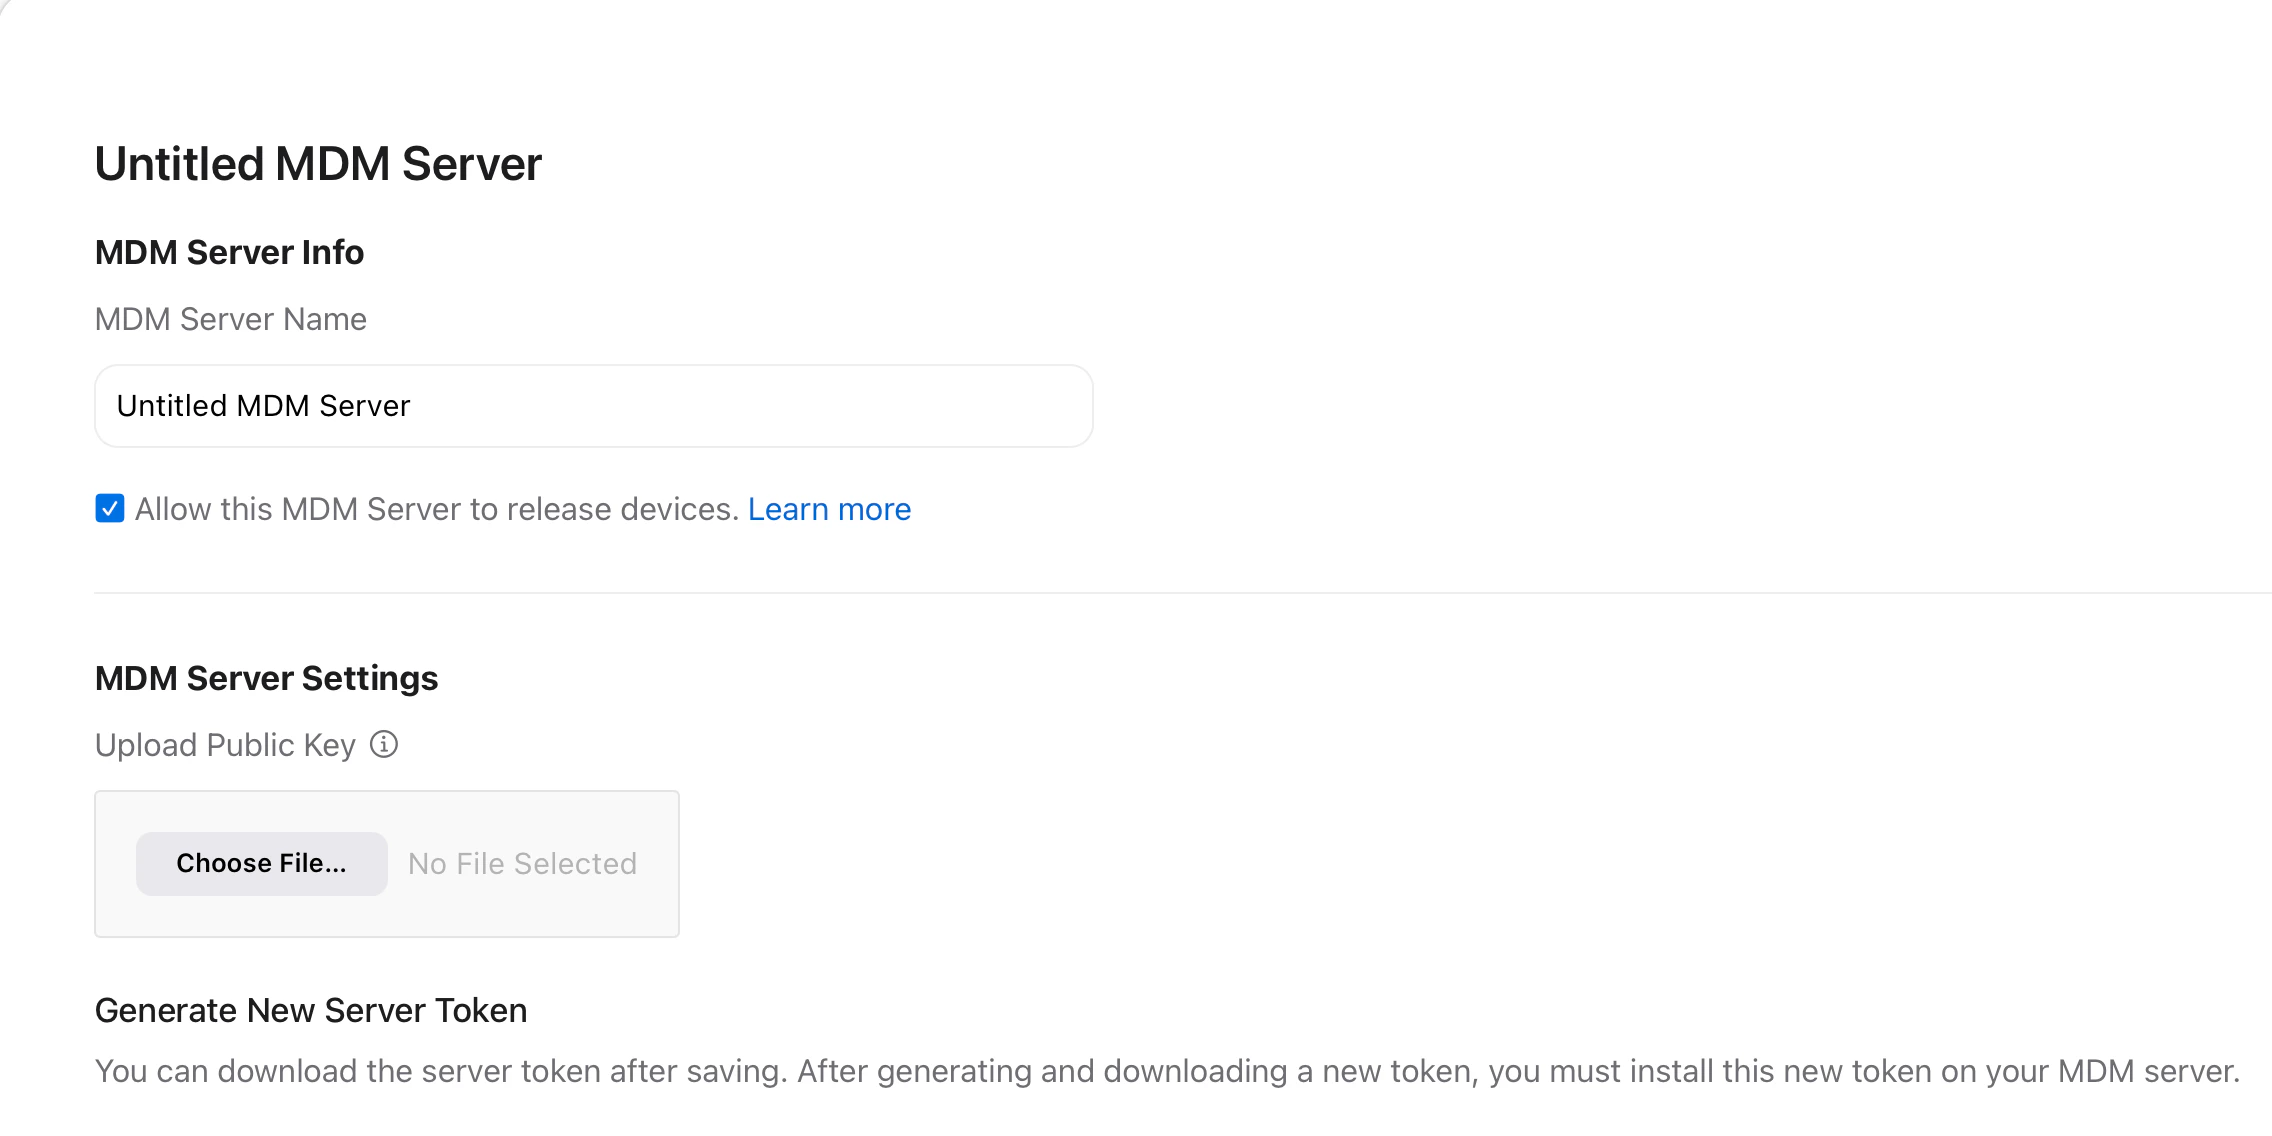
- Provide a name for the MDM Server
- Check the box to “Allow this MDM Server to release devices.”
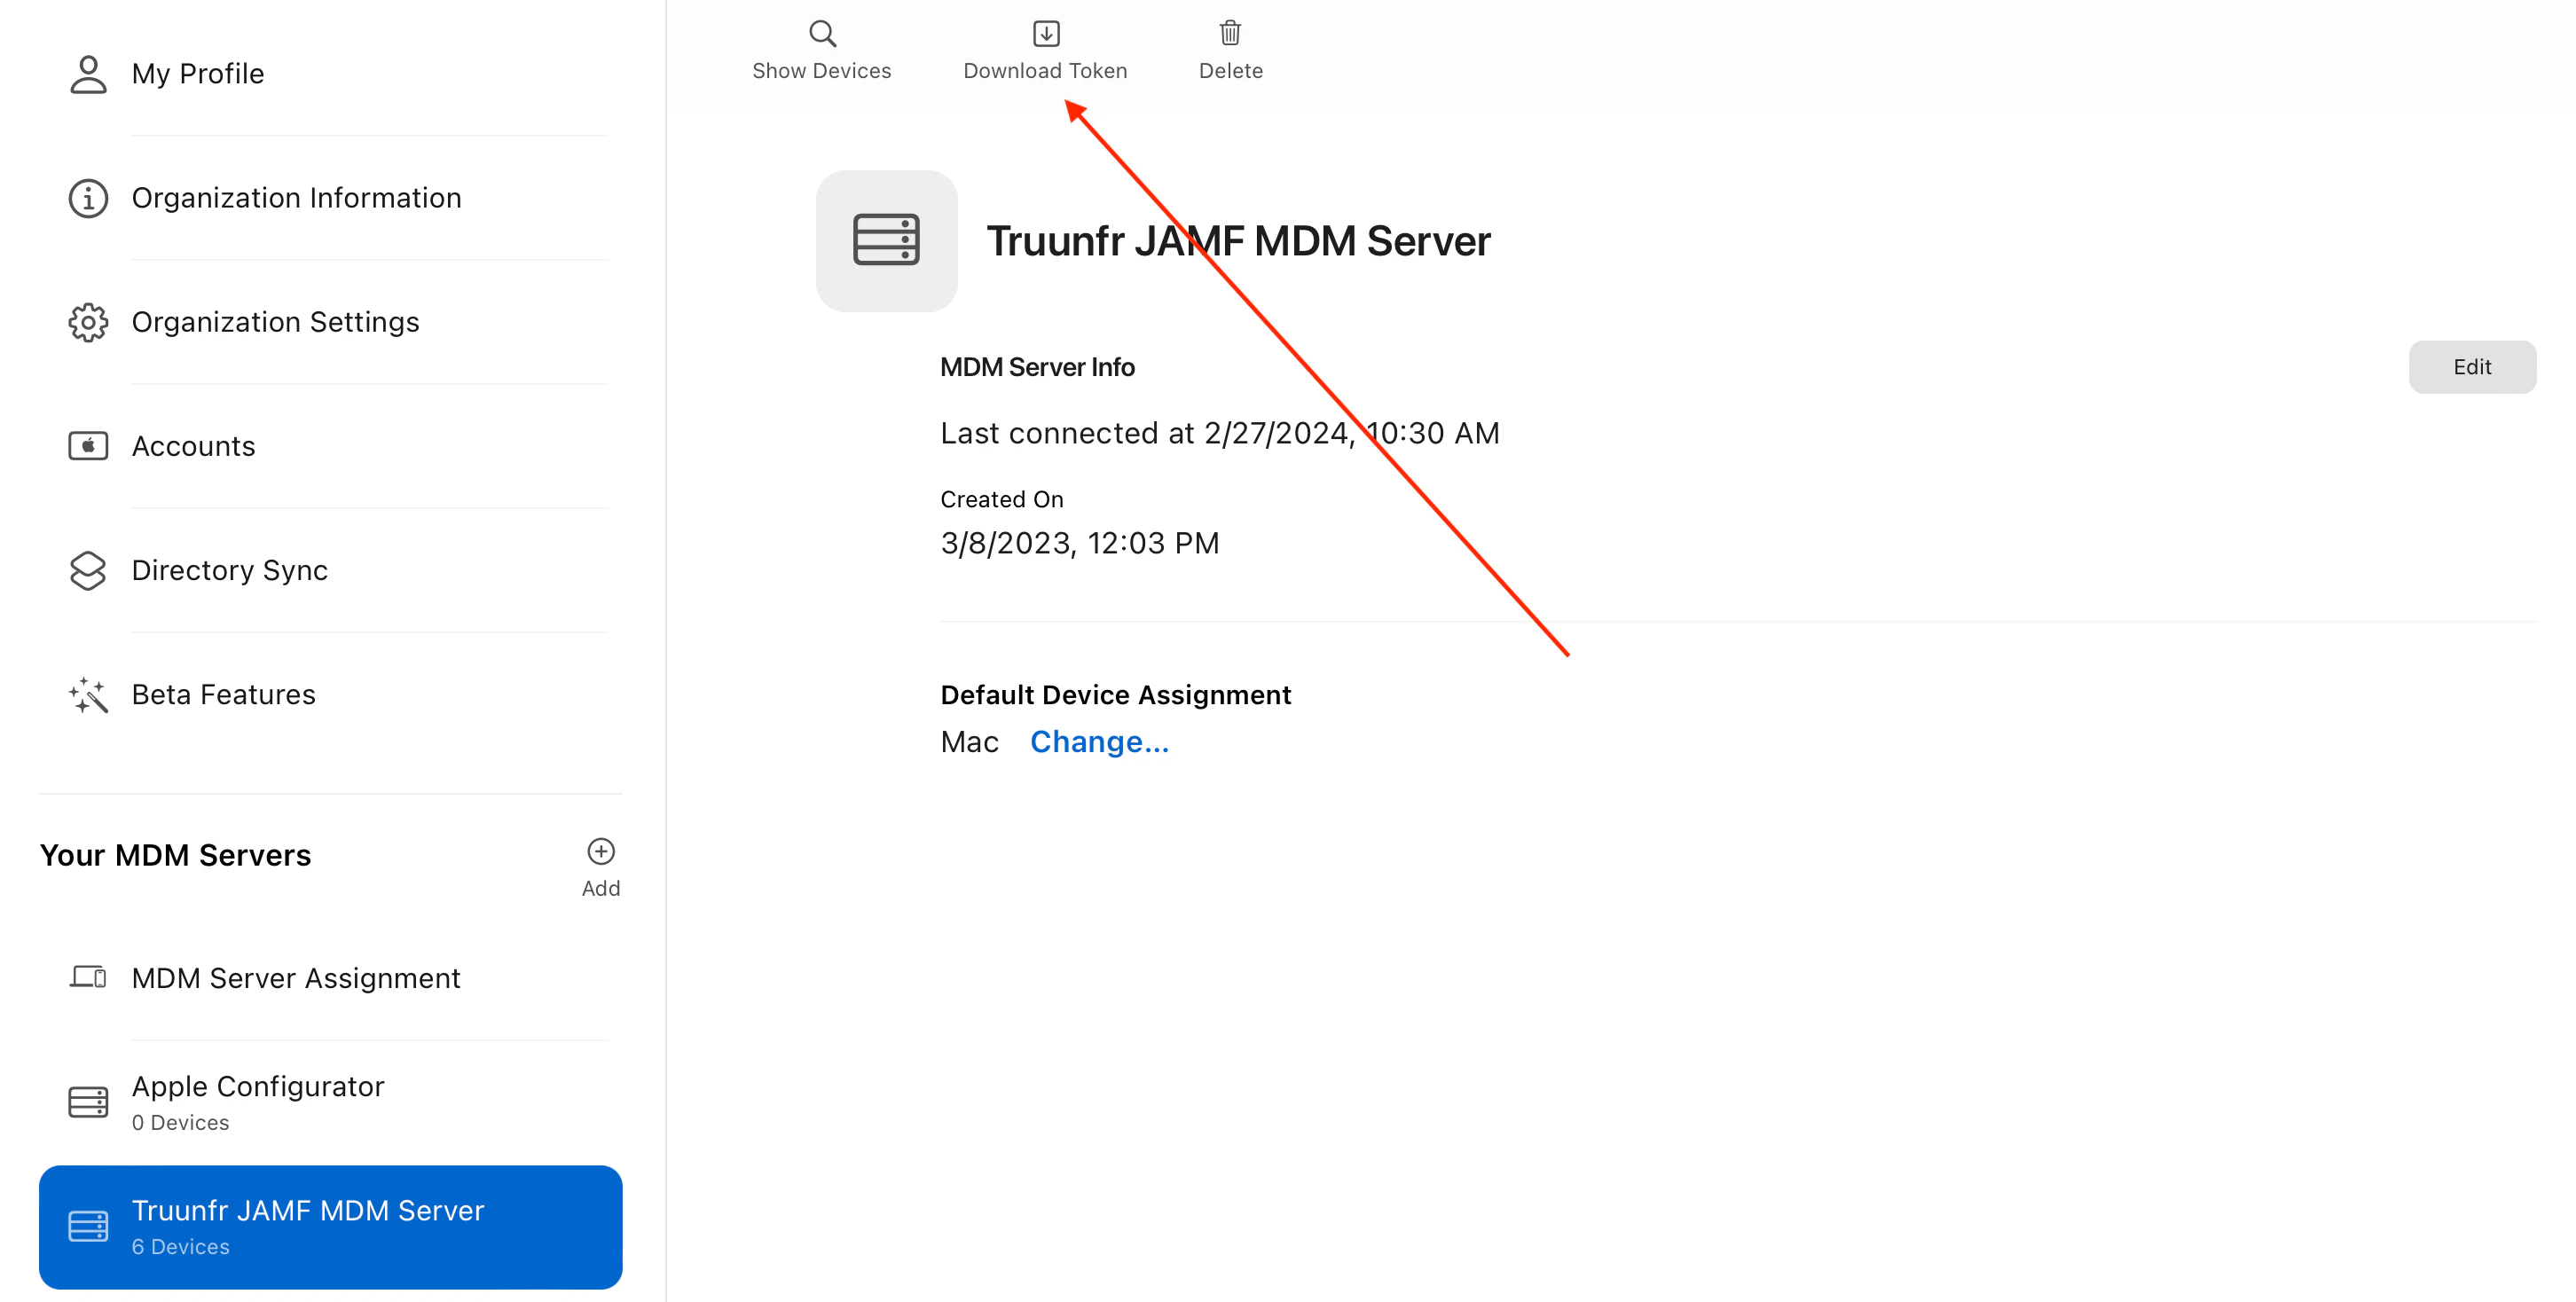
- Download token for newly created MDM Server (This token needs to be set on the MDM, e.g., Jamf)
- Go to App Store and download Apple Configurator iOS app (this is required for the Admin to configure provisioning through the MDM).
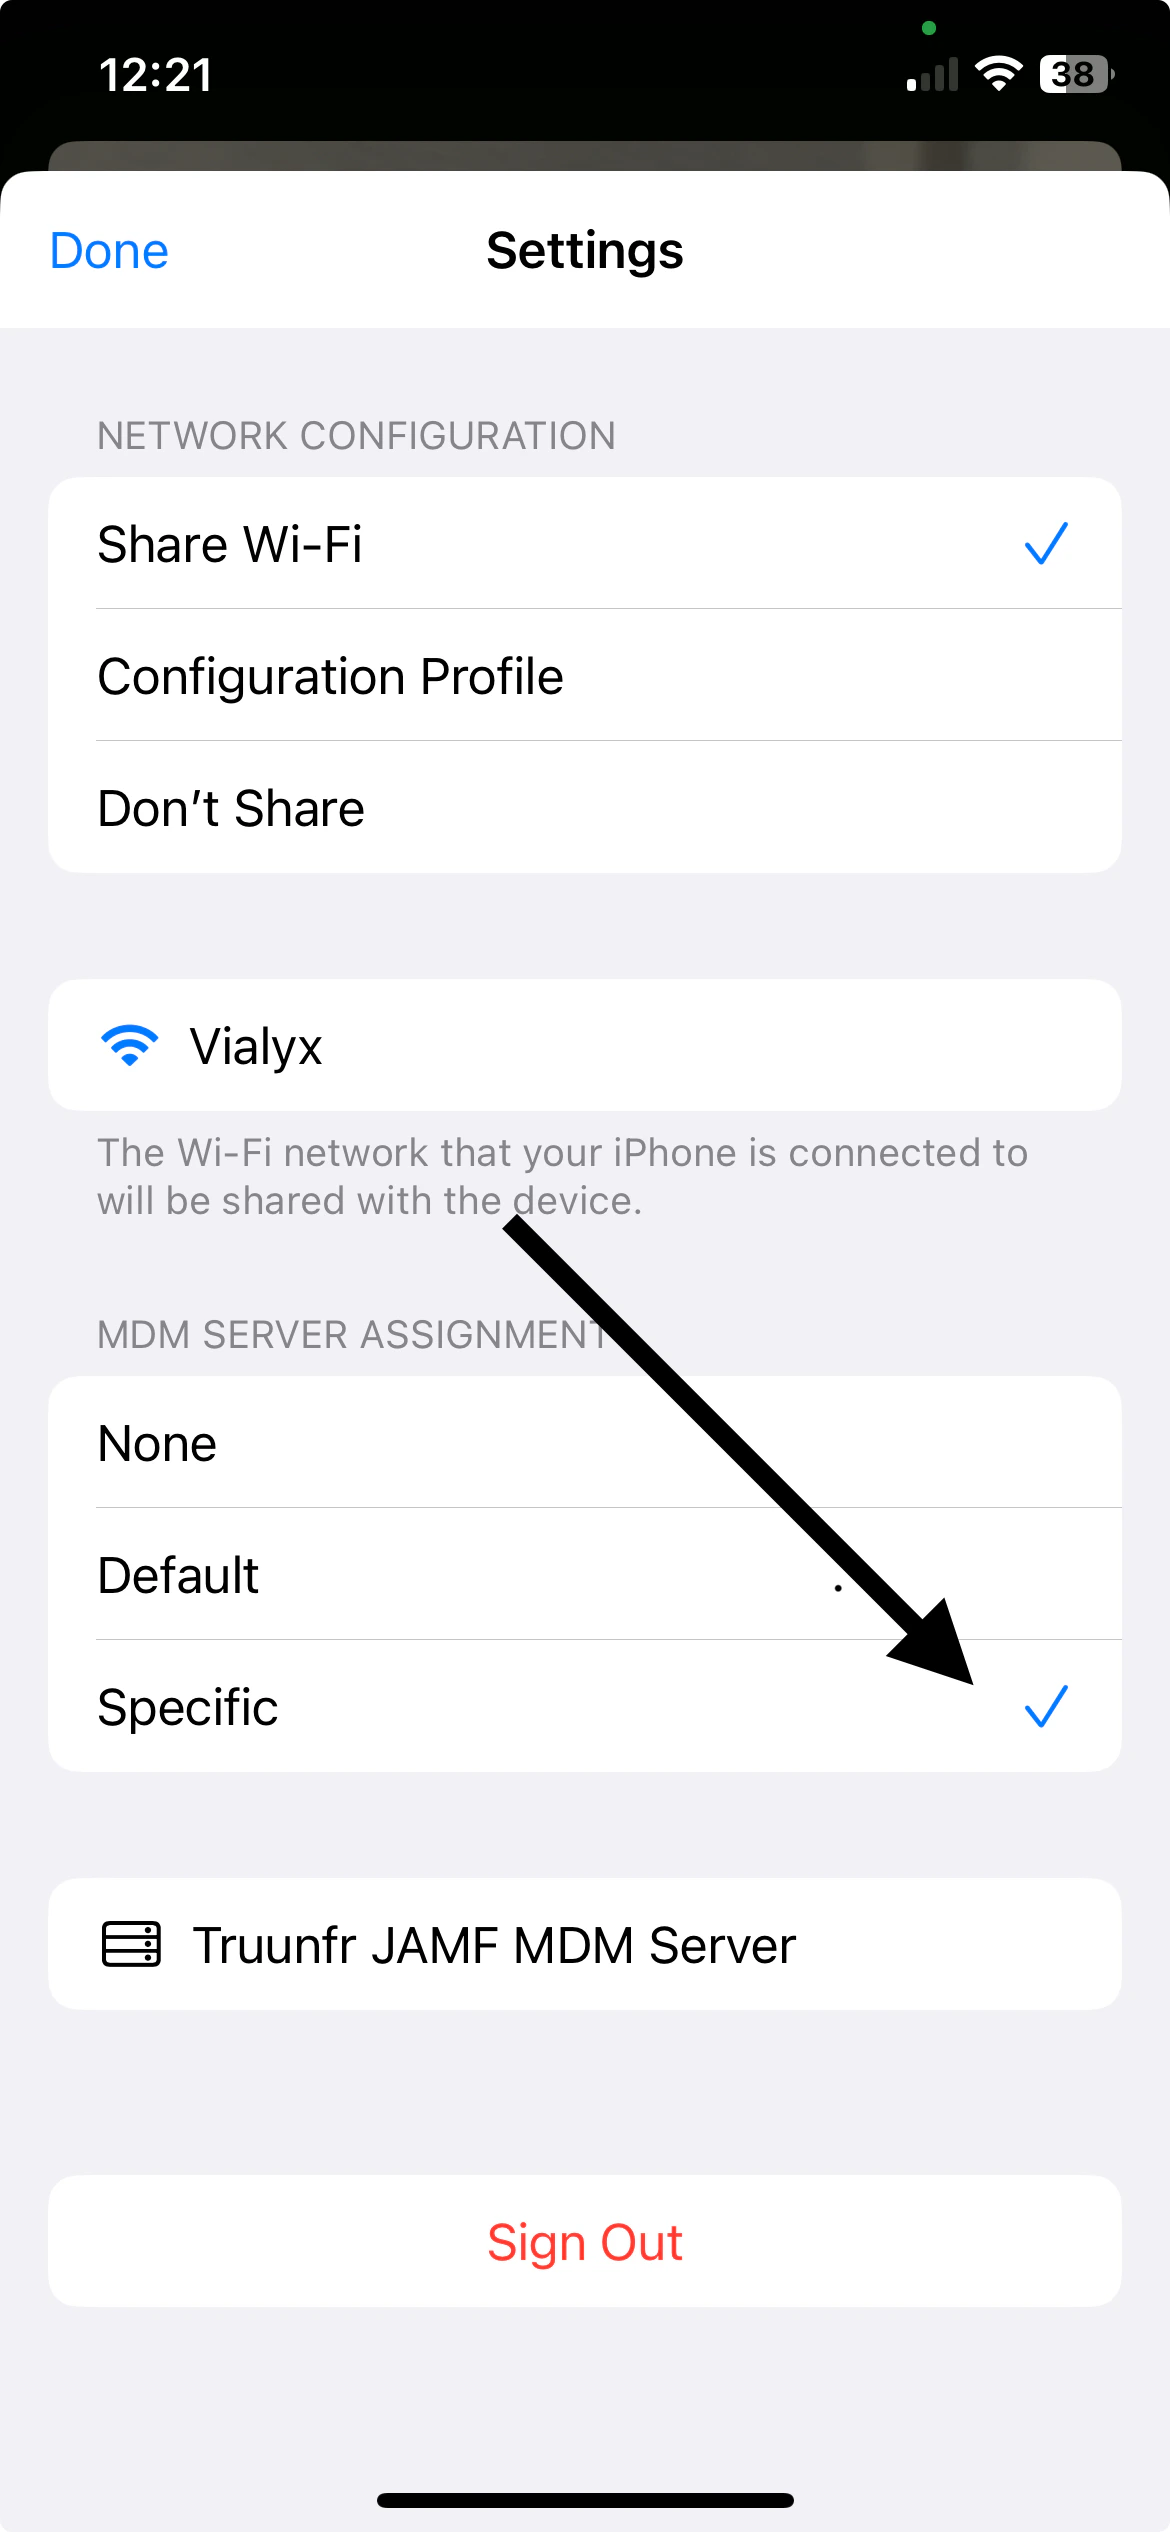
- Sign in using Apple Business Manager account
- Pick newly created MDM Server as default assigned for provisioned machines
JAMF Pro Setup
Step 1: Sign into your Jamf Pro account https://DOMAIN.jamfcloud.com Step 2: Go to “Settings”, then navigate to the “Automated device enrollment” to create a new MDM server integration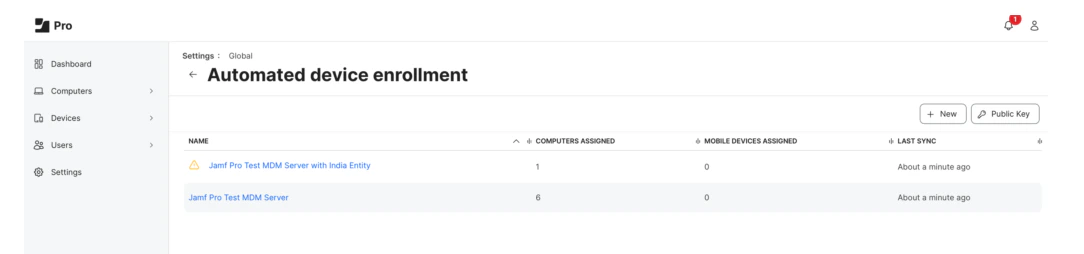
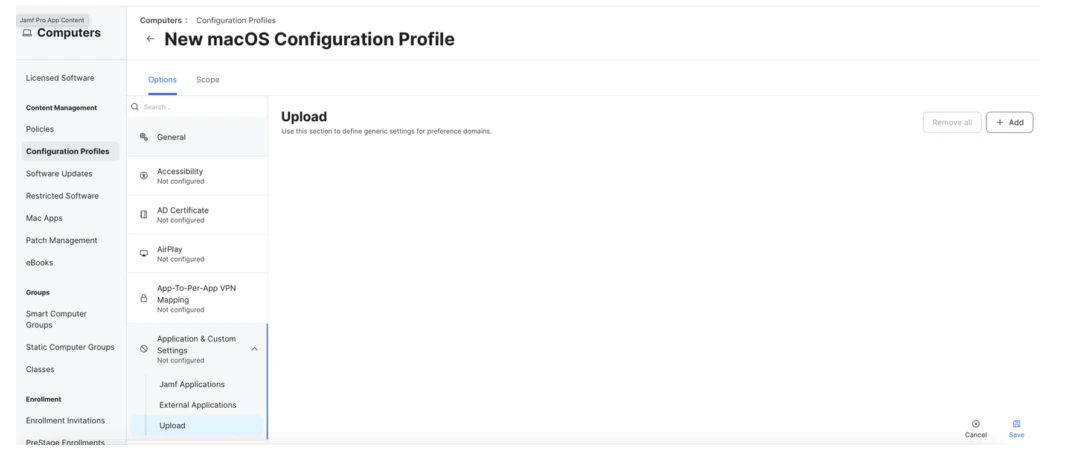
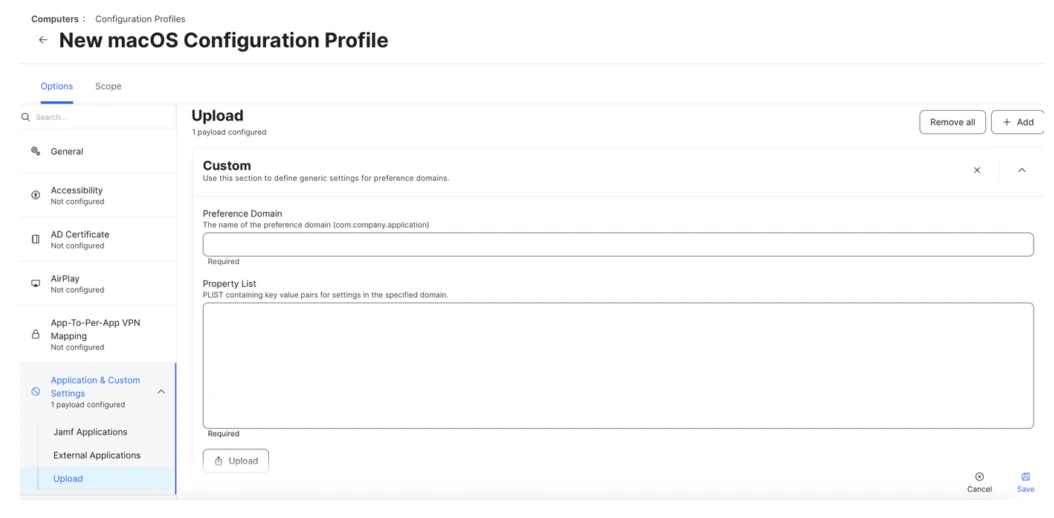
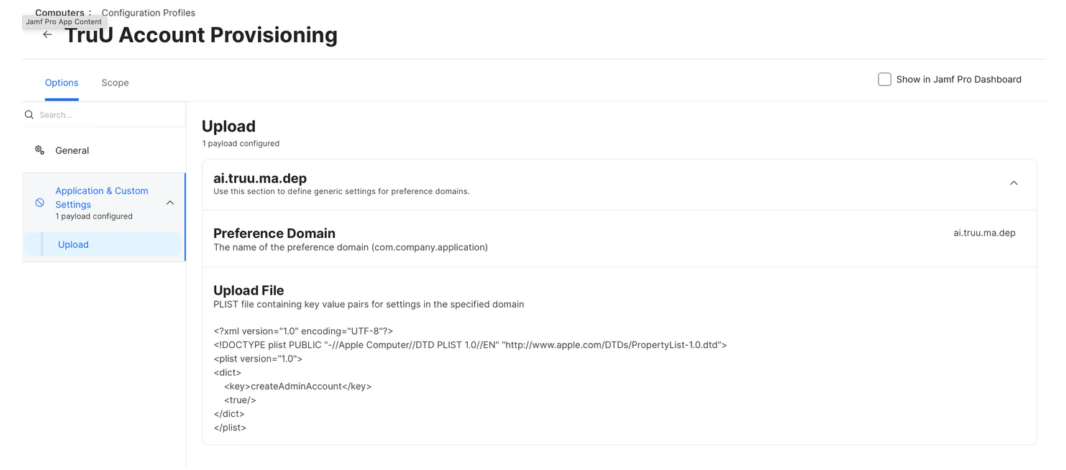
- Create Preference Domain for ai.truu.ma.dep with the following PLIST:
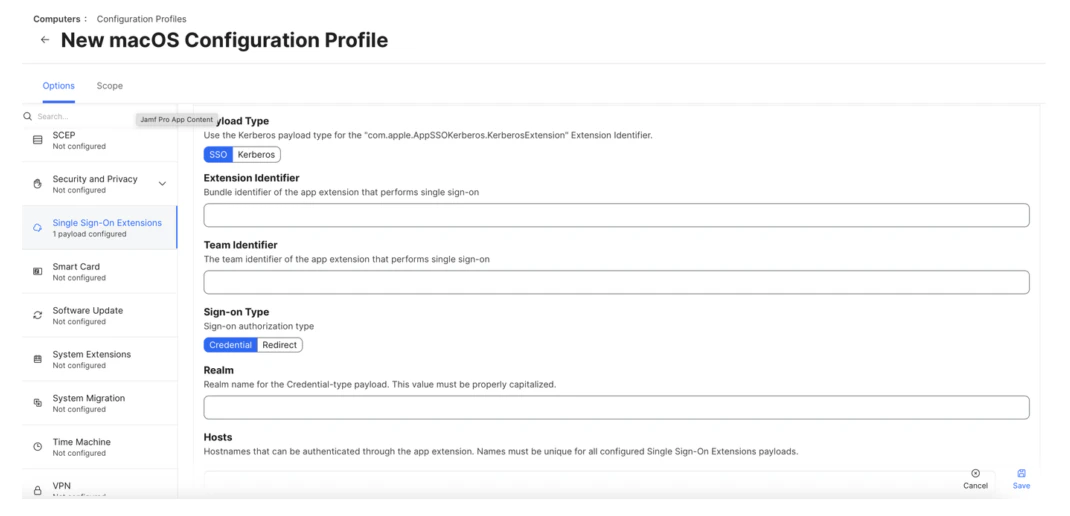
- You will see the following in your profile:
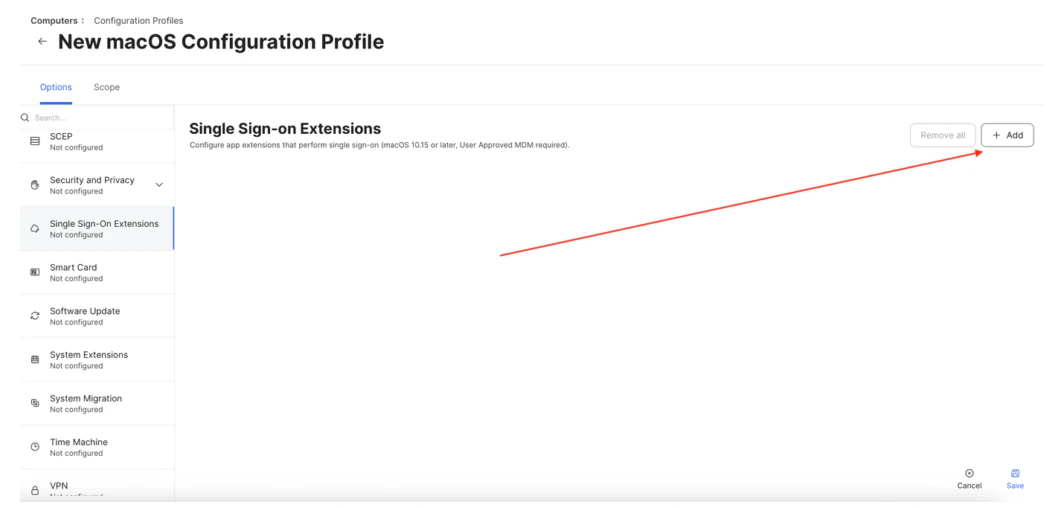
- Payload Type – SSO
- Extension Identifier – com.truu.LoginHost.SSO
- Team Identifier – VGJPA2G633
- Sign-on Type – Credential
- Realm – Company Kerberos Ream (e.g. {domain.com })
- Hosts – Company resources domains (e.g. {domain.com })
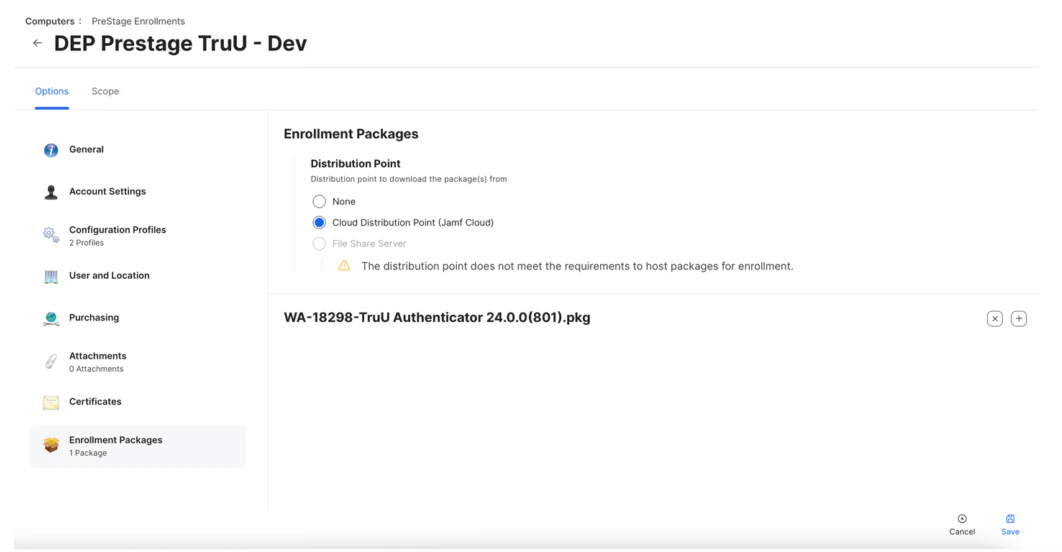
Importing TruU Packages for JAMF Setup ADE/DEP Intune Setup